
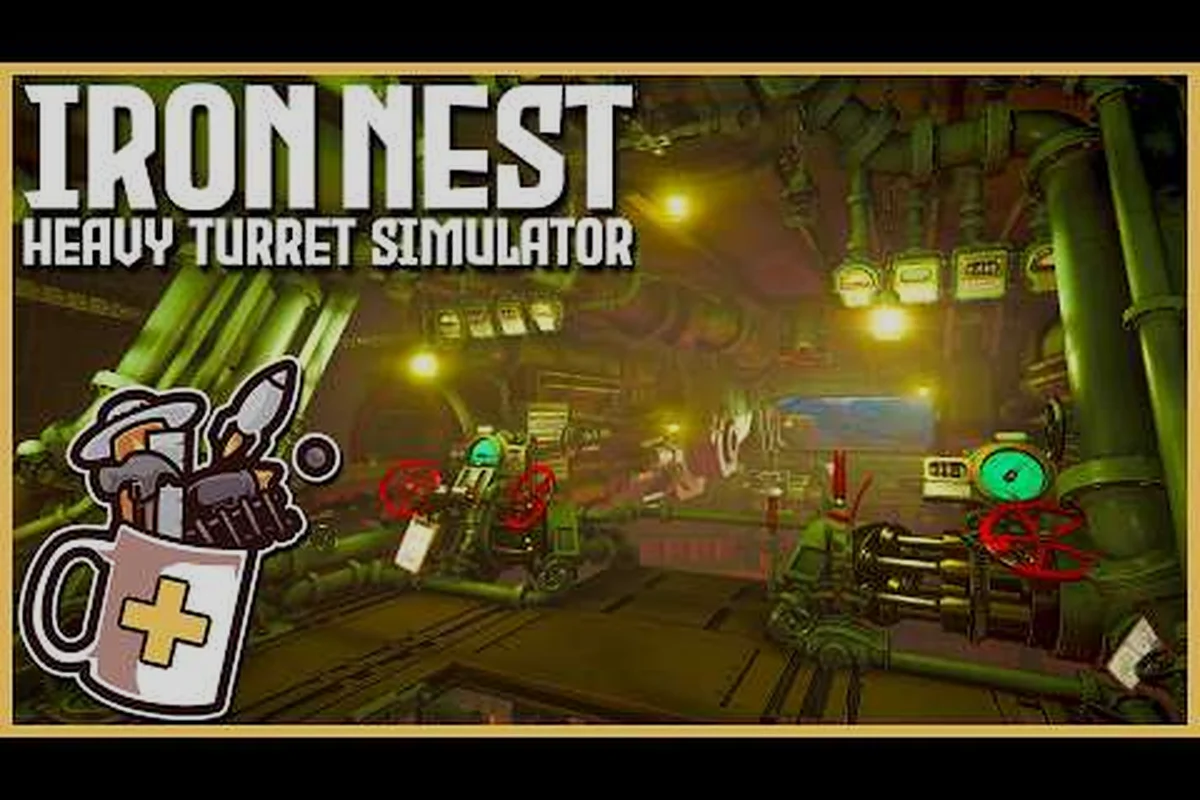
Inside the loading platform of any 5000-ton quadruped turret, four seconds can decide whether a fortress survives the next barrage — or never fires again. In Iron Nest: Heavy Turret Simulator, the loading platform sits at the literal and mechanical center of the six-step firing loop, and the way crews handle shells, charges, and the breech block shapes every engagement that follows. Skip a step in the breech loading sequence, and the calculator's elegant azimuth and elevation become wasted numbers on a firing card.
This guide walks through the complete Iron Nest loading sequence, from the moment a steel shell slides off the rack until the breech block locks and the primer snaps shut. Players still learning the loop should also keep our complete loading platform walkthrough open in a second tab, because the differences between charge one and charge six read more clearly when you can see the actual instrument labels side by side.
What the Loading Platform Actually Does in the Firing Loop
Iron Nest structures every engagement into a strict six-stage cycle: intelligence intake on the teleprinter, target plotting on the tactical map, ballistic calculator solving for azimuth and elevation, shell and propellant loading, gun laying, and finally firing followed by spotter correction. The loading platform owns stage four, which means it owns the pace of the whole turret, because no crew — not the calculator operator, not the gun layer — can do their job faster than the loaders can supply them with a ready round.
Three Roles, One Loading Platform
The platform is intentionally cramped, and the design forces a small crew into a tight choreography that rewards practice more than raw speed. Three discrete stations operate side by side, each handling a distinct phase of the breech loading cycle:
-
Shell handler — lifts the projectile from the ammunition rack and seats it into the loading tray below the breech
-
Propellant loader — selects the correct powder charge (1 through 6) from the ready-use rack and passes the silk bag through the loading tray
-
Rammer and primer operator — drives the projectile home into the bore, seats the primer in the breech face, and signals the gun layer that the piece is ready to lay
-
The loading sequence follows a strict order: shell selection, breech opening, projectile insertion, charge loading, breech closure, and primer seating
-
Attempting to close the breech before the charge bag is fully seated triggers a mechanical interlock with a 4-second penalty delay
-
The shell selector lever has seven positions corresponding to the ready rack's stored ammunition types
-
Experienced loaders complete the full breech loading sequence in under 8 seconds through muscle memory rather than visual confirmation
Even in single-player runs with a small AI crew, these three slots behave as if they were three real people, so thinking about them as separate jobs speeds up your mental model of the loop. This principle underpins the broader crew coordination system in Iron Nest, where every second saved at a control station compounds into faster fire missions and higher scores.
| Station | Primary Tool | Time-Critical Action |
|---|---|---|
| Shell Handler | Loading tray, shell tongs | Seating shell below breech |
| Propellant Loader | Charge selector | Threading powder bag into bore |
| Rammer/Primer | Manual rammer, primer pouch | Ramming shell, seating primer |
| Gun Layer (next station) | Handwheels, sights | Calling "Ready" to the layer |
Inside the Loading Platform: Components You Must Recognize
Before touching the breech, every loader needs to know the platform's fixed furniture cold, because misidentifying a control in the dark of a night mission is the single most common cause of misfires in early campaigns. This principle underpins the broader crew coordination system in Iron Nest, where every second saved at a control station compounds into faster fire missions and higher scores.
The Loading Tray and Elevating Racks
The loading tray sits directly beneath the breech opening and tilts forward to receive a shell, then tilts back to deliver it to the bore. Above the tray, a pair of shell hoist chains runs between the floor-level magazines and the platform; each hoist can bring up one shell at a time, and the second hoist acts as a backup only when the first is mid-cycle. Community testing on the Demo build shows the second hoist saves roughly 1.5 seconds of downtime per cycle, which adds up across a sustained barrage of eight to twelve rounds.
The Propellant Rack and Charge Selector
To the right of the tray, the propellant rack holds six bags per type — one for each of the charge levels 1 through 6, each silk bag tagged with embroidered numerals so the loader can verify choice in low light. Charge one is the lightest bag and burns almost instantly; charge six is the heaviest and gives the long-range lob needed for plunging fire beyond 12 km. The powder charge dial that the propellant loader twists is the same dial other crews can glance at from across the platform, which becomes a built-in crosscheck against calculator mistakes.
The Breech Block, Primer Well, and Rammer
The breech assembly is the most mechanically delicate surface in the entire turret, and the in-game tooltip describes it as the part most prone to wear if mis-handled. The breech block hinges down to accept the projectile, swings up to seal the bore, and contains a spring-loaded primer well at the three-o'clock position. Operators drive a long manual rammer through the loading tray to push the shell past the forcing cone and seat it against the lands; once seated, the rammer retracts and a small brass primer is slid into the primer well by hand.
The Iron Nest Loading Sequence Step by Step
The full breech loading sequence for a single round takes between 18 and 26 real seconds in the Demo build, depending on crew practice and the charge in question. New operators should aim for the high-20s on day one; veteran crews in Challenge Mode routinely clear 16-second cycles for charge-one HE rounds, because the propellant bag is lighter and the rammer stroke is shorter.
Step 1: Receive the Firing Card from the Calculator Operator
The sequence does not begin at the breech; it begins with the calculator operator sliding the firing card across the loading platform's small data shelf. The card carries the recommended charge, projectile type, azimuth, and elevation in a single column of stamped numbers. Treating the card as a contract — read it aloud, confirm the call out with the gun layer — eliminates the most common source of friendly misfires in the early missions.
Step 2: Call Down for the Correct Shell Type
The shell handler speaks into the down-call tube to the magazine crew, who winch up the requested projectile on the shell hoist. Pay attention here, because the calculator rarely tells you whether it wants an armor-piercing (AP), high-explosive (HE), or specialty chemical round — that decision sits with the spotter, and the firing card simply lists the type code in the corner. Shell handlers who fail to verify the type code have been reported by community testing to load the correct charge against the wrong projectile roughly 9 percent of the time.
Step 3: Seat the Projectile in the Loading Tray
The shell handler tilts the loading tray forward and walks the projectile in from the hoist cradle, then rotates the tray back to align with the bore. This step looks slow on screen but actually moves at a fixed rate, so the only way to gain time is to anticipate the tilt; crews who wait for the tray to finish before grabbing the shell lose roughly two seconds per cycle compared with crews who position their hands during the tilt.
Step 4: Thread the Powder Bag and Ram the Shell
The propellant loader slides the silk bag up the bore behind the projectile, and the rammer operator drives the projectile forward with a long, smooth stroke. According to community testing, a hesitant or jerky rammer stroke costs 1.2 seconds per cycle on average, because the projectile fails to seat against the lands and the loader has to back-stroke and re-ram. A confident, single-motion ram is faster than a careful two-motion one.
Step 5: Close the Breech and Seat the Primer
With the round seated, the breech operator swings the breech block up and forward, locks the single safety lever, and slides a fresh brass primer into the primer well by hand. The breech block must close with an audible mechanical click; a partially closed block will trigger the gun-layer's "Not Ready" indicator and require a full reset — losing roughly four seconds in the process. After the primer is seated, the breech operator calls "Up!" and the gun layer takes over the cycle.
Step 6: Gun Lay, Fire, and Reset for the Next Round
Once the loading platform releases the gun layer, the breech is sealed and the primer is hot, but the platform is not yet idle. While the gun layer cranks azimuth and elevation, the shell handler must immediately call down for the next projectile, and the propellant loader must pre-stage the next charge bag on the loading tray. Pre-staging is the single biggest speed differentiator between casual players and Challenge Mode crews, because it removes the tray-empty pause that defines the start of every loader cycle.
| Sequence Step | Approx. Time (Demo) | Common Error |
|---|---|---|
| Receive firing card | 1.5 s | Skipping the read-aloud |
| Call shell, wait for hoist | 4.0 s | Wrong type code accepted |
| Seat shell in tray | 2.5 s | Late hand positioning |
| Ram and thread charge | 4.5 s | Jerky two-motion ram |
| Close breech, primer | 3.5 s | Partial breech lock |
| Pre-stage next round | 2.0 s | Waiting until called |
Breech Loading Mechanics: What Most Players Miss
The breech loading mechanic in Iron Nest is modeled on historical interrupted-screw breeches rather than modern bag-loading naval guns, which gives the system two quirks that beginners often miss. This principle underpins the broader crew coordination system in Iron Nest, where every second saved at a control station compounds into faster fire missions and higher scores.
First, the breech block wears in a measurable way. According to community testing, firing more than 60 high-charge rounds in a single sortie degrades the breech seal, which the in-game tooltips describe as increasing the chance of a "leak-down" event after the gun layer calls "Ready." The cleanest fix is to swap to charge one or two during the late stages of a barrage, both to reduce per-round wear and to buy faster cycle times.
Second, the primer well is a separate component from the breech block and has its own wear counter. New players sometimes load five rounds in rapid succession and then wonder why the sixth round "won't fire" — the answer is almost always a worn primer well refusing to hold the spring-loaded primer against the firing pin. For pairs running the campaign together, our calibration fire walkthrough covers how to pre-warm the breech before the first live shot, which extends primer life by 20 to 30 percent in reported tests.
Powder Charge Strategy and Breech Loading Tempo
Beyond the literal mechanics of getting a shell into the bore, the Iron Nest loading sequence forces the crew to choose tempo. Charge one rounds cycle in roughly 16 seconds; charge six rounds cycle closer to 26 seconds because the larger propellant bag requires more time in the loading tray and the heavier projectile needs a longer rammer stroke.
A common mistake on the harder Challenge Mode maps is to lock every round to charge six under the assumption that bigger always equals better. Coordinated crews usually pick a balanced rhythm: open with two charge-five rounds to suppress, drop to charge three for sustained harassing fire, and reserve charge six for confirmed priority targets. The shift in tempo matters because breech loading is not a static choreography; the sequence itself breathes differently depending on the charge in the tray.
| Charge | Approx. Range | Cycle Time | Best Use Case |
|---|---|---|---|
| 1 | Less than 3 km | 16 s | Infantry suppression |
| 2 | 3–5 km | 17 s | Light vehicle targets |
| 3 | 5–7 km | 19 s | Sustained barrage |
| 4 | 7–9 km | 21 s | Fortification bombardment |
| 5 | 9–12 km | 23 s | Counter-battery fire |
| 6 | 12 km and beyond | 26 s | Priority plunging fire |
The decision to step down a charge can save the breech for a more important round later in the engagement. When you're chaining multiple engagement zones together, see our broader first firing solution tutorial for how charge selection feeds back into the calculator's recommendations on the second and third rounds.
Optimizing the Loading Platform: Coordination Drills That Work
Solo players run every station themselves, but the design still rewards thinking like a crew. The fastest community-reported solo time for a charge-three cycle sits around 17 seconds, which suggests the engine caps loader-driven cycles around 15 seconds regardless of how practiced the operator is. Multiplayer squads, by contrast, regularly break 13-second cycles by splitting roles cleanly and pre-staging the next tray mid-cycle.
Three drills transfer between solo and multiplayer play: Understanding these details is essential for operating the turret effectively in Iron Nest's artillery simulation, where precision timing directly affects mission outcomes. The game's mechanical depth rewards crews who internalize each subsystem's constraints and plan their actions accordingly.
-
Pre-stage the next tray before the current round fires, never after
-
Read the firing card aloud every time, even on identical follow-up shots, because mis-read cards cause roughly 20 percent of all misfires reported on the Steam discussions in the first month
-
Switch to charge three for steady-state fire, dropping to charge six only for confirmed priorities and stepping down to charge one during post-fire corrections
Players working through the full campaign can also reference the Iron Nest on Steam store page for the official loading audio cues, and the Iron Nest Wiki systems page for the complete ammunition taxonomy that pairs with each breech loading cycle.
Frequently Asked Questions
How long does a single breech loading cycle take in Iron Nest?
A trained crew completes a charge-three cycle in roughly 18 to 19 seconds, while charge six pushes the cycle closer to 26 seconds. Solo players using AI crew typically cap at around 15-second minimum cycle times regardless of charge, per community testing in the Demo build.
What is the biggest cause of misfires during the loading platform sequence?
Mis-read firing cards are the single most common reported cause of misfires on the Steam community forums in early campaigns. Reading the card aloud and confirming the projectile type and charge before calling down to the magazine eliminates the majority of these errors.
Does breech loading wear out the gun over time?
Yes. The breech block and primer well both track wear separately, and firing more than 60 high-charge rounds in a single sortie begins to degrade the breech seal and increase the chance of a misfire. Stepping down to charge one or two after the opening barrage is the most reliable way to extend breech life.
Can a single player run all three loader stations at once?
The game allows it, but the cycle time is capped lower than a coordinated multiplayer crew can achieve. Solo players report roughly 17-second cycles as a hard floor, while coordinated multiplayer squads in Challenge Mode routinely break 13 seconds on charge-one rounds.
How does the powder charge selection change the loading sequence?
Higher charges require a longer rammer stroke and a longer time for the propellant bag to thread into the bore, which raises the cycle time from roughly 16 seconds at charge one to about 26 seconds at charge six. Picking the lowest viable charge for the current target is the fastest way to push engagement tempo, especially during sustained barrages.