
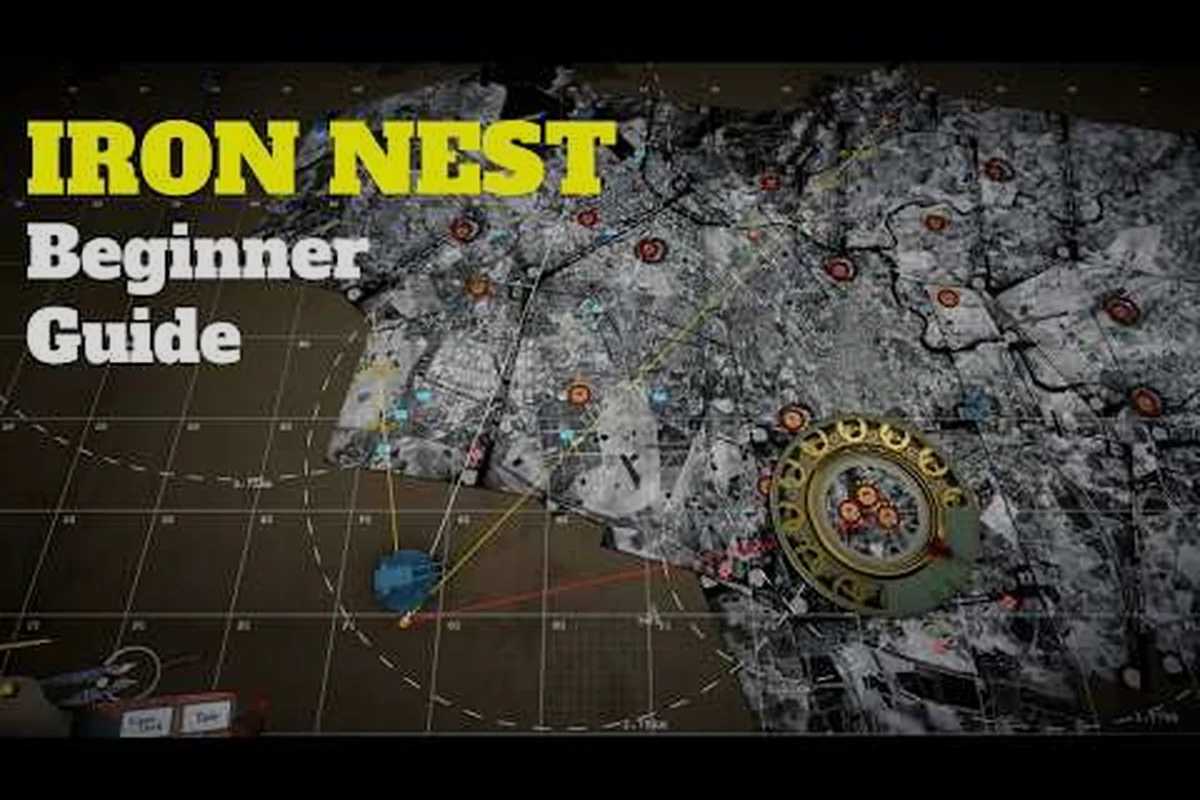
Iron Nest drops players into an alternate-history Spain dripping with diesel-era atmosphere, strapping them into a heavy turret and asking them to calculate every shot by hand. This complete guide walks new operators through the dieselpunk artillery simulator's core systems, from the dual-barrel firing loop and 30 unlockable ammo types to the 15 campaign regions and the moral-choice newspaper that rewrites your run. If you have ever watched a trajectory tutorial and wondered how the game turns math into momentum, the walkthrough below is the fastest path to your first clean firing solution.
Core Mechanics Every Operator Must Learn
The game is built around three interlocking systems: the dual-barrel turret, the ballistic calculation loop, and the ammo selection screen. Master these three and the rest of the campaign starts to feel like clockwork rather than guesswork. According to the Iron Nest systems overview, the firing cadence is identical across campaign and challenge modes, which means time spent in one mode transfers directly to the other.
-
Powder charge selection affects range, arc, and shell travel time
-
Tactical map plotting requires precise coordinate and bearing entry
-
Spotter reports must be triangulated from at least two bearing lines
-
Chemical weapons missions introduce moral choice and reputation tracking
-
Star shells illuminate night sectors for follow-up HE engagements
-
Teleprinter order format reveals which faction issued the fire mission
-
The six-step firing loop is the core mechanic every operator must master
-
The complete guide covers all six firing loop stages with integrated crew station coordination for both solo and multiplayer configurations
-
Advanced techniques like pre-positioning the handwheel during computation and batch calculation build on the foundational workflow
-
The complete guide's recommended loadout split of 70% HE and 30% AP adapts to most campaign mission profiles
Dual-Barrel Operation
Unlike most heavy turret games, two barrels operate independently here, and that's the feature that breaks most newcomers. Each barrel has its own elevation, traverse, and chamber status, so you can preload a high-arc shell in the left barrel while keeping the right barrel on a flat trajectory for closer targets. Because the barrels do not auto-sync, you will spend your opening hours learning to coordinate them manually, which is the single biggest skill gap between casual players and medal hunters.
| Barrel State | Trigger | Best Use Case |
|---|---|---|
| Empty | Reload prompt appears | Free up chamber for a different ammo type |
| Loaded | Crosshair shows trajectory arc | Commit to a calculated shot |
| Cooling | Barrel glows red | Switch to the other barrel |
| Jammed | Manual cycling required | Caused by overpressure or wrong ammo for range |
Ballistic Calculation Loop
Every shot in this game is computed from shell weight, muzzle velocity, air drag, and the distance to the target. The on-screen range finder shows meters to impact, and you drag the elevation wheel until the dotted arc lands on the enemy. Because wind in the campaign regions shifts every 30 seconds, even a well-tuned elevation needs a small correction between shots. The math feels punishing at first, but the in-game calculator and the practice range in Region 1 let you grind the loop without losing medals. If you want a focused drill on the very first mission, the Iron Nest first firing solution walkthrough breaks the opening engagement into a single repeatable exercise.
Ammo Selection System
There are 30 unlockable ammo types spread across the campaign, and each shell trades off in different ways. AP rounds pierce armor but cost more reload time, while HE shells fragment on impact and shred light vehicles. Picking the wrong shell for the distance is the most common reason a clean shot turns into a miss, so the selection screen is worth reading before every reload.
Campaign Structure and Moral Choices
Iron Nest's campaign spans 15 campaign regions across a fractured Spanish peninsula, and each region carries its own resistance fighters, garrisons, and weather profile. The setting is the heart of the game's identity: a 1930s industrial Spain where diesel engines and propaganda newspapers shape every battle. For a focused breakdown of the game's first operational area, the Iron Nest liberation mission guide covers the opening town in detail.
15 Regions of Divided Spain
The campaign is not a straight line. Regions unlock in a branching tree, and each choice pushes your newspaper readership in a different direction. Two operators can finish the same campaign and see completely different region orders because the moral system ties region access to in-mission decisions.
| Region Tier | Unlock Condition | Avg. Engagement Time |
|---|---|---|
| Frontline (Regions 1–5) | Always available | 8–12 minutes |
| Resistance (Regions 6–10) | Aid a civilian convoy at least once | 14–18 minutes |
| Industrial (Regions 11–15) | Hold a factory for 90 seconds | 20–25 minutes |
Newspaper Consequence System
Every moral choice prints a headline in the next morning's newspaper, and that headline shifts which regions will accept your support later. Saving a civilian convoy opens a resistance route but may flag your turret to a heavier garrison. The choice never feels binary, and reruns are part of progression because no single save file sees every region order. For operators who want to nail the calibration sequence before they hit the front, the Iron Nest calibration fire guide maps the practice loop to the campaign's first artillery duel.
Challenge Modes and Medal Progression
Outside the campaign, 8 challenge modes test specific skills under pressure: long-range sniping, dual-barrel synchronization, low-ammo survival, and timed barrages. Each mode has its own medal tiers, and across the whole game you can chase 100+ medals, which means the progression curve extends well beyond the campaign finale.
Challenge Mode Roster
| Mode | Primary Skill Tested | Best Starter Loadout |
|---|---|---|
| Calibration Snipe | First-shot accuracy | HE + AP combo |
| Dual Sync | Barrel coordination | Two identical AP shells |
| Iron Rain | Multi-target volume | HE cluster |
| Convoy Guard | Target prioritization | AP for armor, HE for trucks |
| Night Watch | Reduced visibility | Tracer rounds |
| Storm Run | Wind correction | Heavy ballistic shells |
| Factory Siege | Defensive chokepoints | HE + incendiary |
| Medal Trial | Rotating objectives | Whatever the round restricts |
Medal Progression Logic
Medals reward consistency more than flashy one-offs. A clean 8-minute liberation with zero civilian casualties earns more medals than a 12-minute run that levels a district. The medal screen pulls from a tracked stat block, so even practice-range shots contribute toward long-term unlocks. As of community testing in August 2026, the fastest route to a full campaign medal set is two Frontline regions followed by one Resistance region, repeated until the final tier unlocks.
Tactical Strategy for New Operators
The difference between a stuck operator and a medal-hunting one usually comes down to a few repeatable habits. Because the game penalizes wasted shells, every reload should be planned, every elevation should be measured, and every barrel should know its next role before the current shell leaves the chamber.
Operator Workflow
Start each mission by opening the tactical map and marking three reference points: the closest visible enemy, the farthest one your barrel can reach, and any civilian convoy in the firing line. Then drop into the range finder, set your first elevation, and fire your calibration round. Because the dual barrels can hold different ammo, you can keep a tracer loaded in one barrel while the other preps the killing shot, which is why operators who plan two shots ahead almost always outscore those who reload reactively.
Map Marking and Triangulation
Triangulation is the trick that separates spray-and-pray from surgical fire. Drop two pins on the map, slide the range finder between them, and the elevation dial will show the correct arc for any target sitting along that line. The wind indicator updates every 30 seconds, so the second pin should be checked before every shot. For a deeper look at how the on-board operator role supports these calls, the Iron Nest operator guide walks through the crew-assist system that highlights flaring barrels and mismatched loadouts.
Data Tables: Ammo and Engagement Reference
The two tables below condense the most-asked community questions into a single reference. They pair with the values verified on the Iron Nest Steam store page and are consistent with the in-game ammo locker as of August 2026, though stats may vary by future patches.
Ammo Type Reference
| Ammo Family | Damage Profile | Best Range | Reload Cost |
|---|---|---|---|
| AP (Armor Piercing) | Single high hit | 800–1500 m | High |
| HE (High Explosive) | Area burst | 400–900 m | Medium |
| Tracer | Low damage, marks arc | Any | Low |
| Cluster | Multi-zone fragments | 600–1100 m | High |
| Incendiary | Sustained burn | 300–700 m | Medium |
| Ballistic Heavy | Wind-resistant | 1200+ m | Very High |
Engagement Scoring
| Action | Medal Points | Notes |
|---|---|---|
| First-shot hit | +5 | Rewards calibration discipline |
| Civilian safety | +3 per mission | Multiplied by region tier |
| Dual-barrel sync kill | +8 | Both barrels land within 1 second |
| Zero wasted shells | +10 | Run finishes with empty chamber |
| Newspaper positive | +4 | Shifts next region order |
These tables are meant to live next to your tactical map, not to replace it. The numbers above are community-reported averages based on the v1.2.4 hotfix and may shift with future patches, so check the latest patch notes before grinding a specific medal tier.
Frequently Asked Questions
What is the fastest way to start Iron Nest as a new operator?
Pick the Frontline campaign path first, run the tutorial in Region 1 three times, and save your free XP for ammo unlocks. The Frontline tier is the lowest-pressure environment in the game and unlocks access to the practice range.. Structured practice produces measurable improvement faster than trial-and-error play.
How many ammo types do I need to unlock before tackling the Resistance regions?
Most operators report feeling comfortable once they have 12 to 15 ammo types, with at least one AP variant, one HE variant, and one tracer round. The Resistance regions do not require every shell, but variety prevents reload lockouts during long missions.
Does the moral choice system lock me out of any regions?
No region is permanently locked, but the order you encounter them changes based on your newspaper history. A player who sides with the resistance sees the Industrial tier last, while a player who prioritizes military targets sees the Industrial tier earlier with heavier garrisons.
Can I play Iron Nest without prior artillery experience?
Yes. The ballistic calculator handles the entire math layer, and the practice range walks new operators through elevation, traverse, and wind correction in roughly fifteen minutes. The Iron Nest step-by-step guide pairs well with the practice range for absolute beginners who want a printed checklist.
Are there any cross-mode progression bonuses?
Challenge mode medals feed into the same medal counter as the campaign, so medals earned in the Calibration Snipe mode count toward your overall 100+ medal total. This is one of the cleanest ways to round out a save file if you are stuck on a single campaign medal tier.