
Tier List
Iron Nest tier lists ranking shells, abilities, unlocks, and challenge modes. Detailed S/A/B/C rankings with cost-benefit analysis and progression priority
Introduction
Tier lists in Iron Nest rank shells, abilities, unlocks, and challenge modes by effectiveness using S through C rankings with detailed cost-benefit analysis and progression data. Each ranking includes target suitability data, requisition cost comparisons, progression priority recommendations, and challenge mode scoring implications to help operators make informed data-driven decisions about resource allocation and planning. Whether you are choosing your next research unlock, optimizing challenge loadouts for maximum scoring efficiency, or deciding which specialty shells to stock for specific mission types, tier rankings provide the quantitative framework and comparative analysis needed for every strategic decision you make inside the turret.
Ammunition Tier Rankings
| Tier | Shell | Verdict | Why |
|---|---|---|---|
| S | HE | Must-have default | Handles 70% of all engagements, best cost-effectiveness ratio |
| A | AP | Essential specialist | Irreplaceable for bunkers — no other shell penetrates hardened structures |
| A | HCHE | Situational powerhouse | Highest kill efficiency against clusters, but premium cost limits spam |
| B | STAR | Recon essential | Zero damage limits solo use, but correction loops depend on it |
| C | SMK | Niche utility | Situational screening only — most missions don't need smoke support |
Tier Rankings
HE — S Tier
The most versatile and cost-effective shell in the turret
AP — A Tier
Essential specialist — irreplaceable bunker-buster
HCHE — A Tier
Cluster-killer — premium cost but highest kill efficiency per shot
Unlocks — Progression Priority
Which technologies and shells to research first for maximum combat efficiency
Challenges — Difficulty Ranking
How challenge modes rank in difficulty and reward efficiency
Core Mechanics
The Iron Nest tier list ranks every entity in the game — shell types, turret upgrades, map tools, challenge modes, and story choices — on an S/A/B/C scale based on overall utility, cost-effectiveness, and progression priority. S-tier items are universally valuable and should be unlocked first: HE shells for area destruction, the coordinate grid for precise targeting, and the FDC pause challenge for leaderboard scoring. A-tier items are strong but situational: AP shells for hardened targets, the Iris tool for long-range missions, and batch-targeting challenges for experienced operators. B-tier items fill niche roles: star shells for night operations only, phosgene gas for moral-choice story paths, and precision challenges for advanced players. C-tier items are the weakest or most limited: training rounds with zero combat value, smoke screens that are rarely needed, and blind-fire challenges that punish the operator heavily. Each ranking includes cost-benefit analysis comparing resource investment against tactical return, helping operators prioritize their skill development and unlock sequence.
Advantages
The tier list provides clear prioritization guidance for operators at every stage of progression, from first-time players deciding which shell to load to veterans optimizing their challenge mode loadouts. S-tier items represent the optimal investment — unlocking HE shells first maximizes early-game effectiveness, while the coordinate grid and FDC pause challenge deliver the highest return on time spent learning. A-tier items complement S-tier choices rather than replacing them, filling tactical gaps that S-tier cannot cover alone. The cost-benefit analysis for each ranking prevents operators from wasting resources on low-impact unlocks. The tier list also reveals the game's design philosophy: every item has a legitimate use case, but some are universally valuable while others are situational. This clarity reduces decision paralysis and helps operators build competence systematically.
Challenges
The tier list's primary limitation is that rankings reflect general utility rather than specific mission requirements — a C-tier shell like smoke can be essential in the rare missions that require visual screening, making tier placement potentially misleading for niche scenarios. The S/A/B/C scale lacks granularity within tiers: AP and HCHE are both A-tier but serve very different tactical roles, which the single letter grade obscures. The cost-benefit analysis assumes standard progression, but operators who pursue faction-specific story paths may find B-tier items more accessible and effective than S-tier alternatives that are locked behind faction reputation requirements. Tier rankings also shift with game updates — new shells, challenges, or balance changes can invalidate previously accurate tier placements, requiring the wiki to maintain version-specific tier lists for historical accuracy. The tier list format also tends to create a herd mentality where operators all pursue the same "optimal" unlock sequence rather than exploring the full game.
Frequently Asked Questions
Should I unlock B and C tier items?+
How often do tier rankings change?+
Is the tier list the same for challenge modes?+
Quick Tips
Unlock S-tier items first — HE shells and the coordinate grid provide the biggest impact per resource invested. Once you have S-tier basics, move to A-tier items that fill tactical gaps (AP for hardened targets, Iris for long-range). Save B and C-tier unlocks for when specific missions require them. This practice becomes increasingly important during extended sessions where fatigue and repetition can lead to complacency and costly mistakes.
Do not chase tier rankings blindly — a C-tier smoke shell can be essential in missions requiring visual screening, and B-tier star shells are irreplaceable during night operations. The tier list reflects general utility, not absolute importance. Every shell type has at least one scenario where it is the optimal choice.
Revisit the tier list after each game update, as balance changes and new content can shift rankings. A shell that was A-tier may drop to B if a new shell outperforms it, or a challenge mode may rise from B to A if a new scoring strategy is discovered by the community.
Featured
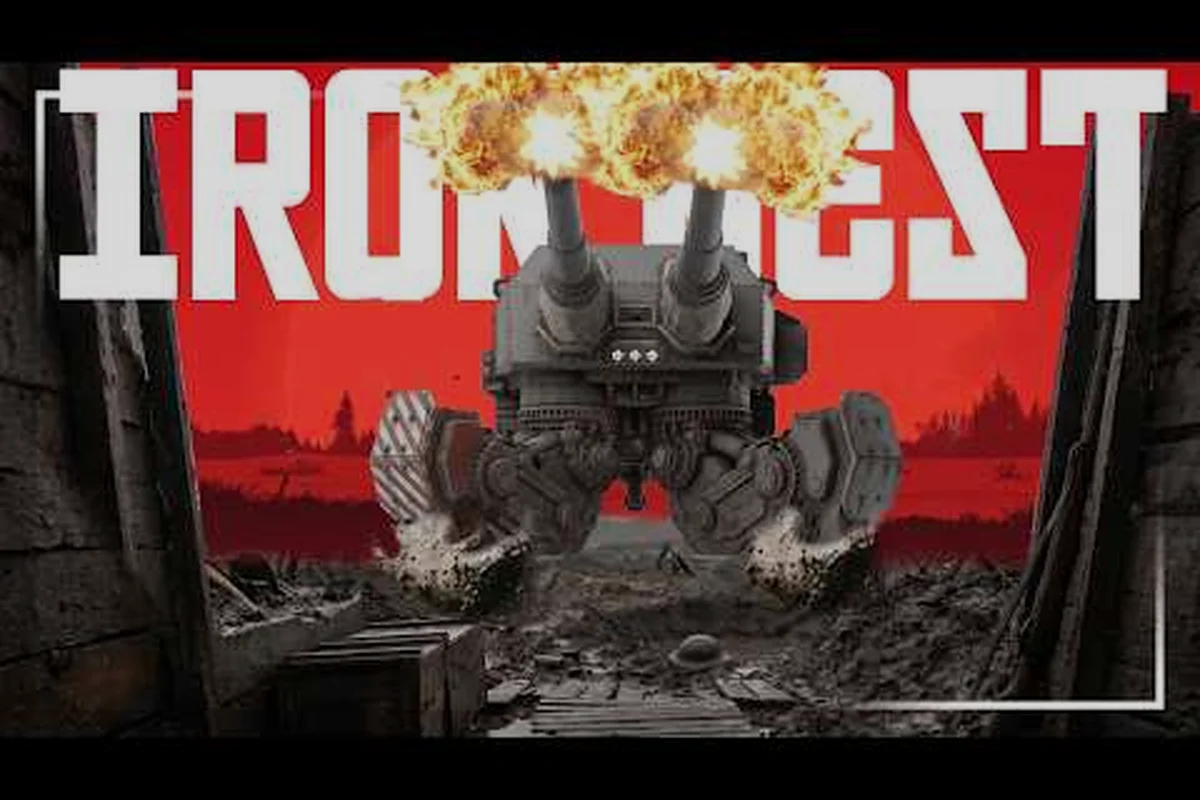
Iron Nest Best Shells Ranked: Damage, Range & Cost Compared
Find the best shells ranked in Iron Nest with our complete ammo tier list. Compare AP, HE, chemical, and incendiary rounds for every combat scenario.
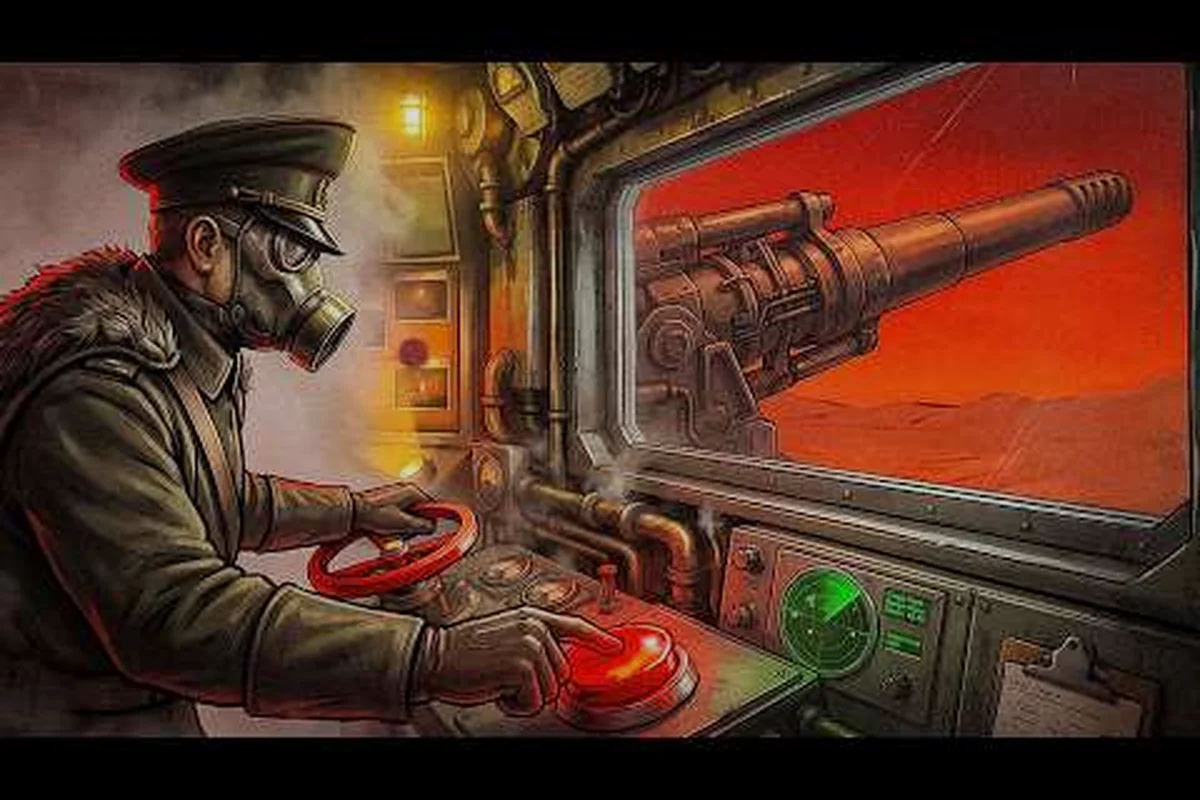
Iron Nest Tier Lists: Shell, Ability, and Challenge Rankings
Comprehensive tier rankings for Iron Nest shells, abilities, unlocks, and challenges to help you prioritize your requisition budget.
Iron Nest Unlock Tier List: Best Research Priority Path
Iron Nest unlock tier list ranking every research node from S to D tier. Learn the best Iron Nest progression path and research priority order for fast early-game unlocks.
All Articles

Iron Nest Best Shell for Damage: HE vs Phosgene Breakdown
Find the best shell for damage in Iron Nest with our tier list. Compare AP, HE, and premium rounds against armor, bunkers, and vehicle targets.
Iron Nest Shell S Tier Ranked: Top Ammo Picks for 2026
Iron Nest Shell S Tier breakdown: the strongest ammo types in the dieselpunk artillery sim, ranked by damage, range, and battlefield effectiveness.
Iron Nest Ability Tier List: Best Turret Skills Ranked
Complete Iron Nest ability tier list ranking every turret skill from S to D tier, with synergy combos, progression tips, and best abilities for your loadout.
Iron Nest Ammo Tier List: Every Shell Ranked by Category
Complete Iron Nest ammo tier list ranking every shell type from S-tier workhorses to niche picks. Updated for 2026 with usage tips and meta picks.
Iron Nest Challenge Tier List: Ranked Difficulty Guide
Iron Nest challenges ranked from easiest to hardest. See which challenge modes reward the most progress and which demand peak ballistic precision.
Iron Nest Shell Tier List: S to F Ranking for Every Round
Complete Iron Nest shell tier list ranking every ammo type from S to F. Compare AP, HE, smoke, and star shells with damage, range, and tactical uses for 2026.
Iron Nest Shell C Tier Guide — Niche Rounds Ranked
Iron Nest shell C tier picks often get dismissed, but each round has a niche where it dominates. Here's when to load them and when to swap for S or A tier.