
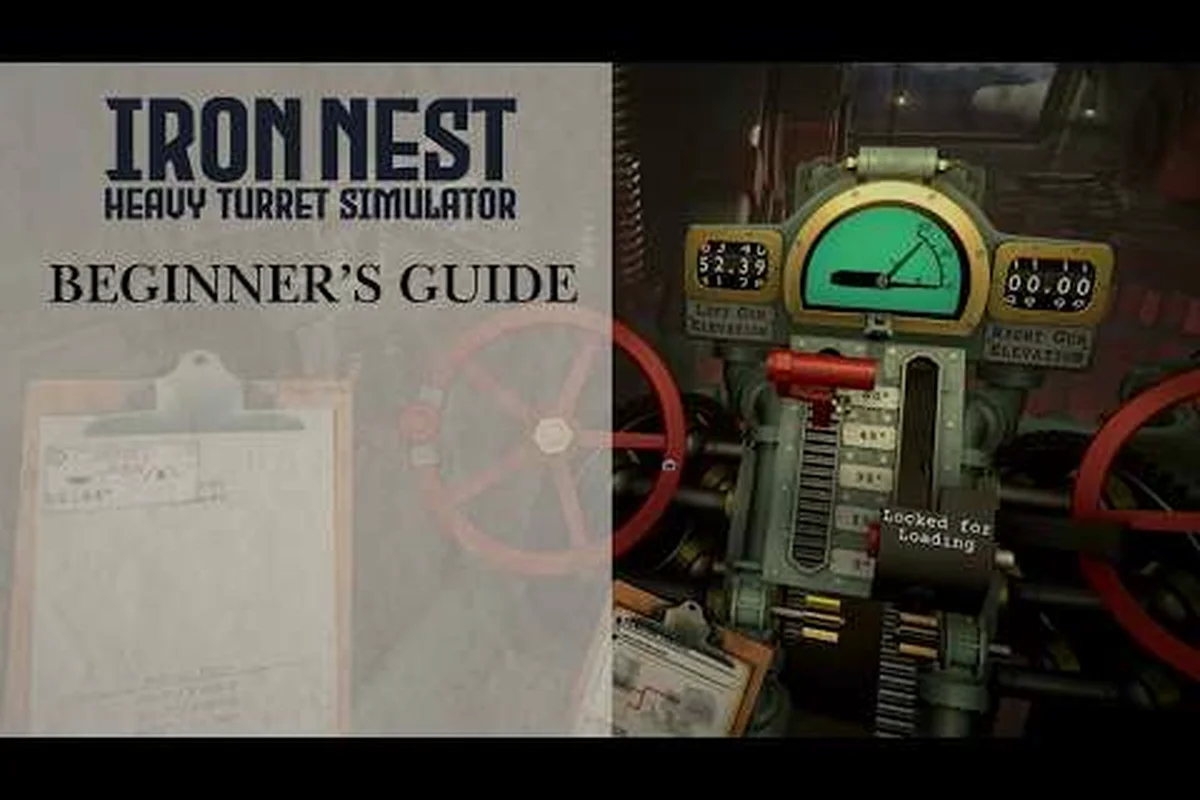
If you have ever lined up a target in Iron Nest, swung the turret onto the heading, and watched the shell land two hundred meters short, you already understand why the ballistic calculator is the single most important instrument on your gun platform. This ballistic calculator guide walks new and intermediate gunners through every dial, lever, and printed line on that brass-bound box, from the powder charge you dial into the breech to the bearing and elevation on the Firing Card you hand back to the loader. By the end, you will be able to produce a reliable fire solution on your first or second ranging shot rather than burning through six or seven salvos on a single target. Get comfortable with the calculator now, because every minute you spend inside Iron Nest depends on the numbers it prints.
What the Ballistic Calculator Does in Iron Nest
The ballistic calculator in Iron Nest is the only object on the turret that knows the answer to the one question that matters: where will the shell actually land if I fire it right now? Wind, distance, barrel wear, propellant temperature, and the type of shell loaded into the breech all push that answer around, and a human gunner cannot hold all five variables in their head while also tracking a moving target on the Tactical Map. The calculator does that math for you, but it needs clean inputs from you first.
-
Star shells illuminate night sectors for follow-up HE engagements
-
Teleprinter order format reveals which faction issued the fire mission
-
The six-step firing loop is the core mechanic every operator must master
-
Calibration missions test your ability to measure range and plot targets
-
Powder charge selection affects range, arc, and shell travel time
-
Tactical map plotting requires precise coordinate and bearing entry
-
Spotter reports must be triangulated from at least two bearing lines
-
The ballistic calculator guide covers input procedures, output interpretation, and manual override techniques in a single workflow
-
Calculator input accuracy is the primary determinant of firing solution quality — garbage in produces garbage out at every range
-
The guide's sanity-check section teaches crews to spot corrupted inputs by comparing calculator output against known range-charge pairs
How the Calculator Fits Into a Fire Mission
A fire mission in Iron Nest moves through six stages, and the calculator is the bridge between the third and fourth. First, High Command transmits a contact report through the Teleprinter, including grid coordinates and a target description. Second, the spotter plots those coordinates on the Tactical Map using the dividers and a grease pencil. Third, the gun captain reads the plotted coordinates into the calculator by setting range dials and entering the target's observed movement. Fourth, the calculator prints a Firing Card. Fifth, the loader sets Powder Charge and shoves the right shell into the breech. Sixth, you traverse and elevate the turret to the values on the card and fire.
When players say the calculator "feels broken," they usually mean one of the inputs upstream was wrong: a mis-read grid, a dial turned one click past the number, or a charge selected before the calculator had finished its drum cycle. Treat every printed Firing Card as a chain of trust that starts at the Teleprinter and ends at the breech. The ballistic calculator guide concept is essentially this chain of trust made explicit, because each link has a failure mode that costs a salvo and a morale drop.
Reading the Firing Card Output
The Firing Card is a slip of paper that the calculator spits out of the slot on its front panel. It is small, the type is dense, and the line of fire can be obscured by ink smears, so learning to read it quickly is the difference between a five-second response and a fifteen-second one.
Decoding Bearing, Elevation, and Charge Numbers
Every Firing Card in Iron Nest prints three core values plus a handful of secondary ones, and the order never changes once you learn it. From top to bottom, the card reads: range in meters, Bearing in mils (the horizontal direction the barrel must face), Elevation in mils (how far the barrel must tilt up), and the Powder Charge number from 1 to 6. Below those four lines you will see a one-letter shell recommendation: A for AP (Armor-Piercing), H for high-explosive, and S for star cluster or chemical depending on the mission.
| Card Field | What It Means | Common Mistake |
|---|---|---|
| Range (m) | Distance to target along plotted line | Forgetting to add observer altitude |
| Bearing (mils) | Horizontal traverse direction | Confusing mils with degrees |
| Elevation (mils) | Vertical barrel tilt | Reading the elevation line as range |
| Powder Charge | Propellant level 1-6 | Picking charge before card finishes printing |
| Shell Letter | Recommended ammunition type | Loading A when High Command called for H |
A reliable habit when you first take the calculator live is to read each line aloud to the loader before you reach for the traverse handle. That single habit eliminates the most common error in Iron Nest runs, which is loading Charge 4 when the card actually said Charge 2, because both numbers are in the same column and the gun captain glanced at the wrong row.
Choosing Powder Charge and Elevation
Powder charge is the single setting that most directly controls where the shell lands, and it is the one setting beginners consistently under-use. Iron Nest offers six charge levels, and the calculator's job is to recommend the lowest charge that still reaches the target so you save barrel life and reduce muzzle flash that betrays your position.
Powder Charge Levels Explained
Each charge level corresponds to a roughly fixed range band, and the calculator's recommendations fall inside those bands almost every time. Charge 1 covers very short urban engagements, while Charge 6 is reserved for targets beyond the spotting line on the outermost edges of the map. Most of your rounds in a standard run will use Charge 2 or Charge 3 because most fights happen in mid-range open ground.
| Charge | Practical Range | Typical Use | Barrel Wear |
|---|---|---|---|
| Charge 1 | Under 600 m | Urban, rooftop targets | Minimal |
| Charge 2 | 600-1,200 m | Default mid-range | Light |
| Charge 3 | 1,200-1,900 m | Open fields, light vehicles | Moderate |
| Charge 4 | 1,900-2,800 m | Heavy armor, batteries | High |
| Charge 5 | 2,800-3,600 m | Distant columns | Heavy |
| Charge 6 | 3,600+ m | Maximum range, desperation | Severe |
Elevation works the same way: a larger elevation number tilts the barrel higher, which throws the shell in a longer arc. For close targets the calculator prints small elevations between 50 and 200 mils; for distant targets it prints between 400 and 700 mils. If your printed Elevation value seems unusually large, double-check that you read the range line correctly, because a range entered in kilometers instead of meters will push elevation off the chart and the calculator will print an error code instead of a usable number. If you want to go deeper into elevation behavior after you have the basics down, the elevation angle reference covers the geometry in detail.
Step-by-Step Fire Solution Workflow
A clean workflow turns the ballistic calculator from a confusing box of dials into a predictable tool that you operate without thinking. The sequence below works for every fire mission in Iron Nest, from the first ranging shot on a scout car to the final shell into a coastal bunker, and it scales naturally into the harder challenge modes later.
Plotting the Target on the Tactical Map
Step one is plot, and it is the step most players skip. Pull the contact report off the Teleprinter, unfold it, and read the grid string out loud. The first half of the string is the easting, the second half is the northing, and the grid on the Tactical Map is divided into 100-meter squares that match those strings directly. Use the dividers to step from the nearest grid line to the target coordinates, then press a sharp pin into the map at that exact intersection. Do not eyeball it; the calculator trusts that pin.
| Step | Action | Tool Used | Failure If Skipped |
|---|---|---|---|
| 1 | Read grid from contact report | Teleprinter | Wrong coordinates |
| 2 | Plot pin on Tactical Map | Dividers, pin | Off-target ranging |
| 3 | Measure range and bearing from pin | Range scale, protractor | Wrong mil values |
| 4 | Enter range into calculator | Range dial | Garbage output |
| 5 | Enter bearing into calculator | Bearing dial | Misdirected fire |
| 6 | Wait for drum cycle | None | Rushed, half-printed card |
| 7 | Read Firing Card aloud to loader | Card | Charge/elevation mismatch |
| 8 | Traverse and elevate turret | Gunlay handles | Missed shot |
If you are new to the full sequence and want to practice it end-to-end on a forgiving target, the first firing solution walkthrough breaks the same eight steps into a slow tutorial pace. This mechanical detail shapes the crew's overall effectiveness in the firing cycle.
Operating the Calculator Without Rushing
Once the pin is in the map, take the measured range and turn the range dial on the calculator's left side until the number matches exactly. The dial clicks one mil at a time, so you can feel each notch and avoid the half-step mistake that pushes every later calculation off by a meter per second. After the range is set, dial in the bearing using the smaller top dial, then key the calculator's crank three full turns. The internal drum will spin for about four seconds, the green ready-light will illuminate, and the Firing Card will slide out of the slot. Pull it straight, do not tear it, and read it aloud before you traverse.
Common Mistakes When Using the Calculator
Even experienced gunners make the same handful of mistakes, because the turret is loud, the Teleprinter is chattering, and High Command is shouting through the headset. Knowing what goes wrong in advance lets you spot the failure the moment it happens and correct it before a wasted salvo.
Troubleshooting Missed Fire Solutions
The most expensive mistake in Iron Nest is trusting the calculator when it should not be trusted. The calculator is honest about its limits: it prints an error code, not a Firing Card, when the input range falls outside the gun's capability or when the bearing wraps past 6,000 mils. If a card prints normally but the round lands wildly off, the input was wrong, not the math.
| Symptom | Likely Cause | Fix |
|---|---|---|
| Card prints error code, no values | Range outside gun envelope | Re-plot target, check observer altitude |
| Shell lands short, full charge | Range dial set one click low | Re-set range from pin, not memory |
| Shell flies wide left | Bearing dial reversed direction | Reset bearing from grid, not from guess |
| Card prints but loader has wrong shell | Letter line misread | Read card aloud, letter last |
| Elevation reads 000 | Calculator crank not finished | Wait for green ready-light, then pull |
| Range values jump between cards | Pin moved on Tactical Map | Re-plot from contact report |
A solid pre-fire check that catches most of these errors in under five seconds is to glance at the card, confirm that the printed range roughly matches the distance you measured on the map, then hand it to the loader. If those two numbers disagree by more than 200 meters, pull a fresh pin and start the workflow again. For more practice on catching exactly these errors, the calibration fire practice drills the same checks against a known target.
Advanced Tips for the Iron Nest Calculator
Once the basic workflow feels automatic, three small habits separate reliable gun crews from chaotic ones. None of them require any extra gear, only attention to the order of operations and to the people around the turret. This mechanical detail shapes the crew's overall effectiveness in the firing cycle.
First, never advance the Powder Charge before the Firing Card has finished printing. The temptation is real, especially when High Command is screaming for suppressive fire, but charging the breech on a guess wastes the shell and reveals your position to every counter-battery spotter on the map. Wait for the green light, pull the card, read it, and only then turn the powder handle.
Second, keep the Tactical Map clean. A grease pencil mark left over from the last mission can be mistaken for a live pin, and a stray pin hole from a previous ranging shot can throw off the dividers by a click. At the start of every mission, wipe the map down with a cloth and reseat your dividers at zero. Players who treat the map as a tool rather than decoration find that their first-shot accuracy climbs noticeably.
Third, build a verbal rhythm with your loader. The phrase "range, bearing, elevation, charge, shell" in that order, repeated before every shot, sounds mechanical but it cuts through headset chatter and forces both of you to engage with the card instead of guessing. Crews that develop this rhythm consistently reach higher challenge mode ranks because they waste fewer rounds on corrections.
If you want to round out your crew skills beyond calculator work, the Iron Nest overview on Steam and the community-driven Iron Nest wiki systems page both lay out how the calculator interacts with the broader firing loop. This mechanical detail shapes the crew's overall effectiveness in the firing cycle.
Frequently Asked Questions
What does the Iron Nest ballistic calculator actually compute?
It computes the three values that solve a fire mission in Iron Nest: range in meters, Bearing in mils, and Elevation in mils, plus the Powder Charge level and shell letter. Without those numbers the turret cannot produce a reliable fire solution against a moving or distant target.
How long does the calculator take to print a Firing Card?
Under normal conditions the drum cycle finishes in about four seconds after three full crank turns, and the card slides out as soon as the green ready-light illuminates. If the light does not come on, the crank is incomplete and the card is not yet trustworthy.
Which Powder Charge should I use by default?
Most mid-range engagements in Iron Nest use Charge 2 or Charge 3, and the calculator will recommend whichever fits the plotted range. Only step up to Charge 4 or higher when the card explicitly demands it, because higher charges wear the barrel and flash more visibly to enemy spotters.
Can I fire without a Firing Card if High Command is rushing me?
You can, but you should not. A blind shot almost always misses, wastes a shell, and gives away your turret position. Take the four seconds to let the calculator print; the salvo you save pays for the wait several times over during a long mission.
What does an error code on the Firing Card mean?
It means the calculator could not solve the inputs you gave it, usually because the plotted range fell outside the gun's envelope, the bearing wrapped past 6,000 mils, or the range and bearing numbers were entered in the wrong order.