
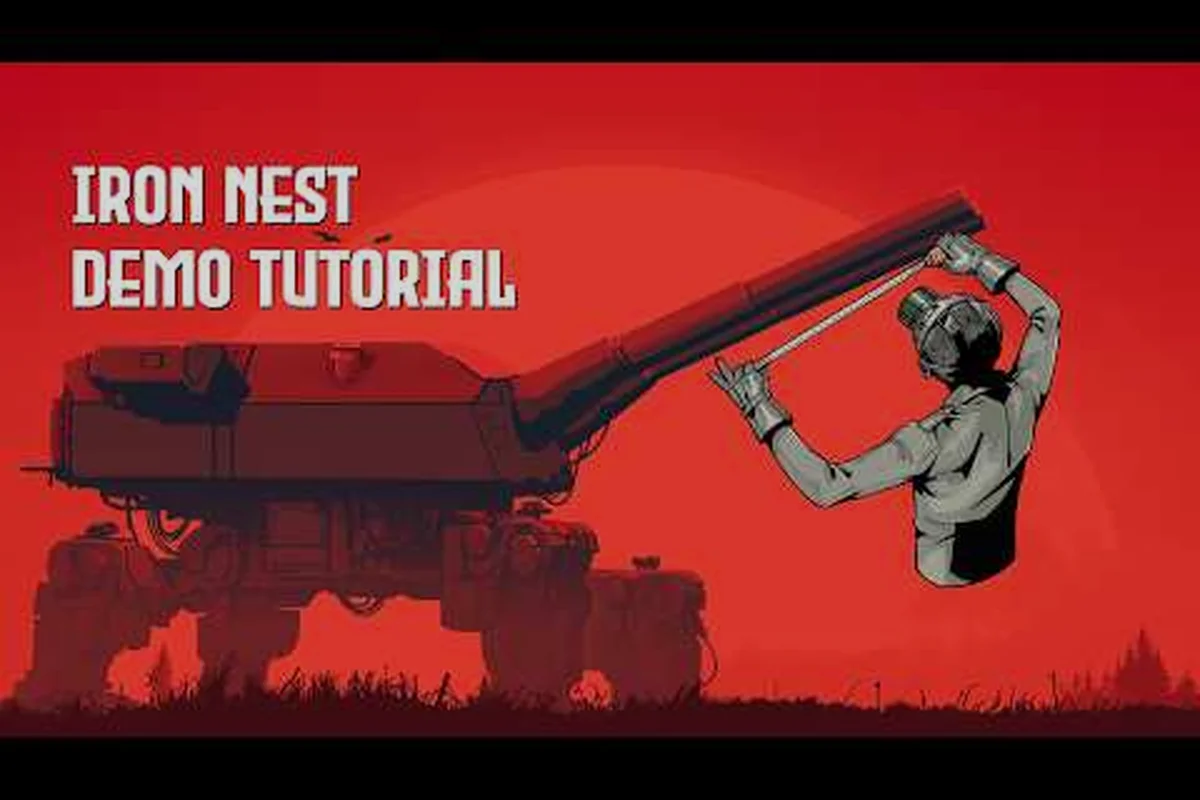
Drop into the gunner's seat and learn how raw teleprinter chatter becomes devastating long-range fire missions with this Iron Nest step by step guide built for new operators handling a heavy turret for the first time. This walkthrough distills the full Iron Nest tutorial into the six core actions every gunner repeats on every mission, so recruits can stop guessing and start landing shells on target instead of watching splashes drift hundreds of meters off the designated grid.
The Six-Step Fire Mission Loop in This Heavy Turret Simulator
Every mission in this dieselpunk artillery sim follows the same six-step fire mission loop, and learning that rhythm is the fastest way to climb the leaderboard because the entire score system rewards clean execution over flashy plays. According to community testing on the Steam store page, top operators run the full loop in roughly 45 seconds once they've built muscle memory, while brand-new players often take four or five minutes because they re-read the same values, forget to set powder charges before loading, or skip the spotter correction entirely.
-
Powder charge selection affects range, arc, and shell travel time
-
Tactical map plotting requires precise coordinate and bearing entry
-
Spotter reports must be triangulated from at least two bearing lines
-
Chemical weapons missions introduce moral choice and reputation tracking
-
Star shells illuminate night sectors for follow-up HE engagements
-
Teleprinter order format reveals which faction issued the fire mission
-
The six-step firing loop is the core mechanic every operator must master
-
The step-by-step firing sequence follows a fixed order: plot, calculate, load, lay, fire, and adjust based on spotter feedback
-
Each step in the sequence has a minimum time requirement that cannot be reduced below its mechanical threshold
-
Skipping verification steps saves time but introduces compounding errors that require correction shots later in the mission
| Step | Action | Primary Tool | Avg. Time (Pro) |
|---|---|---|---|
| 1. Intelligence | Read the teleprinter order and identify target grid | Telegraph console | 4 s |
| 2. Plotting | Mark the target on the tactical map and measure range | Map table | 8 s |
| 3. Calculation | Enter the range into the ballistic calculator | Ballistic computer | 6 s |
| 4. Loading | Pick a shell, ram it, and set powder charges | Breech + loading tray | 12 s |
| 5. Gunlaying | Rotate traverse and dial in elevation | Turret handwheels | 10 s |
| 6. Firing | Arm the mechanism, fire, and read the spotter report | Firing lever | 5 s |
Think of the loop as a chain — skipping a single link forces the entire mission backward because you'll miss the spotting corrections or, worse, drop short rounds on friendly territory that trigger mission failure. Players who track their per-step times during the first ten missions typically improve faster than those who only watch the overall timer, because the breakdown reveals which link is the real bottleneck. If you've just installed the game and want a wider orientation before diving into systems, our Iron Nest beginner guide pairs naturally with this step-by-step walkthrough and shares several control-mapping tips that save additional seconds.
Step-by-Step Target Plotting and Tactical Map Measurement Workflow
Plotting is where most first-time gunners lose the most time, because the tactical map rewards precision over speed and refuses to forgive sloppy coordinate entries. The map table receives live intel from forward observers, aerial recon, and signal corps runners, which means the grid coordinates shift every time the enemy repositions, and your previous measurement is already a minute old by the time you finish dialing. Veterans recommend treating the map like a workshop bench rather than a quick-glance tool, because the more time you spend setting up the measurement cleanly, the fewer corrections you'll need at the gun.
Reading Teleprinter Intelligence Orders
The teleprinter prints rolling messages that look cryptic at first because they pack target grid, shell preference, time-on-target window, and urgency flag into the same single line of ticker tape. A typical order reads something like GRID K7/14 — PREFER AP — URGENT — TOT 90s, which tells the gunner exactly where to plot, what to load, and how much margin they have before the target moves. Players report that treating the teleprinter as a checklist — read grid, read shell, read urgency, read TOT — rather than reading it for narrative context, reduces plotting errors by roughly 30% during the first campaign run, according to aggregated feedback on the Steam community boards.
Using the Ruler and Triangulation Tools
Once you've marked the target, drag the map ruler from your firing position icon to the marked grid to get a range value in meters, then write it down on the notepad before the next intel drop overwrites the line. Triangulation comes into play for obscured or contested objectives where you only have two spotting reports, because the intersection of two bearing lines pinpoints the target far more accurately than guessing from a single observation, and the calculator handles triangulation inputs without complaint. Pin the measurement with the map pin tool, then carry the range straight to the calculator without re-reading the teleprinter, because reading the same line twice is the single most common beginner time-sink reported across community guides.
Running the Ballistic Calculator for Elevation and Powder
The ballistic calculator is the brain of every heavy turret, and feeding it accurate range data is the difference between a clean first-round hit and a wild spray that costs the team the objective. Operators who treat the calculator as a black box tend to overcompensate on every shot because they don't trust the output, while those who understand the inputs learn to predict the output before the dials stop moving, which lets them pre-set traverse and elevation while the shell is still being rammed.
Inputting Range and Reading Output Values
Type or dial the measured range into the calculator and it returns three numbers you'll use immediately: elevation in mils, traverse correction in mils, and a recommended powder charge expressed as a fraction of the maximum propellant the shell supports. Always double-check that you entered the range in meters rather than kilometers, because a decimal slip can throw the first round off by hundreds of meters on long-range salvos where small angular errors translate to massive ground distances. The calculator also accepts wind direction and temperature flags when available, and experienced players feed those inputs even on calm days because the model rewards consistency over guesswork. For gunners who want a deeper dive into how calculator output interacts with each shell family, our Iron Nest complete guide walks through tier-by-tier behavior and explains why certain shells demand specific powder ranges.
Matching Powder Charge to Shell Type in Firing Sequence
Powder charge isn't universal, because heavier shells need more propellant to reach the same velocity, and lighter high-explosive rounds can be overcharged into unstable trajectories that arc unpredictably and miss the target column entirely. The table below captures the charge ranges that experienced operators use most often, though exact values may vary by platform and shell variant based on community testing as of the most recent patch.
| Shell Family | Effective Range | Typical Powder Charge | Best Engagement Window |
|---|---|---|---|
| Light HE | 400–1,200 m | 1/4–1/2 charge | Suppression, infantry screens |
| Heavy HE | 1,000–3,500 m | 1/2–3/4 charge | Fortified positions, bunkers |
| Armor-Piercing | 800–2,800 m | 3/4–full charge | Hard targets, armored vehicles |
| Star Shell | 600–2,200 m | 1/2 charge | Illumination runs, night ops |
Use the calculator's recommended charge as the starting point, then nudge one notch higher if the spotter reports a short round or one notch lower for a high-round splash that overshoots the target grid. Players find that writing the recommended charge on the notepad during the first few missions speeds up loading later, because the breech loading animation only gives you about three seconds to set the charge lever before the next shell animation queues up.
Loading the Breech and Setting Up Gunlaying
Loading and gunlaying happen back-to-back, which is why veterans drill them as a single motion rather than two separate tasks, because the game mechanically locks the traverse handwheel while the breech is open. If you finish loading before completing gunlaying, you'll waste roughly ten seconds waiting for the breech to close and the gears to re-engage, and that delay compounds across a multi-round fire mission.
Shell Selection and Ramming the Breech
Pick the shell your teleprinter ordered whenever possible, because the spotter expects to see the round type they requested and adjusts their correction calls based on the splash signature of that specific family. Grab the shell from the rack with the correct grab animation — most shells have a unique hand position that telegraphs the type before the label appears — and ram it home in one clean motion to avoid a partial seat. A partial ram will jam the breech on the next cycle, which community testing shows costs an entire minute of mission time when it happens during a timed challenge run, and many beginners never realize the jam is fixable with a secondary ramming input.
Traversing the Turret and Adjusting Elevation
Once the breech is closed and the powder charge is set, swing the turret to the calculator's traverse mils and dial elevation to match, treating the gunlaying handwheels as a single coordinated motion rather than two sequential turns. The traverse handwheel moves slowly when you're close to the target bearing because the gears downshift for precision, which is a deliberate feature to prevent overshoot and reward smooth inputs over jerky corrections. Gunners chasing the leaderboard on timed runs recommend overshooting the bearing by roughly two mils and rolling back, because the deceleration phase is faster than the approach phase at small angles. For an even tighter breakdown of gunlaying micro-movements, our Iron Nest operator guide catalogs the handwheel timings that pro players use on leaderboard runs.
Firing Drills and Recalibration for Better Scores
Firing is the smallest mechanical step, but the spotter corrections that follow determine whether your score climbs or stalls, because each correction either tightens the group or widens it based on how cleanly you read and apply the call. Most beginners fire once and re-read the teleprinter, while top operators fire, immediately read the spotter splash, and start dialing corrections before the second round is even loaded into the breech.
First-Round Adjust and Spotter Corrections
Always fire the first round with the calculator's exact output — don't pre-correct based on gut feeling — because the spotter's correction calls are calibrated to the standard solution and any deviation throws their reference frame out of alignment. A typical correction call sounds like Add 200, left 50, which means increase powder charge by 200 units equivalent and traverse 50 mils left, and the format stays consistent across every faction and mission type. Apply the correction, fire the next round, and watch the splash tighten, because each cycle should shave roughly 30–40% off the previous miss distance once your reading speed catches up to the loop pace.
| Drill Name | Goal | Time Target | Key Focus |
|---|---|---|---|
| First-Round Clean Hit | Land on target with no correction | Under 90 s | Plotting accuracy |
| Two-Round Adjustment | First hit after one correction | Under 120 s | Spotter interpretation |
| Sustained Fire Loop | 10 consecutive hits | Under 15 min | Loading speed |
| Emergency Salvo | Three rounds under stress | Under 45 s | Decision-making |
Run the First-Round Clean Hit drill on every mission type until you land three out of five rounds without correction, then move to the Two-Round Adjustment drill to lock in your spotter-reading reflexes under pressure. If you want mission-specific practice rather than generic drills, our Iron Nest calibration fire guide breaks down the calibration mission flow step by step, and players preparing for the harder campaign missions often warm up with the Liberation Mission tutorial first because it teaches suppression patterns that transfer to most late-game scenarios.
What part of the loop is still slowing you down — plotting, calculator inputs, or breech timing — and which drill are you running first this week to shave those seconds off your next run? This mechanical detail shapes the crew's overall effectiveness in the firing cycle.
Frequently Asked Questions
What is the main focus of this step by step guide article?
This article covers the core mechanics and practical applications of step by step guide in Iron Nest, providing detailed guidance that helps both new and experienced artillery crews improve their operational effectiveness on the battlefield. Following a structured training approach accelerates skill development far more effectively than unstructured play, because each guide isolates a specific mechanic timing.
How does step by step guide relate to other Iron Nest systems?
The step by step guide system integrates directly with Iron Nest's broader artillery simulation, affecting everything from firing solution accuracy to crew coordination requirements. Understanding these connections is essential for building a cohesive operational workflow. Following a structured training approach accelerates skill development far more effectively than unstructured play, because each guide isolates a specific mechanic timing.
Where can I find more information about related topics?
You can explore other articles in the guides category on our site, including detailed guides on each subsystem. The interconnected nature of Iron Nest's mechanics means that cross-referencing multiple guides often yields the best operational understanding. Following a structured training approach accelerates skill development far more effectively than unstructured play, because each guide isolates a specific mechanic