
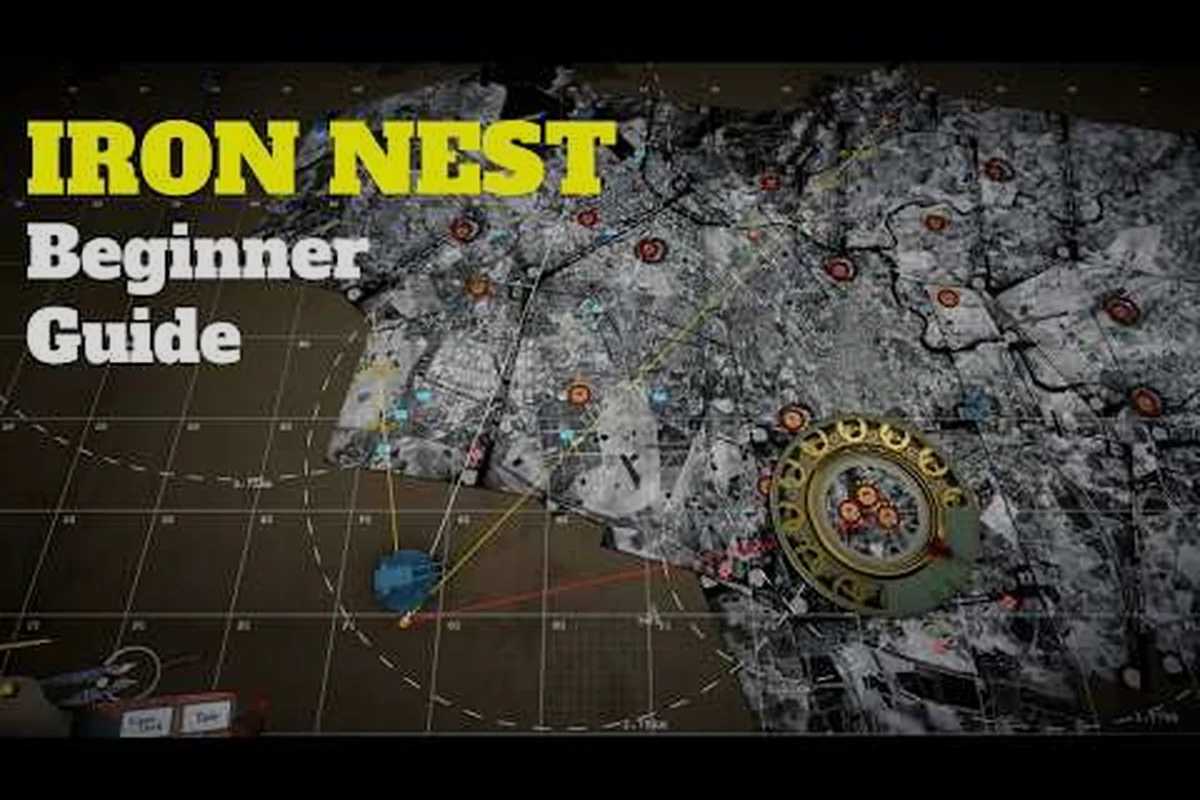
The Iron Nest first firing solution is the hands-on prologue that unlocks every shell tray and turret dial you will touch for the remainder of the campaign. New players who nail this calibration mission skip the first-hour slump and walk into region one with the full ballistic workflow already in muscle memory, while recruits who rush the tutorial spend the next three regions relearning the same dial-twisting sequence over and over. Discover the fastest path through the bunker as you prepare for the Iron Nest tutorial loop that gates the entire liberation chain.
Picture the dawn watch inside a dieselpunk concrete bunker: a brass teleprinter chatters, the map table lamp flickers, and a single shell must land exactly where the orders say it should. This complete walkthrough covers reading the teleprinter slip, measuring range on the tactical map, dialling values into the ballistic calculator, loading the shell tray, and firing the turret without premature detonation. The workflow shown here carries over to every campaign mission, from the liberation offensive in region two to the artillery-duel gauntlets of region fifteen.
What the First Firing Solution Actually Trains
Why the calibration mission matters
The first firing solution is the gateway to the Liberation Mission chain, which in turn unlocks all fifteen campaign regions on the strategic map. Players who treat the calibration as a throwaway prologue burn fifty or more shells on missed bearings during the early hours, because they never internalise the order-to-output loop. Players who learn the workflow properly bank the Cadet Marksman medal inside twenty minutes and start the second region with a permanent accuracy bonus on every gun they crew.
-
Calibration missions test your ability to measure range and plot targets
-
Powder charge selection affects range, arc, and shell travel time
-
Tactical map plotting requires precise coordinate and bearing entry
-
Spotter reports must be triangulated from at least two bearing lines
-
Chemical weapons missions introduce moral choice and reputation tracking
-
Star shells illuminate night sectors for follow-up HE engagements
-
Teleprinter order format reveals which faction issued the fire mission
-
The first firing solution requires completing the full six-step loop from teleprinter intake through spotter correction
-
New operators should prioritize calculator input accuracy over speed — a correct slow solution beats a fast wrong one
-
The initial calibration fire establishes the baseline correction factors that improve all subsequent shots in the mission
The Iron Nest team designed the prologue as an integration test for four independent systems: the teleprinter parser, the map ruler, the ballistic calculator, and the turret handwheel. Failing any one of those four systems produces a near-miss, and failing two in the same mission produces a complete miss. The bunker is small enough that you can re-enter each subsystem loop within a few seconds, which makes it the cheapest place in the entire game to fail and learn.
Outcomes gated behind the tutorial loop
Completing the calibration cleanly unlocks three persistent rewards that follow your account across every save slot, so even a failed Iron Nest first run still banks progress toward these milestones:, which directly influences the overall firing sequence timing and downrange accuracy in Iron Nest's artillery simulation.
| Reward | Effect | Persistence |
|---|---|---|
| Cadet Marksman medal | Tracks first-shot accuracy across every gun | Account-wide |
| Standard HE shell | 25 m blast radius, default propellant | Loadout pool |
| Apprentice Loader badge | +8% shell-loading speed | Gun crew XP |
| Calibration debrief note | Adds one free re-attempt per campaign day | Daily reset |
Players who optimise the first firing solution get all four rewards from the start, which compounds once dual-barrel turrets arrive in region three and shell-loading speed becomes the dominant factor in sustained artillery duels. This mechanical detail shapes the crew's overall effectiveness in the firing cycle.
Step 1: Read the Teleprinter Orders
Order format breakdown
Every teleprinter message contains four fields stacked in fixed order: call sign, grid reference, target type, and drop window. Confuse the field order and you will dial the calculator with the wrong range, which is the single most common cause of short or overshooting rounds during the early Iron Nest tutorial attempts. Reading order matters because each field maps onto a specific downstream action, and skipping ahead scrambles the entire ballistic chain.
The call sign is a three-letter prefix such as ITV or BMR that identifies which battery forwards the request. The grid reference is a six-digit coordinate that resolves to a 100-meter square on the tactical map and serves as the anchor for your ruler measurement. The target type tells the calculator whether to treat the point as infantry, light armour, or fortified emplacement, which adjusts the propellant charge it recommends. The drop window is a clock deadline that becomes critical once you later chain multiple targets inside liberation missions where the timer ticks down across three or four rounds simultaneously.
Sample teleprinter output
Training your eye on a realistic slip removes the panic that turns the first reading into guesswork. The table below reproduces a typical calibration-mission message exactly as it prints on the brass ticker tape:, which directly influences the overall firing sequence timing and downrange accuracy in Iron Nest's artillery simulation.
| Field | Example value | What to write down |
|---|---|---|
| Call sign | MNT-7 | Battery MNT, crew 7 |
| Grid reference | 482-719 | Plot on D6 quadrant |
| Target type | Fortified | Heavy shell, high charge |
| Drop window | 04:30 | Fire before the clock expires |
Always capture the grid reference first because every subsequent step depends on it being transcribed exactly as printed; a single off-by-one digit will plant your shell on the neighbouring building rather than the marked target. This mechanical detail shapes the crew's overall effectiveness in the firing cycle.
Step 2: Measure Range on the Map Table
Using the map scale
The tactical map sits to the left of the ballistic calculator and uses a 1:5000 paper scale, which means each printed centimetre equals fifty battlefield metres. Lay the supplied range ruler flat across the paper, anchor the zero edge on your own bunker icon, then pivot the ruler until it touches the plotted grid coordinate you transcribed from the teleprinter. Because the calibration bunker occupies a fixed corner of the map, the pivot motion stays consistent across all early missions, which is why the first firing solution is such a reliable way to drill the workflow into reflex.
Most new players slide the ruler a few millimetres too far and overshoot the target icon, which translates into 30-50 metres of range over-estimation and a shell that sails clean over the objective. Press the ruler tip to the exact centre of the grid marker, not the edge of the printed icon, and align the ruler's printed centre line with the bunker-to-target axis rather than the cardinal grid lines.
Converting map distance to metres
The calibration mission gives you a range ruler already calibrated to the 1:5000 paper scale, so the conversion is mechanical rather than mental. The table below summarises the centimetre-to-metre mapping that the calculator expects:, which directly influences the overall firing sequence timing and downrange accuracy in Iron Nest's artillery simulation.
| Map reading (cm) | Battlefield range (m) | Calculator input (m) |
|---|---|---|
| 2.0 | 100 | 100 |
| 4.0 | 200 | 200 |
| 6.0 | 300 | 300 |
| 8.0 | 400 | 400 |
| 10.0 | 500 | 500 |
| 12.0 | 600 | 600 |
Round to the nearest whole 50-metre bracket before you input the figure, because the ballistic calculator discards decimals and any partial metre gets floored to the lower interval anyway. Skipping this rounding step is the second leading cause of overshoots during the Iron Nest tutorial, and the fix is purely a matter of pen on paper before you touch the brass dials.
Step 3: Input Data into the Ballistic Calculator
Calculator inputs explained
The calculator panel accepts three numerical inputs: range in metres, shell mass in kilograms, and wind correction in degrees. Wind correction defaults to zero inside the calibration bunker because the underground firing chamber has no breeze, which simplifies the first firing solution considerably and keeps the early loop focused on range and propellant rather than meteorological variables. Later regions add crosswind and thermal drift, so memorising the three-input layout now saves a lot of relearning once the bunker walls come off.
Lift the protective cover, dial each value with the brass thumbwheels, and double-check the propellant charge selector on the right edge of the calculator before you read the output. The propellant lever has four positions corresponding to charges one through four — charge one is the light load for close infantry within 200 metres, charge two covers the 200-400 metre infantry band, charge three is the mid-range standard for light armour, and charge four is the full magazine dump reserved for bunkers beyond 800 metres.
Reading the calculated output
After you enter the last input, the output dial yaws for a moment and then settles on a stable elevation reading alongside a propellant confirmation. Do not fire until the dial has stopped trembling, because premature triggers will lock the turret on the wrong elevation angle and the shell will land short even if every other input was correct:
| Calculator input | Output field | Meaning |
|---|---|---|
| Range 350 m, charge 2 | Elevation 12° | Standard infantry elevation |
| Range 350 m, charge 2 | Charge result 2.0 | Confirms propellant load |
| Range 600 m, charge 3 | Elevation 19° | Mid-range standard |
| Range 900 m, charge 4 | Elevation 28° | Max range, bunker buster |
The calculator also outputs a small confidence flag in the corner that glows green when wind and barrel temperature are stable, yellow when one is borderline, and red when both inputs are drifting. Treat a red flag as a signal to reset and re-enter, because firing through a red flag is one of the surest ways to tank your accuracy score during the calibration.
Step 4: Load the Shell and Fire
Choosing the right shell type
The first firing solution offers a curated tray of three shells: standard HE, armour-piercing (AP), and smoke marker. The HE shell is your default for infantry and light cover, the AP round is reserved for armoured targets that show up occasionally during liberation missions, and the smoke marker is for spotting rounds during later range-finding missions where you need to confirm fall-of-shot before adjusting. Calibrating all three during the prologue unlocks their availability in your loadout pool for the rest of the campaign:
| Shell | Mass | Best target | Blast radius |
|---|---|---|---|
| Standard HE | 12 kg | Infantry, light cover | 25 m |
| AP round | 18 kg | Armoured targets | 5 m, high penetration |
| Smoke marker | 6 kg | Spotting rounds | Visual signal, no damage |
Setting turret bearing and elevation
After loading the shell, rotate the turret handwheel until the bearing scale at the top of the gun cradle matches the compass heading printed next to your grid coordinate. Elevation is set by cranking the elevation wheel until the output from the ballistic calculator matches the indicator strip on the right side of the cradle. Drop the propellant lever back to safe before every re-load, because an armed gun with a half-cocked trigger will explode if you nudge the barrel by accident during the reload.
The barrel temperature gauge on the left side of the cradle matters more than most players realise: the first three shots of any session run cold and require the calibration offsets that the calculator adds automatically, while the seventh or eighth shot in a sustained barrage runs hot and demands a manual correction of roughly one degree of elevation. Pairing this habit with the broader tips in the Iron Nest calibration fire guide keeps shell-on-target accuracy consistent across long artillery duels.
Strategy Tips for the Calibration Mission
Read orders before touching the calculator
Players who rush to the calculator dial in the wrong range half the time, and the average fix is to anchor every workflow around the teleprinter first. Scribble the grid, identify the target type, then walk to the map table only after the paper slip is in your hand; the few seconds you save by skipping the order read get wasted on corrective second shots that the moral-choice system registers against your commander's accuracy score.
Re-zero the calculator between rounds
Wind, barrel temperature, and propellant humidity all shift the ballistic solution by a degree or two once the gun has fired even one shot. Clear every input back to zero after a successful drop, then re-enter the new range from scratch, because re-using stale values will recycle elevation from the previous target and almost always produces a miss on a target at a different bearing. The behaviour carries forward to the liberation chain, and players who internalise the re-zero habit during the Iron Nest tutorial find their accuracy holds steady through the first three campaign regions.
Watch the newspaper for commander intent
Each correct or missed shot updates the campaign newspaper in the loadout screen, and a string of early misses shifts the moral stance of your commander in ways that alter spawn patterns two regions later. Treat the calibration mission as a dress rehearsal for the larger Iron Nest complete guide loop, because every shell you fire teaches the alignment system how aggressive or cautious you tend to play. For longer-term planning, the Iron Nest complete guide lays out how the early prologue decisions branch through the moral-choice system across the full fifteen-region campaign. If you want a deeper dive into crew management specifically, the Iron Nest operator guide covers how loader and spotter xp accumulate between missions.
Frequently Asked Questions
What does the Iron Nest first firing solution actually unlock?
The first firing solution unlocks the Cadet Marksman medal, the Standard HE shell, and the Apprentice Loader badge, which together permanently boost shell-loading speed by 8 percent across every save slot on your account. Structured practice produces measurable improvement faster than trial-and-error play.
How long does the calibration mission take?
A clean first run of the Iron Nest tutorial calibration mission runs about 18 to 22 minutes, according to community data posted on the Steam discussion board. Speedrunners who memorise the teleprinter format have cleared the entire prologue in roughly 12 minutes flat.
Can I skip the first firing solution and start the campaign?
No. The Liberation Mission chain is locked behind the calibration mission, and the strategic map greys out all fifteen regions until you complete at least one successful drop inside the bunker. The Iron Nest tutorial functions as the prologue gate, and there is no cheat console or debug command to bypass it on the live build.
What happens if I miss every shot in the calibration mission?
Missing all shots during the calibration mission does not fail the mission outright, but it lowers your accuracy score and delays the Cadet Marksman medal until your next clean drop. The most common cause of short rounds is an off-by-one grid transcription, so re-reading the teleprinter slip before each shot fixes most of those losses.
Are there alternative shell types I should use during the calibration?
The Iron Nest tutorial restricts the tray to HE, AP, and smoke marker shells only, even though the full game offers thirty unlockable ammo types across the campaign. Structured practice produces measurable improvement faster than trial-and-error play. This foundational technique supports advanced skills in later guides.