
Turret Controls
Complete Iron Nest turret controls guide — traverse and elevation handwheels, loading platform sequence, shell selector, powder charge levers, and dual barrel coordination
Introduction
Turret controls in Iron Nest are entirely manual and physical, requiring operators to master every lever, dial, and handwheel through hands-on practice. Traverse and elevation handwheels rotate the gun to target bearing and angle, the loading platform follows a strict left-to-right breech sequence, and dual barrels operate independently with thermal management considerations. Every control — from the shell selector lever and powder charge detents to the rammer and pressure gauge — serves a specific purpose in the 6-step firing loop. Learning their operations in the correct order is the foundation of competent turret operation and prevents the compounding errors that ruin accuracy.
Loading Sequence Steps
| Step | Control | Action | Timing |
|---|---|---|---|
| 1 | Shell Selector | Cycle to desired shell type | Before loading |
| 2 | Shell Rammer | Pull right to ram round into chamber | After selector |
| 3 | Powder Levers | Pull 1-6 levers matching calculator | After ramming |
| 4 | Traverse Handwheel | Rotate to match calculated bearing | After loading |
| 5 | Elevation Handwheel | Adjust to calculated angle | Last before firing |
Control Systems
Traverse & Elevation
Manual handwheels for horizontal and vertical turret aiming
Loading Platform
Multi-step shell loading sequence from platform to breech
Shell Selector & Powder
Choose shell type and powder charge before loading
Dual Barrel Coordination
Managing the left and right barrel independently for maximum fire rate
Breech & Safety Mechanisms
Safe operation procedures for the breech mechanism and firing sequence
Core Mechanics
Turret controls in Iron Nest are entirely manual and physical, requiring operators to manipulate levers, dials, pressure gauges, and handwheels for every action. The 5-step operation sequence begins with the shell selector dial (choosing the correct shell type and chamber), followed by the rammer lever (seating the shell with a firm push), powder charge levers (selecting the charge weight that matches the range band from the firing card), traverse handwheel (rotating the turret horizontally to align with the target bearing), and elevation crank (adjusting the vertical gun angle to the calculated degree). Each control has tactile feedback — the rammer clicks when the shell is fully seated, the powder levers lock into position with distinct detents, and the handwheels provide proportional resistance. Dual-barrel coordination requires setting both barrels independently when firing different shell types simultaneously. The traverse mechanism has a dead zone in the center that operators must account for during precise alignment. Learning the physical rhythm of all five steps in sequence is the fundamental skill that separates effective operators from those who waste shells.
Advantages
Manual turret controls create an immersive, skill-based gameplay loop where every action has tangible physical feedback. The shell selector clicks distinctly between positions, the rammer provides resistance that changes with shell weight, and the traverse handwheel demands sustained rotation for large bearing changes. This physicality means that skilled operators develop muscle memory for the 5-step sequence, achieving faster loading times and more consistent accuracy than beginners. The dual-barrel system adds depth — operators can set different shell types in each barrel and fire them in coordinated sequences for complex tactical effects. The dead zone in traverse and the need to reset elevation after recoil create genuine operational challenges that reward practice and mastery. Unlike automated turrets, every shot fired in Iron Nest is the direct result of the operator's choices and physical actions.
Challenges
The fully manual turret controls create a steep learning curve that can frustrate new operators. Each of the five steps requires precise physical actions, and a mistake at any stage — wrong shell selected, insufficient rammer force, incorrect powder lever, misaligned traverse, or off elevation — results in a wasted shot. The traverse mechanism has a center dead zone that requires extra rotations to cross, catching beginners off guard during large bearing changes. Elevation drift under recoil means operators must re-check and re-set the angle after every few shots, adding cognitive load during time-sensitive challenges. The dual-barrel system, while adding tactical depth, also doubles the control complexity when operating both barrels simultaneously. The physical effort required for sustained operation creates fatigue in marathon challenge modes, where operators must maintain precision over dozens of consecutive fire missions. There is no automation assistance — every action requires the operator's direct physical intervention.
Frequently Asked Questions
How do dual barrels work?+
What happens if I load the wrong shell?+
Can I skip steps in the loading sequence?+
Quick Tips
The shell selector dial must click into position before loading — if it feels loose, you are between positions and the breech will not align with the correct chamber. Always verify the selector position by checking the shell type indicator on the dial face before pulling the rammer. This practice becomes increasingly important during extended sessions where fatigue and repetition can lead to complacency and costly mistakes.
After seating a shell with the rammer, listen for the distinct click that confirms the shell is fully seated in the chamber. If you do not hear the click, push again with slightly more force. A partially seated shell can cause a misfire or breech obstruction that requires clearing before the next shot.
When crossing the traverse dead zone (approximately 5 degrees on either side of center), rotate the handwheel past the detent before fine-adjusting to your target bearing. Attempting to stop precisely within the dead zone results in sloppy alignment and wasted time as you overcorrect in both directions. This practice becomes increasingly important during extended sessions where fatigue and repetition can lead to complacency and costly mistakes.
Featured
Iron Nest How to Rotate Turret: Bearing & Traverse Tips
Master Iron Nest turret rotation with this bearing and traverse guide. Learn horizontal controls, gunlay steps, and how to align your barrel fast.
Iron Nest Turret Controls: Rotation and Loading Manual
Complete guide to Iron Nest turret controls including rotation, elevation, loading platform, shell selector, and dual-barrel coordination.
Iron Nest Dual Barrel Coordination: Timing & Alternation
Master dual barrel coordination in Iron Nest Heavy Turret Simulator. Learn barrel alternation timing, thermal load, and tactical firing patterns.
All Articles
Iron Nest Traverse & Elevation Control: Turret Aiming Guide
Master IRON NEST traverse control and elevation control for accurate turret aiming. Learn handwheel mechanics, speed limits, and ballistics coordination.
Iron Nest Elevation Handwheel Guide for Accurate Firing
Master the Iron Nest elevation handwheel with this in-depth control guide. Learn dial readings, traverse coupling, and accurate firing techniques.
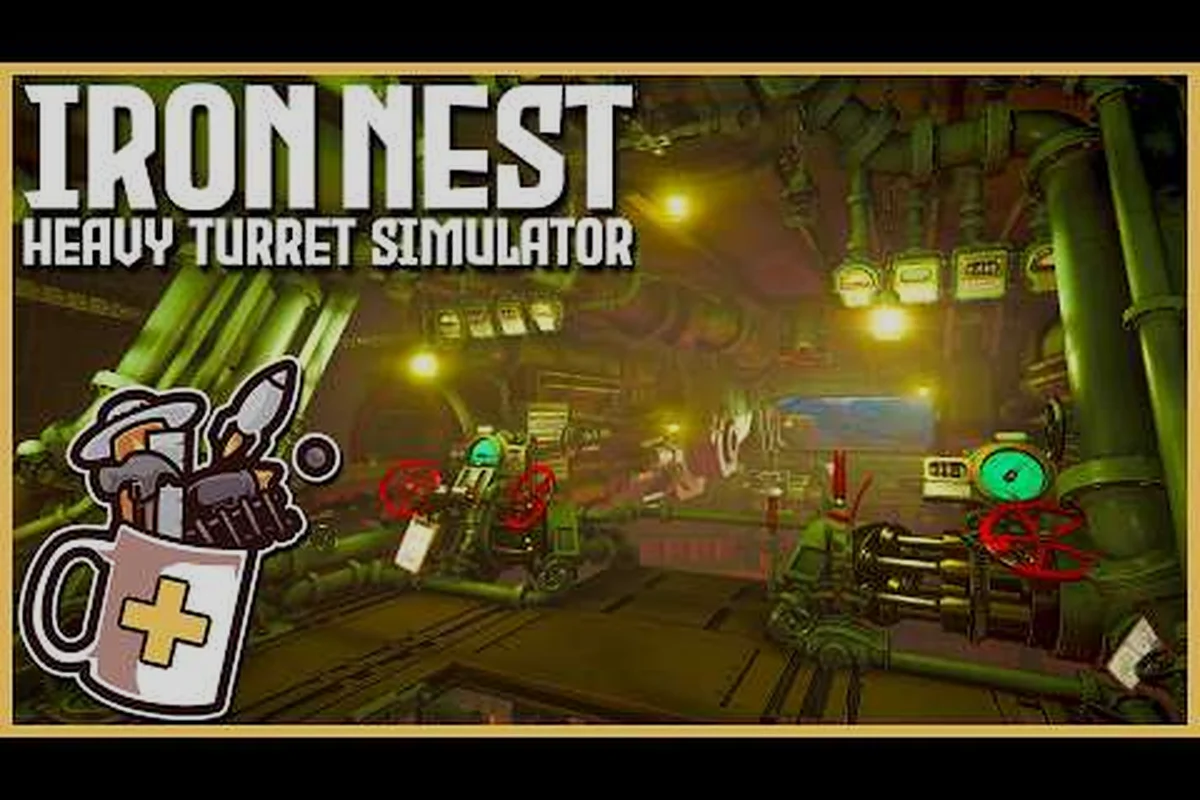
Iron Nest Loading Platform Guide: Reload Every Shell Right
Master the Iron Nest loading platform with step-by-step instructions for breech loading, propellant charges, and shell handling that keep your turret firing.
Iron Nest Loading Platform: Breech Loading Sequence Guide
Master the loading platform and breech loading in Iron Nest with our step-by-step sequence guide covering powder charges, shell types, and crew coordination.
Iron Nest Shell Selector Lever: Complete Loading Guide
Master the Iron Nest shell selector lever to pick AP, HE, smoke, or star shells. Full guide on positions, loading timing, and ammo tier strategy inside.