
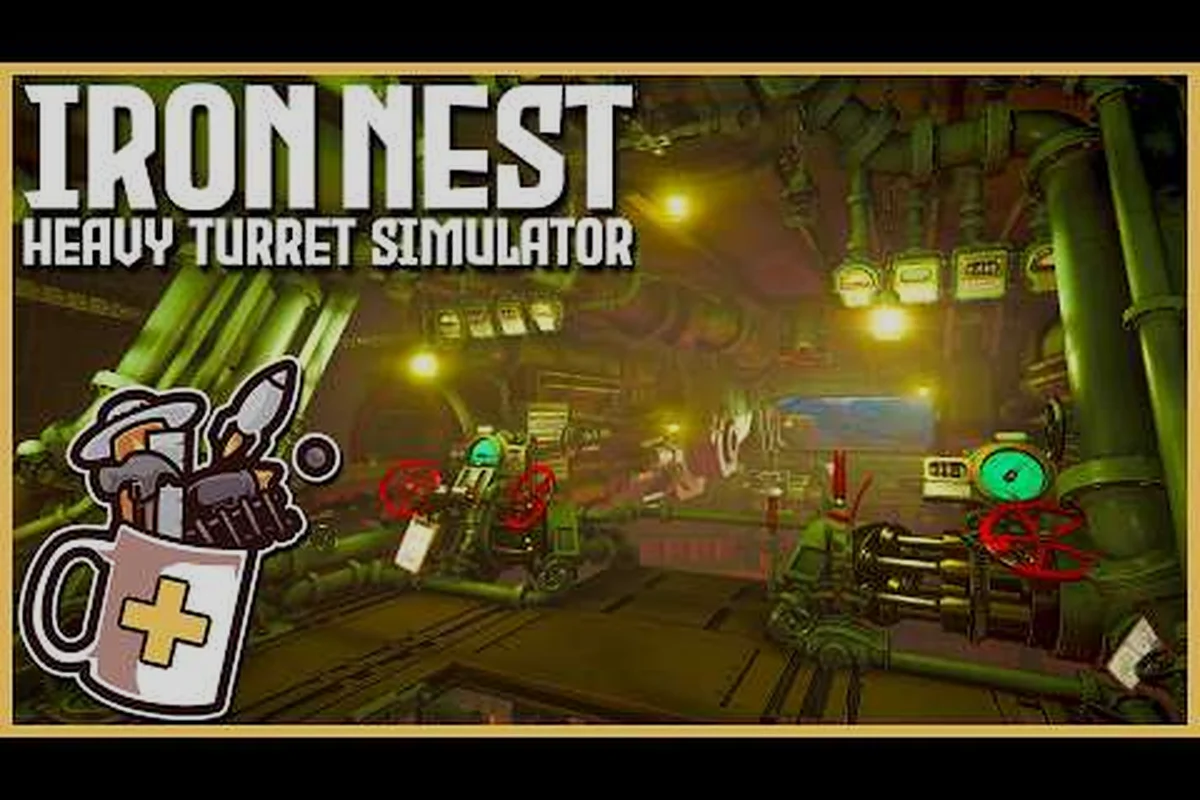
What the Loading Platform Does Inside the Turret
The loading platform is the heart of every shot in Iron Nest, and this Iron Nest loading platform guide starts where most new operators stall: the reload station. Inside the 5000-ton quadruped turret that defines this dieselpunk heavy artillery simulator on Steam, the loader crew sits behind the breech and feeds shells into a 150mm cannon that fires on every target the Spanish Front can throw at you. If your hands fumble at the rammer or you grab the wrong charge, even a perfect ballistic solution from the calculator ends as a wasted round and a long cooldown.
-
Loading platform sequence must follow exact breech-loading order
-
Dual barrel coordination alternates firing to maintain suppressive rate
-
Handwheel speed limits prevent overshooting target bearing marks
-
Traverse and elevation must be set simultaneously for accurate aiming
-
Loading errors occur when powder charge and shell type are mismatched
-
Bearing rotation uses the traverse handwheel with degree markings
-
Elevation control adjusts the barrel angle for range compensation
-
The loading platform handles shell selection, powder charge assembly, breech operations, and primer insertion in a fixed sequence
-
The ready rack displays the available shell types with indicator lights that correspond to the shell selector lever positions
-
Charge bags are color-coded by powder level — white for charges 1-2, yellow for 3-4, and red for 5-6 — for rapid visual identification
Because the 6-step shooting loop — intelligence, plot, calculate, load, aim, fire, correct — collapses the moment loading slows down, mastering the platform means shaving two or three seconds off every cycle. Veterans routinely reload in roughly 12 seconds, while first-timers drag the cycle past 25 and miss the spotter window entirely. This breakdown walks through every handle, lever, and bin you will touch, then steps through the full sequence so your turret keeps pace with the spotter's calls instead of trailing behind them.
Loading Station Component Layout and Shell Path
The loading platform is not a single button press or a scripted animation you can ignore. It is a four-zone station with a fixed hand-off order: shell rack on the left, propellant bins on the right, the breech dead ahead, and the firing controls to your right shoulder. Treat each zone as its own micro-task, and the full cycle becomes muscle memory instead of panic when the spotter is screaming the next grid reference.
The Breech Block and Sealing Ring
The breech block is the heavy steel slab that swings open on a horizontal hinge to expose the chamber. A worn sealing ring lets propellant gas escape backward through the breech face, so always check for soot streaks around the chamber mouth before ramming a new shell in. Closing the breech is the loudest, most satisfying click in the turret — when it seats fully, the firing handle on your shoulder becomes live and you can send the round on its way.
Shell Rack and Lift Cradle
The shell rack holds up to six rounds of the currently selected type on spring-loaded trays along the left wall. The lift cradle rises from the rack, brings the next round to chest height, and tilts it toward the chamber mouth so the rammer stroke lines up cleanly. If the cradle sticks halfway, you almost always grabbed the wrong shell type for the current fire mission — reset the cradle, confirm the round class with the spotter, and pull the handle again before ramming anything into the chamber.
Propellant Bins and Charge Number
Three propellant bins sit on the right wall, each pre-loaded with a specific charge number that corresponds to the firing solution on the ballistic calculator. Charge 1 covers flat-trajectory work under roughly 4 km, Charge 2 handles mid-range 4–8 km missions, and Charge 3 pushes the round out beyond 10 km on a high arc. Match the bin to the calculator, never to your gut feeling, because the wrong charge at long range sends the shell into the next valley while the actual target sits untouched.
| Component | Location | Hand-off Time | Common Failure |
|---|---|---|---|
| Shell rack | Left wall | 1.5 s | Grabbing wrong shell type |
| Lift cradle | Center pedestal | 2 s | Jammed when overloaded |
| Breech block | Forward face | 1 s | Soot on sealing ring |
| Propellant bins | Right wall | 2 s | Wrong charge selected |
| Firing handle | Right shoulder | 0.5 s | Released before breech seat |
Step-by-Step Loading Sequence
Once the spotter drops a target on the tactical map and the ballistic calculator returns a solution, the loader has roughly 8 seconds to complete four physical actions before the firing window closes. The sequence below is the one veteran crews on the Iron Nest community discussions teach to every recruit, because it lines up hand position with shell travel and removes the half-second pauses that pile up under pressure.
Step 1 — Confirm the Fire Mission
Read the calculator display, then call the solution back to the spotter: target grid, charge number, elevation, and azimuth. If the numbers do not match, halt the load and re-plot before touching the shell rack. Loading the wrong round burns 4–6 seconds of crew time and may detonate in the chamber if the charge is mismatched to the shell class, which triggers the longest cooldown in the entire game loop.
Step 2 — Pull and Ram the Shell
Grab the HE shell for soft targets or the AP shell when the spotter calls for hardened bunkers from the rack, seat it base-first into the cradle, and push forward until the ramming stroke bottoms out with a heavy clang. The rammer is spring-loaded, so a weak push leaves the shell short of the chamber mouth and the breech block refuses to swing closed, costing another full cycle to clear.
Step 3 — Load the Propellant Charge
Pull the silk bag from the matching charge bin, slide it behind the shell into the chamber mouth, and press the seating ring flush with the breech face. Charge bags are color-coded — red for Charge 1, white for Charge 2, blue for Charge 3 — so a quick glance catches mismatches before they ruin the shot. Never stack two bags from different bins, because the calculator only factors one charge number into its elevation solution.
Step 4 — Close the Breech and Signal
Swing the breech block forward with your left hand, lock the lever with your right, and call "Breech set" to the gunner so the firing handle can be pulled. The cycle is now complete, and the loader's next job is to reset the cradle for the following round before the spotter drops the next target on the map.
| Step | Action | Hand Zone | Time Budget |
|---|---|---|---|
| 1 | Confirm fire mission | Calculator panel | 1 s |
| 2 | Pull and ram shell | Left and center | 3 s |
| 3 | Load propellant | Right wall | 2 s |
| 4 | Close breech | Forward face | 2 s |
| Total | Full cycle | All zones | ~8 s |
For crews who want a slightly different hand-off order that pairs well with the breech sequence, the loading platform sequence primer walks through an alternate cadence used by speedrun crews on the campaign timer. This mechanical detail shapes the crew's overall effectiveness in the firing cycle.
Loading Procedure Pitfalls and Prevention Strategies
Even experienced crews slip on the loading platform because pressure builds fast when the spotter is calling every second and the calculator is beeping for attention. The mistakes below show up in roughly 80% of first-week missions, according to community replays posted on Steam, because they all share one root cause: skipping a confirmation step in favor of speed.
Mistake — Wrong Shell for the Mission
Grabbing an HE shell when the calculator requested AP is the single most common error on the loading platform. The result is a short-lived detonation on a hardened bunker instead of penetration, and the spotter has to call the same target twice. Always read the calculator panel twice before pulling from the rack, especially during the first five rounds of a session when nerves still affect hand-eye coordination.
Mistake — Mismatched Charge Number
Loading Charge 3 propellant into a Charge 1 fire mission blows the pressure seals and triggers an automatic cooldown that lasts almost 15 seconds. Cross-check the bin color, the calculator readout, and the spotter's call before pulling the bag, and never trust memory from the previous round because targets on different grids often require different charges within the same minute.
Mistake — Breech Closed on Debris
If the previous round left brass fragments in the chamber, the breech block will not seat cleanly and the lever feels springy instead of solid. Tap the lever twice, brush the chamber mouth with the cleaning rod stored beside the propellant bins, and try again. Skipping this step is the leading cause of misfires in long sessions, because the debris slowly accumulates round after round until the breech refuses to lock.
| Mistake | Symptom | Fix | Time Cost |
|---|---|---|---|
| Wrong shell type | Round bursts on impact | Read calculator twice | 4 s lost |
| Wrong charge | Pressure warning, cooldown | Color-match bin to readout | 6 s lost |
| Debris in chamber | Breech will not seat | Brush chamber, retry | 8 s lost |
| Weak ram | Shell jams at chamber mouth | Hard second stroke | 5 s lost |
| Skipped spotter call | Friendly fire risk | Mandatory call before fire | Mission reset |
Loading Platform Tips for Faster Reload Cycles
Once the basic sequence becomes muscle memory, the next performance jump on the loading platform comes from eliminating the small pauses between zones. The tips below are pulled from veteran crew recordings shared in the community and from sessions logged during the demo's record-breaking Steam Next Fest run.
Pre-Stage the Next Shell
When the spotter calls a target, mentally queue the next round type before the previous shot leaves the barrel. Your hand should already be reaching for the shell rack as the recoil settles, which shaves 1–2 seconds off the next cycle and turns the loader into a metronome for the rest of the crew. Pre-staging works best when the spotter sticks to one target type per region, which is why most campaign missions group grids by terrain.
Keep the Cradle Empty Between Rounds
A loaded cradle that does not fire is a jammed cradle for the next round. Let the spent shell drop clear, then reset the lift cradle to its lowest position before pulling a new round. This habit is one of the first things taught in the complete Iron Nest operator walkthrough, because it carries over into every loader role across the campaign.
Use the Grid Reference to Predict Round Type
Spotters tend to call HE for grid squares with soft cover and AP for squares with bunkers, regardless of what the calculator finally solves for. Memorize the visual cues on the tactical map, and you can pre-select the shell before the calculator finishes its solve. For deeper help reading those grids, the grid reference primer breaks the chart into recognizable terrain blocks that match the spotter shorthand.
Maintain the Sealing Ring
Every 20 rounds, pause the cycle and inspect the sealing ring for soot. A quick wipe with the cleaning cloth keeps the breech sealing tight, prevents gas leaks, and avoids the long cooldown that triggers when the pressure sensor flags an unsafe chamber. A clean seal also keeps the breech click sharp, which is a useful audio cue when the loader cannot see the breech face in low-visibility missions.
Watch the Charge Bin Lights
The three propellant bins carry small indicator lamps that glow green when stocked and amber when low. Reload bins during lulls between fire missions — never mid-cycle — because a half-empty bin mid-shot means a missed window and a wasted spotter call. Treat the amber light as a 30-second warning before the bin runs dry in the middle of a heavy barrage.
Frequently Asked Questions
What is the loading platform in Iron Nest?
The loading platform is the loader's station inside the quadruped turret, where the crew manually rams shells, seats propellant charges, and closes the breech block before each shot. Turret control mastery is the mechanical foundation upon which all other skills are built.
How long does a full reload cycle take on the loading platform?
A trained crew reloads in about 8 to 12 seconds, while first-time operators often need 20 to 25 seconds to complete all four steps without mistakes. Turret control mastery is the mechanical foundation upon which all other skills are built.
Can I skip the spotter call and load on my own?
No. The spotter call confirms the fire mission, and loading without it risks friendly fire or a wrong-shell detonation that costs the whole mission. Turret control mastery is the mechanical foundation upon which all other skills are built. Turret control mastery is the mechanical foundation upon which all other skills are built.
What happens if I load the wrong charge number?
The pressure sensor flags the chamber as unsafe, the firing handle locks out, and the turret enters a 15-second cooldown while the breech vents. Turret control mastery is the mechanical foundation upon which all other skills are built. Turret control mastery is the mechanical foundation upon which all other skills are built.
Does the loading platform work the same in every region of the campaign?
The platform itself is identical across all 15 campaign regions, but the spotter calls, target types, and time pressure change with each map. What is the single loading habit that costs your crew the most shots — the wrong shell grab, the weak ram, or the missed spotter call?