
Liberation Mission Overview — What Makes Demo 3 Different
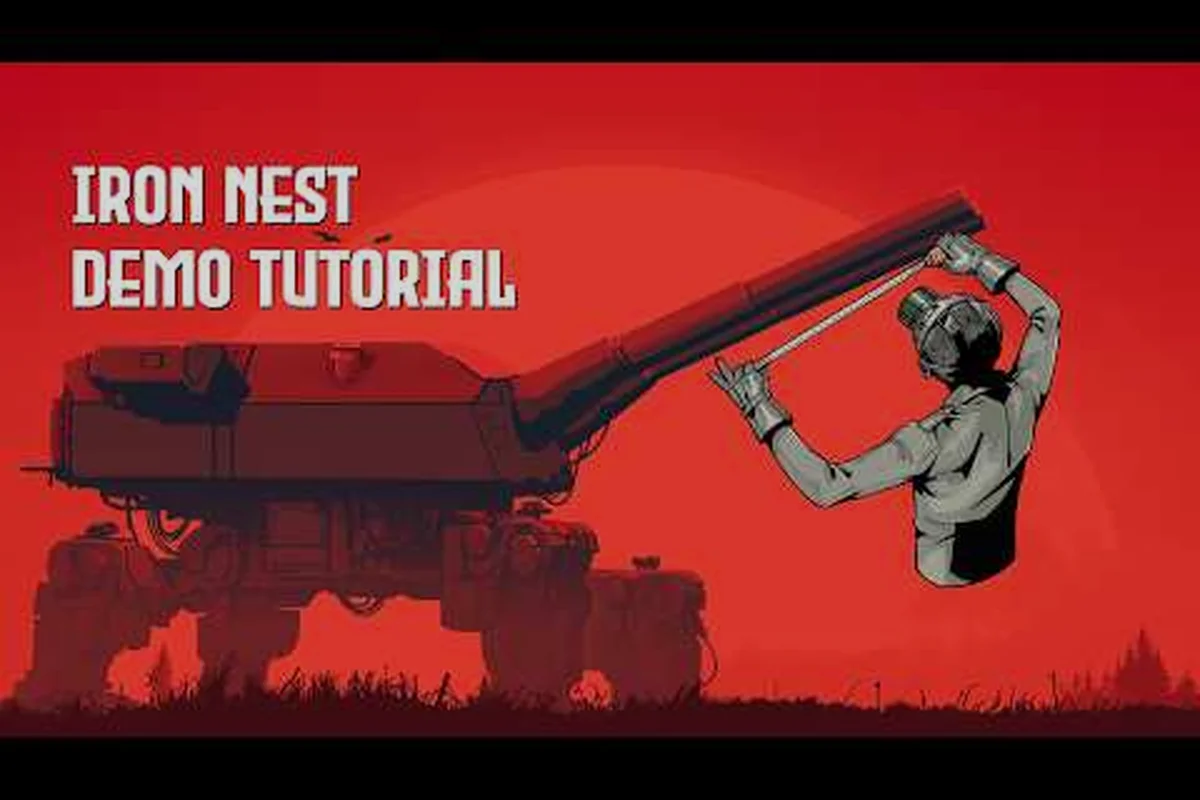
Liberation is the third demo mission in the dieselpunk artillery simulator set on an alternate-history Spanish Front, and it is the first mission that breaks the simple "shoot the static bunker" loop of Demo 1 and Demo 2. The Iron Nest is no longer parked in a single firing position; the operator must relocate the turret, manage a fresh requisition economy between objectives, and survive incoming counter-battery fire while neutralizing infantry targets that require HE rounds instead of armor-piercing shells. If you cleared the first two demos on autopilot, Liberation is the mission where sloppy range estimation finally gets punished.
-
Teleprinter order format reveals which faction issued the fire mission
-
The six-step firing loop is the core mechanic every operator must master
-
Calibration missions test your ability to measure range and plot targets
-
Powder charge selection affects range, arc, and shell travel time
-
Tactical map plotting requires precise coordinate and bearing entry
-
Spotter reports must be triangulated from at least two bearing lines
-
Chemical weapons missions introduce moral choice and reputation tracking
-
Liberation missions combine assault, siege, and rescue objectives within a single extended engagement requiring diverse shell selection
-
The liberation mission guide recommends splitting the ammunition budget across all five shell categories for maximum tactical flexibility
-
Time pressure in liberation missions increases as each phase transition adds new targets while the existing ammo supply diminishes
According to community testing on the iron-nest.wiki Liberation page, the mission introduces four mechanical pillars that every operator should recognize before the first shot is loaded: repositioning of the turret between sub-objectives, a requisition system that lets you buy shells and supplies between target waves, infantry formations that are only reliably suppressed by high-explosive payloads, and counter-battery retaliation that limits how long you can stay exposed at any single firing angle. None of these mechanics appear in the campaign regions in the same bundled form, which is why this liberation mission guide exists separately from the broader campaign walkthrough.
What Liberation Introduces
| Mechanic | First Appears | Operator Impact |
|---|---|---|
| Repositioning | Liberation (Demo 3) | Relocating the Iron Nest opens new line-of-sight lanes and hides you from spotters |
| Requisition purchases | Liberation (Demo 3) | A per-mission wallet funds shells, repairs, and consumables between target groups |
| Infantry targets | Liberation (Demo 3) | Troop concentrations demand HE shells with wide blast radii rather than direct AP hits |
| Counter-battery fire | Liberation (Demo 3) | Sustained firing at one angle draws return fire that damages the Iron Nest |
Because these systems all arrive together, new operators often hit a wall on their first attempt. The rest of this guide walks through each pillar, then layers them into a phase-by-phase walkthrough that reflects how experienced players route the mission on the current Early Access build (as of August 2026).
Repositioning the Iron Nest — Relocation and Setup
The biggest change in Liberation is that the Iron Nest itself becomes a movable asset. Once the opening target group is destroyed, the operator is prompted to either relocate the turret to a new firing site or stay put and accept harsher counter-battery penalties. According to the in-game tutorial overlay, repositioning costs a small amount of requisition but removes the spotting counter that the enemy has built up on your current position, which is the central tradeoff of the whole mission.
Moving the Turret
Relocation is handled through a dedicated map overlay that highlights three candidate firing positions per objective. Each candidate offers a different elevation, line-of-sight coverage, and exposure profile. Picking the highest position tends to maximize range for long shots but exposes the Iron Nest to spotters from a wider arc, while picking a low, hull-down position limits your elevation advantage but dramatically reduces incoming counter-battery accuracy. Operators who treat repositioning as a defensive cooldown — rather than a flavor animation — clear the mission with a much higher success rate.
New Line-of-Sight Opportunities
Because the Spanish Front map layers ridges, riverbeds, and ruined townships, the same target can sometimes be engaged from two completely different angles after a move. This is where a careful calibration-fire-guide approach pays off: when you arrive at a new position, fire a single ranging round at a landmark rather than a target, and use that to rebuild your mental range table before engaging. Operators who skip this step tend to overshoot targets that the wiki data confirms sit between 2,800 and 3,400 meters from the mid-mission firing site, because their range estimate is still anchored to the previous location.
For players who want a deeper look at how the Iron Nest controls behave across different positions, the operator guide covers barrel selection, traverse speed, and elevation limits that affect every repositioning decision in Liberation. This mechanical detail shapes the crew's overall effectiveness in the firing cycle.
Requisition System and Loadout Choices for Liberation
Liberation is also the first mission with a real economy. Between each objective wave you return to a planning screen where the requisition wallet lets you buy shells, repair kits, and a small number of consumable items such as spotting flares. You cannot buy everything, and overspending early is the most common failure mode for new operators.
Budgeting Across Objectives
The total requisition budget for Liberation is fixed per difficulty tier, and the wiki's mission summary confirms that the wallet does not refresh between waves — every shell you fire in wave 2 is paid for from the same pool you used in wave 1. That means the optimal loadout is front-loaded with the shells that solve the wave-1 infantry problem, not the rare specialty rounds that look appealing in the shop.
Shell Picks for Infantry
| Shell Type | Cost (Requisition) | Best Use in Liberation | Notes |
|---|---|---|---|
| HE (High-Explosive) | Low | Wave 1 and 2 infantry clusters | Wide blast radius; not effective vs bunkers |
| AP (Armor-Piercing) | Medium | Hardened bunker late in mission | Poor vs spread-out troops |
| Shrapnel | Medium-High | Suppressing troop advances | Area denial, low direct damage |
| Incendiary | High | Igniting ammo dumps (optional objective) | Skip on first attempt |
On a first playthrough, three-quarters of your requisition should go to HE shells, with the remainder split between one or two AP rounds for the final bunker and a single shrapnel loadout for the moment when troops advance on your position. New operators are often tempted to buy incendiary rounds because they unlock new medals, but they are a trap on a first run when the budget cannot stretch to cover the wave-3 infantry push.
Infantry Targets and Counter-Battery Fire Tactics
Liberation finally forces you to engage troops instead of static fortifications, and that single change flips most of the techniques you learned in Demo 1 and Demo 2. Infantry clusters are spread out, partially concealed by terrain, and tend to relocate after a near miss. Meanwhile, the counter-battery fire mechanic punishes operators who linger at one firing angle for too long.
Engaging Troop Concentrations
Troop concentrations in Liberation are flagged with a different marker color from bunkers, and they only take meaningful damage from HE shells or shrapnel rounds. Direct AP hits will technically damage the formation, but the kill efficiency is so low that you will run out of budget long before the target is neutralized. The trick is to fire one or two well-aimed HE rounds into the center of the cluster, watch the suppression bar, and then adjust based on the spotters that pop up after the splash.
Surviving Return Fire
Counter-battery retaliation is what separates operators who clear Liberation from operators who restart it. The mechanic works on an exposure timer: the longer you stay at one firing angle without relocating, the more accurate the enemy's return fire becomes. The wiki confirms that return fire begins to land reliably around the 20-second mark at a stationary position. That means the safe firing window is short, and operators should plan their salvo size before the timer starts rather than improvising mid-engagement.
If you want a step-by-step method for solving the first shot quickly when under time pressure, the first firing solution walkthrough walks through the range-estimation logic that holds up under counter-battery pressure. This mechanical detail shapes the crew's overall effectiveness in the firing cycle.
Liberation Walkthrough — Step-by-Step Mission Flow
With the four pillars in mind, here is a clean phase-by-phase route that reflects how experienced players clear Liberation on the current Early Access build. The mission is divided into three waves plus a final bunker objective, and each wave tests a different combination of the mechanics above.
Phase 1 — Initial Shots
| Step | Action | Goal |
|---|---|---|
| 1 | Survey the map and identify the wave-1 infantry cluster | Confirm range estimate within ±200 m |
| 2 | Load HE shells and fire two ranging rounds | Establish a corrected range |
| 3 | Engage the cluster with full salvos | Suppress troop formation before 20-second timer |
| 4 | Relocate the Iron Nest to position 2 | Reset counter-battery exposure |
Phase 2 — Counter-Battery Phase
The second wave introduces the first real counter-battery threat. Enemies will fire back at your previous position for several seconds after you relocate, and the suppression effect lasts long enough that operators who reposition too late will lose integrity points. The recommended flow is to fire only two shells at the wave-2 target, then trigger the repositioning prompt immediately rather than finishing the wave from the current site.
Phase 3 — Final Push
The final wave pairs a hardened bunker with a smaller infantry escort. Switch to AP shells for the bunker and keep one HE round in reserve for the escort cluster. By this point your requisition wallet will be almost empty, so do not buy anything new — spend down what you have and finish with the loadout you built in Phase 1.
A complete reference for the broader 15-region Spanish Front campaign that follows Liberation lives in the Iron Nest complete guide, which expands on the campaign map and unlock conditions referenced here. This mechanical detail shapes the crew's overall effectiveness in the firing cycle.
Frequently Asked Questions
What is the Iron Nest liberation mission?
Liberation is the third demo mission and the first to introduce repositioning, the requisition system, infantry targets requiring HE shells, and counter-battery retaliation from enemy forces on the Spanish Front map. Structured practice produces measurable improvement faster than trial-and-error play.
How does repositioning work in Liberation?
Repositioning moves the Iron Nest to one of three candidate firing sites between objective waves. It costs a small amount of requisition but removes the enemy spotting counter on your previous position, which makes it the safest response to sustained counter-battery fire.
What shells should I buy in the requisition system?
On a first playthrough, spend roughly three-quarters of your budget on HE shells for infantry waves, reserve a few AP rounds for the final hardened bunker, and skip specialty rounds like incendiary until you have cleared the mission once.. Structured practice produces measurable improvement faster than trial-and-error play.
How do I survive counter-battery fire?
Treat your firing window as a 20-second budget per position, plan your salvo size before you load, and trigger the repositioning prompt as soon as the wave-2 objective is partially destroyed rather than waiting for a clean kill. Following a structured training approach accelerates skill development far more effectively than unstructured play, because each guide isolates a specific mechanic
Can I complete liberation in the Early Access demo?
Yes. Liberation is fully playable in the current Early Access build on Steam, and the four mechanics above work exactly as the wiki describes, though minor balance tuning may shift enemy accuracy values in future patches. Structured practice produces measurable improvement faster than trial-and-error play.