
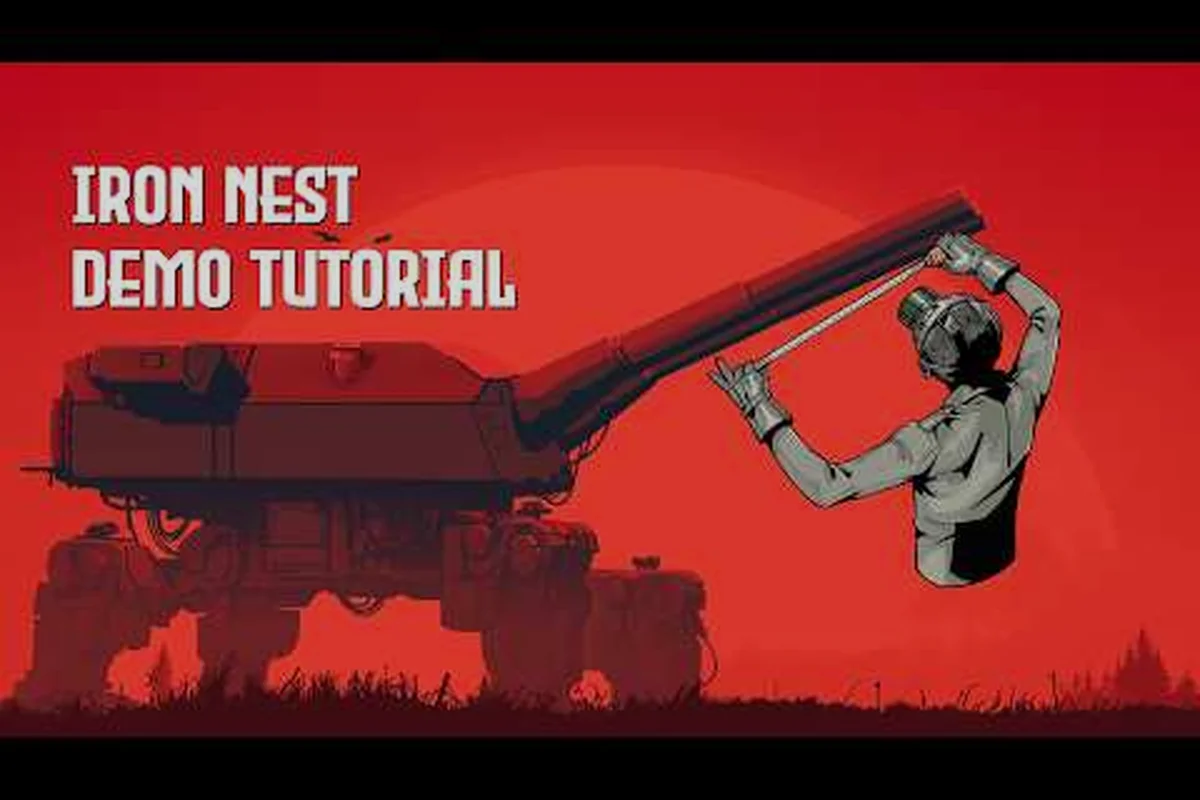
Operating a twin-barrel turret across alternate-history Spain is unforgiving for the uninitiated — every lever, dial, and rammer handle reacts exactly like the mechanical breech-loader it is modeled on, with no automation layer to smooth over rookie mistakes. This Iron Nest operator guide breaks down the console, the loading mechanism, and the firing loop so your first ten rounds produce centered splashes rather than powder bags falling short of the target. By the end you'll know which handwheel to crank first, which powder charge covers most opening engagements, and how to keep both breeches cycling without leaving either one idle.
The Gunner's Role in the Dieselpunk Turret
In the setting of the game, you sit behind a heavy breech-loading turret that spans every campaign region from scorched coastal batteries to mountain emplacements overlooking fictional Spanish cities. Two barrels operate independently, so your left and right guns can elevate, traverse, and fire on completely separate tracks — a feature players routinely underuse during the opening campaign because the barrels look linked at a glance. They are not. Once you treat each barrel as its own weapon system, your effective fire rate roughly doubles without any change in crew speed, which is why veteran crews split roles from minute one: one gunner aims while the other reloads.
-
Calibration missions test your ability to measure range and plot targets
-
Powder charge selection affects range, arc, and shell travel time
-
Tactical map plotting requires precise coordinate and bearing entry
-
Spotter reports must be triangulated from at least two bearing lines
-
Chemical weapons missions introduce moral choice and reputation tracking
-
Star shells illuminate night sectors for follow-up HE engagements
-
Teleprinter order format reveals which faction issued the fire mission
-
The operator guide covers all four turret stations with station-specific drills that build muscle memory for each crew role
-
Multiplayer operator coordination requires standardized voice calls announced at every state change in the firing cycle
-
Solo operators must mentally queue all four station actions sequentially, adding a cognitive switching cost between each action
The operator's job covers three responsibilities that every challenge mode and region will measure you on: range estimation from the mil-dot map grid, ammunition selection from the 30 unlockable shell types, and powder charge tuning across the six lever positions. Community testing across the early-access cycle suggests gunners who nail these three habits clear the first five campaigns roughly twice as fast as players who improvise. The Iron Nest page on Steam lists 15 campaign regions, 8 challenge modes, and 100+ medals as the main reward loop — and medals only land when your firing solution actually connects, which means a clean first attempt pays off in rank every single time.
If you're still deciding whether to pick up the title, our broader Iron Nest complete guide covers difficulty selection, recommended control setups, and overall progression pacing. This article focuses strictly on the console itself and the muscle memory it takes to run it from cold start through your hundredth round.
Physical Console Controls
The turret console seats you in front of handwheels, levers, and a brass-trimmed fire panel. Each input maps directly to a mechanical action — there is no abstraction layer smoothing your inputs — which is why the controls feel like flying a real breech-loader rather than an arcade cannon. Spending an hour just turning wheels and watching the dials before your first live fire target builds the muscle memory you'll need when the engagement timer starts ticking.
Traverse and Elevation Handwheels
Rotation comes from two cranks. The traverse handwheel rotates the entire cradle horizontally, measured in mils on a fixed analogue dial that circles 0 through 6400. The elevation handwheel tilts the barrel up or down, with a separate dial showing barrel angle in degrees from -5° to +45°. Both wheels include a friction brake that locks position when released, so heavy recoil doesn't push the barrel off-target between salvos — a habit forming feature that senior players call out as the single biggest speed upgrade for new crews.
| Control | Action | Range / Unit | Common Mistake |
|---|---|---|---|
| Traverse handwheel | Rotates cradle left/right | 0–6400 mils | Letting wheel slide back under recoil |
| Elevation handwheel | Tilts barrel up/down | -5° to +45° | Over-elevating on close coastal targets |
| Friction brake | Locks wheel position | Toggle on/off | Forgetting to re-engage after traverse |
The Loading Mechanism
Loading is a three-step physical sequence, not a single button mash. Pull the shell selector lever to pick one of 30 shell types from the magazine carousel mounted above the breech. Crank the shell rammer handle forward to push the round home into the chamber. Then choose a powder charge lever position between 1 and 6 before throwing the chamber lock closed. Skipping the chamber lock is the most frequent cause of misfires reported on community discussion threads, because the breech silently fails to seal and the powder charge vents without launching the round, which costs you both ammunition and the charge setting you just dialled in.
The loading rhythm matters even more because two barrels mean two independent breeches. Your loader can prep the right gun while the gunner is still firing the left, halving your effective cycle time once both crew members sync their movements. Most early-game frustrations come from crews who load sequentially — left, fire, then right — which leaves half the turret idle for the reload window.
Ammo Selection and Powder Charge System
Choosing the right round for the target is where most new operators bleed score. Each shell type has weight, drag profile, and fuse behavior that match specific scenarios, and the simulator never auto-suggests a round for the engagement range you've plotted on the map. That decision is yours and yours alone, which is why players who treat ammo selection as a separate planning step consistently outperform players who pick on reflex.
Shell Types and Their Use Cases
The 30 unlockable shell types split into armor-piercing, high-explosive, incendiary, and specialised subcategories such as parachute flares. Community testing indicates that mixing AP and HE across the two barrels for the same salvo is one of the strongest habits a new operator can build, because dual-purpose salvos strip fortified positions faster than either round alone while keeping your spotting role active on the second barrel.
| Shell Category | Example Round | Best Range | Ideal Target |
|---|---|---|---|
| Armor-piercing | AP-44 capped | 4,000–8,000 m | Fortified bunker, gun emplacement |
| High-explosive | HE-150 fragmentation | 1,500–6,000 m | Troop concentration, supply truck |
| Incendiary | INC-90 thermite | 800–3,000 m | Fuel depot, ammo storage |
| Spotlight star | ILL-30 parachute | 500–2,000 m | Night recon for spotting correction |
Powder Charge Levers
Six levers control how much propellant drives the shell downrange. Lower numbers give flatter arcs that are easier to read at short range; higher numbers push the round further but introduce drift and require more elevation correction. According to player data shared across the Steam community threads, charge 3 covers roughly 70% of the engagements you'll face across the first three campaigns, which makes it the right default for cold-start gunners who don't yet know the engagement bands of the region they just unlocked.
| Charge | Muzzle Velocity | Range Band | Drift Penalty |
|---|---|---|---|
| 1 | Low | 0–1,500 m | Minimal |
| 2 | Low-moderate | 1,500–3,000 m | Low |
| 3 | Moderate | 3,000–5,500 m | Moderate |
| 4 | High | 5,500–8,000 m | Noticeable |
| 5 | Very high | 8,000–11,000 m | High |
| 6 | Maximum | 11,000–14,000 m | Severe |
Executing a Firing Solution
A firing solution is the sequence of inputs that turns a map coordinate into a centered splash. The simulator never tells you when the sequence is "correct" — it just awards hits and medals as confirmation, which means you have to read your own splash markers to know whether you over-shot, under-shot, or landed wide. That feedback loop is the whole skill curve, and it tightens faster when you treat every missed round as data rather than failure. If you want a worked example from the very first campaign mission, our Iron Nest first firing solution walkthrough walks one target coordinate from cold start through a confirmed hit.
Reading the Tactical Map
The tactical map is a mil-dot grid overlay you can pan, zoom, and measure with on-screen tools. Distance is calculated in meters along a straight-line bearing; elevation gain between your turret and the target adjusts the effective range by roughly one meter per visible meter of climb, which becomes significant the moment your targets sit on ridgelines above the coastal batteries. The two most common operator errors reported on community forums are mistaking the mil ring for a kilometer ring and forgetting to factor in height when the target sits on a hill above sea level.
The Fire Control Panel
Once you've dialled the console, the fire panel finishes the cycle. Press Arm to make the breech hot — the indicator lamp glows red — then press Fire to launch. An Abandon Fire button sits beside Fire in case you spot a correction after arming; it drops the round back into the safe tray rather than launching it, which saves both the shell and the charge setting for your next attempt. Players who ignore the arm step sometimes fire dry shots that waste a charge setting because the breech wasn't actually loaded — the lamp stays dark and you keep the round, but your charge position silently resets.
| Step | Panel Action | Indicator | Common Error |
|---|---|---|---|
| 1 | Press Arm | Red lamp | Forgetting arm after reload |
| 2 | Confirm target lock | Steady dial | Firing before dial settles |
| 3 | Press Fire | Recoil + flash | Holding Fire during recoil |
| 4 | Observe splash | Marker on map | Skipping spotting for correction |
Operator Strategy and Medal Progress
Strategy in the game isn't memorising every ammo type — it's running a repeatable loop faster than the mission timer drains. Players who climb medal ranks usually follow three habits on every salvo: they keep one barrel on a spotting role with a low-charge ILL shell, they reserve the higher powder charges for confirmed targets only, and they re-engage the friction brake the moment a salvo lands so recoil doesn't drift the next aim point. None of these habits are obvious until you've watched a crew burn through a full mission timer without scoring a single silver medal, which is why spending the early campaigns on a slower difficulty pays for itself twice over in the long run.
| Medal Tier | Typical Requirement | Approx. Rounds Needed |
|---|---|---|
| Bronze | 50% accuracy at any charge | 1–2 missions |
| Silver | 70% accuracy, two shell types used | 4–6 missions |
| Gold | 90% accuracy, mixed AP/HE salvos | 8–12 missions |
| Platinum | Perfect streak across challenge mode | 15+ missions |
The fastest way into a challenge mode streak is to grind the first campaign on Bronze until your crew sync feels automatic and your loader never has to ask which charge to dial in. If you'd like a broader plan for the entire run rather than just the console itself, our Iron Nest step by step walkthrough maps out the full progression order across the 15 campaign regions and 8 challenge modes, including which medals unlock which shell variants at each tier.
Frequently Asked Questions
Do the two gun barrels truly fire independently?
Yes. The left and right breeches load, elevate, and traverse on completely separate tracks. Skilled crews prep the right barrel while the left is still firing, cutting the effective reload cycle nearly in half compared to single-barrel play and unlocking higher silver and gold medal counts in the process.
Which powder charge should I default to for new operators?
Charge 3 covers roughly 70% of the engagements in the early campaigns and is the most forgiving setting while you learn the elevation dial. Move to charge 4 only once you can consistently read the mil-dot map grid under time pressure and account for drift on long-range targets.
How do I unlock the full 30 ammo types?
Each ammo category opens after completing specific medals in earlier campaigns — AP rounds unlock early, while incendiary and spotlight variants require mid-tier accuracy medals. As reported by community testing, full unlock typically arrives around the 60% campaign mark.. Structured practice produces measurable improvement faster than trial-and-error play.
What happens if I press Fire before pressing Arm?
The breech stays cold and you'll waste the charge setting because the round never actually loaded. Always confirm the red arm lamp before firing, especially after a crew swap or reload cycle, because the indicator silently resets whenever the breech cycles open.
Is there an easier entry point than jumping straight into challenge modes?
Yes — finish the first two campaigns on Bronze difficulty. The slower pace lets you memorise the loading rhythm without timer pressure, and the medals earned there unlock the higher-accuracy shell variants you'll want when challenge mode unlocks at higher ranks.