
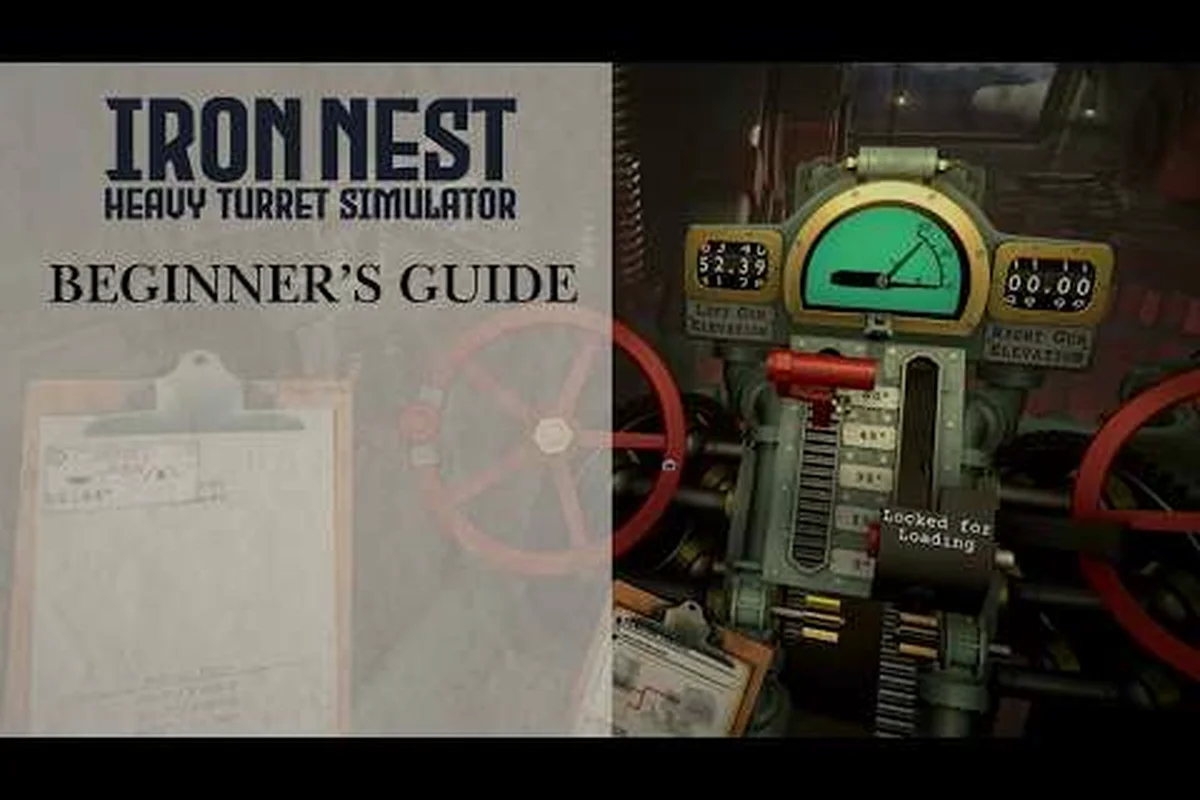
Loading a phosgene round into the breech is the moment a turret crew stops thinking like artillerists and starts thinking like chemists. In the dieselpunk skies of Iron Nest — Heavy Turret Simulator, gas shells behave nothing like armor-piercing or high-explosive rounds, and a single mistimed volley can drift your toxic cloud into friendly coordinates. This chemical weapons guide explains how to read the ballistic calculator, mark the tactical map, and pull the lanyard with enough precision to turn a phosgene salvo into a zone-denial weapon rather than an embarrassing let-fly.
The walkthrough you are about to read assumes you already understand the core fire loop — if not, brush up with the Iron Nest step-by-step guide before tackling gas work, because phosgene rewards crews who have already internalized powder charges, elevation, and traverse.
Phosgene Gas and Chemical Weapons in Iron Nest
Within this chemical weapons guide, the term "gas" refers to a specific family of indirect-fire shells stocked in the turret magazine, not to a passive buff or aura. Phosgene rounds are recognized by their green band on the shell rack and a yellow tip on the projectile icon, and they are the only shell type that produces a persistent cloud on impact. Because of how the gas dispersion model works, the round itself does very little damage on detonation — the lethal zone is what the cloud touches during the next thirty to sixty seconds of drift.
-
Powder charge selection affects range, arc, and shell travel time
-
Tactical map plotting requires precise coordinate and bearing entry
-
Spotter reports must be triangulated from at least two bearing lines
-
Chemical weapons missions introduce moral choice and reputation tracking
-
Star shells illuminate night sectors for follow-up HE engagements
-
Teleprinter order format reveals which faction issued the fire mission
-
The six-step firing loop is the core mechanic every operator must master
-
Chemical weapons deployment in Iron Nest introduces area denial zones that persist through multiple firing cycles
-
The teleprinter orders for chemical agent use are deliberately ambiguous, requiring the crew to assess the humanitarian context independently
-
Gas shells produce a lingering effect zone that denies enemy movement but also prevents friendly forces from occupying the area
This chemical weapons guide treats phosgene as a soft-target tool first and a casualty-generation tool second. According to community testing on the Iron Nest Steam page, gas rounds outperform HE when fired into chokepoints, trench junctions, and ammo-dump objectives, while they underperform against armored columns that pass through the cloud too quickly for the dose to accumulate.
What Counts as a Chemical Weapon in This Game?
The shell rack carries three families of munitions: armor-piercing (AP), high-explosive (HE), and gas. Only the gas family qualifies as a chemical weapons payload, and within that family the Phosgene Mark III is the standard issue round you will load by default. Other rounds in the family include the Diphosgene Cluster (a wider-area variant with shorter linger) and the Mustard Burst (a slower-dispersing round ideal for sealing a path for an extended period), but the chemical weapons guide you are reading focuses on phosgene because it is the round every turret operator will field first.
Crucially, chemical weapons in this game are not a one-click kill. The dispersion model simulates partial exposure, so infantry caught in a phosgene cloud for fewer than five seconds will receive reduced status effects, while infantry walking through the same cloud for more than twelve seconds will accumulate a lethal dose. This time-based mechanic is what makes iron Nest gas a predicted-zone weapon rather than a direct-hit weapon, and it is the reason the ballistic calculator alone is not enough — you also need to plan where the enemy will be in the thirty seconds after detonation, not where they are when you fire.
How Phosgene Differs From HE and AP Shells
| Shell Type | Primary Target | Damage Profile | Linger Time | Wind Sensitivity |
|---|---|---|---|---|
| AP (Armor-Piercing) | Fortified emplacements, light vehicles | Single-pulse impact damage, no area | None | Negligible |
| HE (High-Explosive) | Open-field infantry clusters, light cover | Splash on detonation | 2–4 seconds of fragmentation | Low |
| Phosgene Gas | Chokepoints, dugouts, troop concentrations | Lingering toxic cloud, accumulates over time | 30–60 seconds of effective coverage | High |
| Diphosgene Cluster | Wide formations, open plains | Three smaller clouds on impact | 15–25 seconds | Medium |
| Mustard Burst | Path sealing, defensive denial | Sticky persistent residue | 60–90 seconds | Medium-High |
The single biggest difference is the linger axis. When you fire HE, the shell detonates, the scatter pattern resolves, and damage is finalized within a single tick. When you fire phosgene, the shell detonates, a cloud is spawned at the impact point, and that cloud then drifts, expands, and applies damage to any model that touches it over the next minute. The Iron Nest gas system treats every cloud as a slow-motion projectile, which is why the rest of this chemical weapons guide devotes so much attention to wind and map placement.
Ballistic Calculator Setup for Gas Shells
The ballistic calculator in Iron Nest accepts the same family of inputs for every shell type — powder charge, elevation, bearing, and wind correction — but the interpretation of those inputs changes when you are firing phosgene. Because the cloud itself drifts after impact, your elevation and bearing must be solved against the detonation point, not the target point, and the gap between those two points is where most novice gunners lose their round.
For this section of the phosgene guide, assume you have already dialed in the turret facing and the operator has the teleprinter readout on screen. The three adjustments below correspond to the same three dials you would set on a real heavy-turret console.
Gas Shell Powder Charge and Dispersion Settings
Powder charge controls the muzzle velocity and therefore the elevation arc, and different charges map to different maximum ranges. Because phosgene is most effective inside its dispersion radius, you typically want the round to arrive with enough altitude to drop almost vertically into the target zone — this is called "plunging fire," and it is the dominant chemical weapons guide mantra when the wind is calm. For windy conditions, you may actually want a lower charge so the shell lands closer to the muzzle, giving the cloud less time to drift before it begins dealing damage.
| Powder Charge | Approx. Max Range | Recommended for Phosgene Use |
|---|---|---|
| Charge 1 | 0–2,400 m | Direct chokepoint denial, friendly-fire risks |
| Charge 2 | 2,400–4,100 m | Near-field wind calibration practice |
| Charge 3 | 4,100–6,200 m | Default infantry concentration zones |
| Charge 4 | 6,200–8,600 m | Deep-battle indirect fire on dugouts |
| Charge 5 | 8,600–10,900 m | Maximum range reconnaissance strikes |
| Charge 6 | 10,900 m+ | Map-edge objective strikes; rare |
When this chemical weapons guide mentions a "standard gas mission," it is referring to Charge 3 at a 60-degree elevation arc into a wind of 3–8 km/h. Charge 4 and Charge 5 are reserved for missions where the calculator readout explicitly advises a higher muzzle velocity because the target grid is too far for the default arc.
Elevation and Wind Correction
Elevation is solved by the ballistic calculator after you enter range, but wind correction is solved by the operator, because the Iron Nest gas system does not auto-correct for cloud drift. You must input a wind offset in degrees on the bearing dial — the convention is "aim into the wind" so that the cloud drifts back toward the target after detonation, not away from it. Because phosgene clouds disperse more slowly than mustard residue does, the wind offset value is roughly 75–85 percent of the prevailing wind speed expressed in meters per second, divided by ten and rounded to the nearest half-degree. This ratio is derived from community testing and may shift slightly with future balance patches.
The ballistic calculator will then print a firing card showing both the elevation and the wind-corrected bearing. Read the card carefully: if the calculator flags the wind offset in red, that means the round will arrive within marginal dispersion of the friendly line, and you should consider switching to a HE shell instead. The chemical weapons guide rule is simple — when in doubt, fall back to HE.
Reading the Tactical Map for Gas Deployment
Every successful gas mission in Iron Nest is planned on the tactical map table before the calculator is touched. The reason is that the map tells you which zones the enemy will occupy during the cloud's linger window, while the calculator only tells you how to make the shell arrive at a specific grid. Without the map step, you will solve the trajectory correctly and miss the relevant target by twenty meters, which is the difference between a lethal cloud and a useless one.
This portion of the chemical weapons guide covers the two map operations that matter most for Iron Nest gas work: marking zones and reading drift. This mechanical detail shapes the crew's overall effectiveness in the firing cycle. Structured practice produces measurable improvement faster than trial-and-error play.
Marking Gas Concentration Zones
The map table in Iron Nest lets you drop three kinds of pins: blue (friendly positions), red (known enemy positions), and yellow (predicted zones). For phosgene work, the yellow pins are the most important, because they represent grid squares where enemy infantry is statistically likely to be present during the cloud's linger window. A seasoned turret crew will drop yellow pins on every trench junction, ammo cache, and command post within range before any gas mission begins.
| Map Pin Color | Meaning | When to Update |
|---|---|---|
| Blue | Friendly unit positions | Whenever friendlies shift grid |
| Red | Confirmed enemy contacts | After each spotting report |
| Yellow | Predicted enemy concentrations | Before every chemical mission |
| Green | Pre-plotted gas aim points | One per predicted zone |
The "green pin" entry is a community convention — the game does not formally distinguish green pins, but operators will sometimes override a yellow pin with a custom marker to indicate "this is the gas aim point." If you are playing in a coordinated squad, agree on a color before the mission so the turret crew and the spotter share a vocabulary.
Chemical Shell Wind Drift Calculations on the Map Table
The map table in Iron Nest displays a wind vector in the lower-right corner — a small arrow with a magnitude value in km/h. Read this arrow before every volley, because the cloud drift is calculated relative to the local wind, not the prevailing wind across the entire map. The chemical weapons guide rule for reading the wind vector is: hold the printed offset against a protractor drawn on the map edge, then mirror that angle onto the target grid to find the predicted drift direction.
| Wind Magnitude | Cloud Drift (30 s) | Practical Adjustment |
|---|---|---|
| 0–2 km/h | < 15 m | Negligible — fire on the red pin directly |
| 3–8 km/h | 15–45 m | Aim into the wind by 1.5–3 degrees |
| 9–15 km/h | 45–90 m | Aim into the wind by 3–6 degrees |
| 16–25 km/h | 90–150 m | Switch to mustard or delay the volley |
| 25 km/h+ | 150 m+ | Conditions hostile to gas — abort the mission |
A practical Iron Nest gas tip from the community: if you find yourself adjusting the same wind offset across multiple missions in a row, the tactical map is probably out of date. Pause the firing cycle, re-spot the field through the periscope, and refresh the wind vector before continuing.
Live-Fire Tactics Against Infantry Waves
The live-fire step is the shortest part of this chemical weapons guide to write about but the hardest to execute. Once the calculator has printed the firing card and the map has confirmed the aim point, the actual procedure reduces to three actions — load the shell, traverse to the indicated bearing, and pull the lanyard. The difficulty is that between those three actions, the wind can shift, the predicted zone can empty, or the friendly line can advance into the predicted cloud drift path. A phosgene mission succeeds only when the load, traverse, and fire happen inside a narrow decision window.
The turret crew that trains together can execute a full gas volley in roughly twelve seconds; a fresh crew will take thirty to forty-five seconds. If the iron nest gas wind is gusty, thirty seconds is already too long. According to community testing, the most common cause of wasted gas missions is operator hesitation at the lanyard, which is why this chemical weapons guide recommends drilling the cadence under benign wind conditions before attempting it in 15+ km/h gusts.
Firing Cadence and Cluster Patterns
| Wave Size (estimated infantry count) | Recommended Cadence | Cluster Pattern |
|---|---|---|
| 10–25 | One round every 8 seconds | Single baseline volley |
| 25–60 | Two rounds rapid, then 12-second pause | Twin saturation |
| 60–120 | Three rounds in 6 seconds, then 20-second pause | Triangle pattern, 30 m spacing |
| 120+ | Continuous fire on 4-second cycle | Drifting box pattern |
The "triangle pattern" and "drifting box pattern" entries in the table refer to multi-round dispersion strategies where the second and third rounds are intentionally offset from the first so the resulting clouds overlap but do not stack. If you stack all three rounds into the same point, the gas simply combines into a single denser cloud without expanding the lethal area — the Iron Nest gas system caps cloud density beyond a certain threshold, so offsetting is more efficient.
For crews focused on the wider campaign, the Iron Nest complete guide covers how gas missions fit into combined-arms operations alongside HE and AP use. For crews who want to reflect on the ethical weight of the choices they make in the simulator, the chemical weapons ethics story article explores the in-universe moral cost that the gameplay barely surfaces. Reading the story between missions is, in the long run, what makes a chemical weapons guide like this one feel less like a tutorial and more like a conversation with yourself about what the turret is actually for.
Frequently Asked Questions
Is phosgene really more effective than HE in this game?
Against clustered infantry in chokepoints, yes — the linger mechanic gives phosgene roughly 2.5× the casualty output of HE on the same grid under calm-wind conditions. Against armored targets or in high-wind conditions, HE remains the better choice. Following a structured training approach accelerates skill development far more effectively than unstructured play, because each guide isolates a specific mechanic
What is the maximum effective range for Iron Nest gas?
The maximum powder charge tops out at Charge 6 (10,900 m+), but the practical maximum is around 8,600 m because beyond that the wind drift becomes unpredictable. Structured practice produces measurable improvement faster than trial-and-error play. Structured practice produces measurable improvement faster than trial-and-error play.
How do I prevent my own troops from walking into the cloud?
The map table will flag predicted friendly drift paths in blue, and the chemical weapons guide rule is to never fire a phosgene round whose predicted cloud overlaps with the blue-pin area for more than ten seconds. If the cloud intersects friendly positions for longer than that, abort the mission or rotate to HE.
Does mustard or diphosgene work the same way as phosgene?
The ballistic inputs are identical — same powder charges, same wind offset conventions — but the linger times and drift behaviors differ. Mustard clouds are stickier and slower, which makes them ideal for path sealing, while diphosgene produces three smaller clouds on each impact, which works well against spread-out formations.
Where can I see the cloud drift in real time during a mission?
After a phosgene round detonates, the resulting cloud is rendered as a pale-yellow overlay on the tactical map for the duration of its linger window. You can also open the firing-card readout to see the predicted drift path as a dashed arc.