
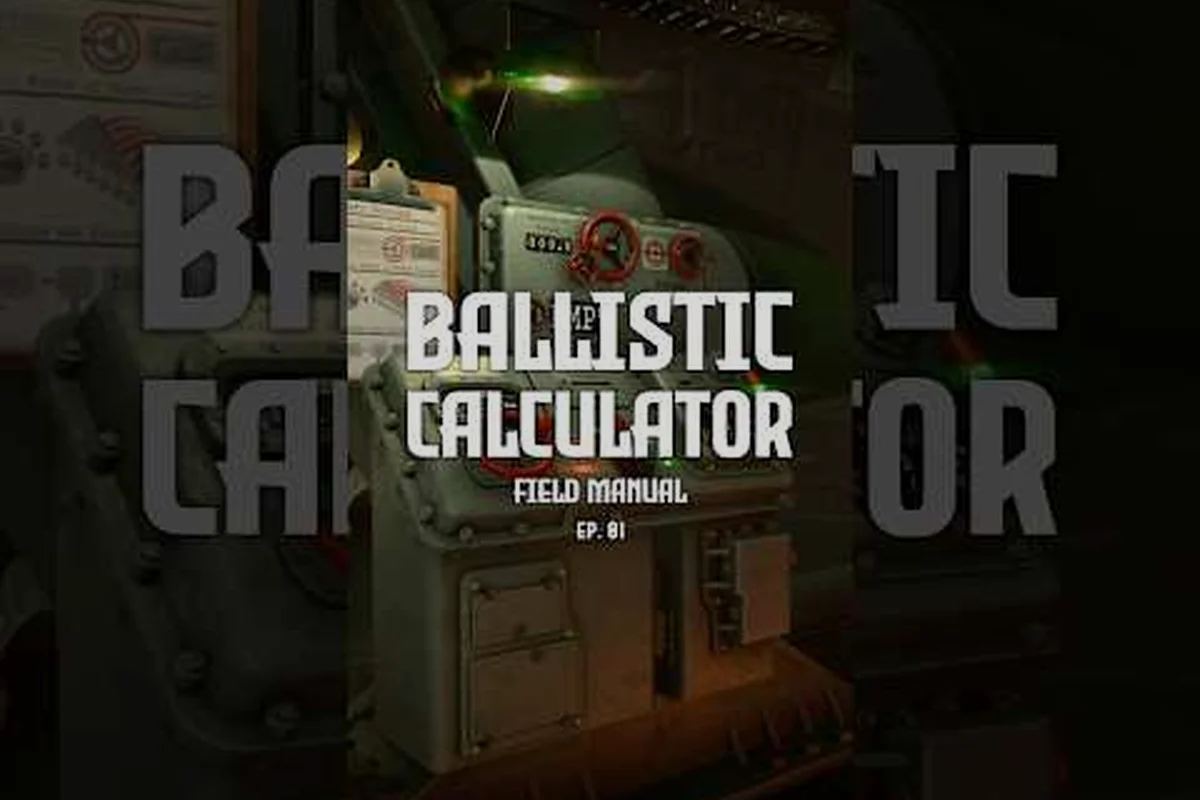
Every round in IRON NEST: Heavy Turret Simulator eventually comes down to one mechanical question: how far do you raise the barrel before pulling the lanyard? That single input — the elevation angle — is the difference between a clean splash on the target bunker and a pointless crater 400 meters short. Below is a complete walkthrough of how elevation is computed, read, and corrected inside the game's ballistic calculator workflow.
What Elevation Angle Means in the Turret
Inside the quadruped turret, elevation refers to the vertical pivot of the main gun barrel, measured from the horizontal plane of the turret deck. When the fire direction center shouts a target coordinate over the Teleprinter, the entire six-step firing loop exists to convert that coordinate into a barrel orientation that places the projectile on target. Three of those six steps — Plot, Calculate, Aim — are entirely about getting the elevation right before a single round leaves the chamber.
-
Cross-referencing calculator output with firing cards catches input errors
-
The calculator converts range data into elevation angle and powder charge
-
Wind drift requires lateral bearing correction on the firing card
-
Temperature affects air density and therefore shell trajectory arc
-
Firing cards store pre-computed solutions for common range bands
-
Manual fallback uses printed range tables when the calculator is offline
-
Elevation angles increase non-linearly at extreme long range
-
Elevation angle is the single most critical firing solution variable because a 0.1° error shifts impact by several meters at extended ranges
-
The elevation handwheel's vernier scale allows sub-mil precision readings down to 0.1 mils for fine trajectory adjustments
-
Charge selection must precede elevation calculation because different charges produce entirely different elevation-range relationships
Defining the Barrel Pivot
The barrel sits on a cradle that rotates around a horizontal trunnion. Zero elevation means the muzzle points straight ahead at the horizon; positive elevation tilts the muzzle upward in degrees or mils (the in-game calculator outputs both). The total travel is roughly 0° to +85° depending on the gun variant, which means even near-vertical anti-structure shots against cliff emplacements remain on the table as long as you keep an eye on the ammunition feed. Working with the elevation handwheel is a tactile process — every click advances or retracts the barrel, and the firing card always lists a recommended starting angle that you then fine-tune.
Elevation vs Bearing vs Traverse
Many new commanders confuse elevation angle, bearing, and traverse because the gunner station moves all three during a single aim. They are separate axes, and the ballistic calculator gives you an independent value for each:, which directly influences the overall firing sequence timing and downrange accuracy in Iron Nest's artillery simulation.
| Axis | What It Controls | Calculator Field | Physical Input |
|---|---|---|---|
| Elevation | Vertical barrel tilt | Elevation (deg / mils) | Elevation handwheel |
| Bearing | Compass heading toward target | Bearing (deg) | Main traverse clutch |
| Traverse | Horizontal turret rotation rate | Traverse rate | Handwheel speed |
Reading that table carefully prevents the most common rookie mistake — dialing bearing correctly but leaving the barrel at last round's elevation. For a fuller primer on the side-by-side mechanic, the traverse and elevation guide walks through both controls in tandem.
How the Ballistic Calculator Solves Elevation
The ballistic calculator is not a magic box. It receives three numerical inputs and returns two numbers that drive the gun. Understanding those inputs is the difference between trusting the card blindly and being able to sanity-check it when the readout looks suspicious.
Plotting Coordinates on the Tactical Map
The first input comes from the tactical map, where the spotter marks the target with a grease pencil and aligns the ranging scale against the known reference points. Once the map shows a clean plot, you transcribe the range in meters and the bearing in degrees onto the calculator's input dials. Skipping the map step — or estimating range by eye — is the single largest source of bad fire solution calculation runs, because the calculator's internal ballistics table assumes a precise range.
Powder Charge Selection Logic
The second input is the powder charge, a 1-to-6 selector that roughly doubles or halves the muzzle energy per step. Charge selection determines which row of the calculator's ballistics table gets applied, and different charges reach maximum useful elevation at very different ranges. Charge 1 is for close-in infantry suppression; Charge 6 throws a shell to the map edge but chews through your brass reserve. The default for most engagements sits between Charges 2 and 4.
| Powder Charge | Effective Range | Best Elevation Use | Brass per Round |
|---|---|---|---|
| Charge 1 | 0 – 800 m | Low-angle direct fire | Low |
| Charge 2 | 800 – 2,000 m | Standard direct fire | Moderate |
| Charge 3 | 2,000 – 4,500 m | Standard indirect | Moderate |
| Charge 4 | 4,500 – 7,000 m | Long indirect fire | High |
| Charge 5 | 7,000 – 10,000 m | Maximum range shots | High |
| Charge 6 | 10,000+ m | Map-edge counter-battery | Very high |
Picking the wrong charge inflates the elevation output well beyond what the barrel's mechanical stops allow, so the calculator refuses to print a card above the maximum travel. That safeguard is your cue to drop one charge step and try again.
Interpreting Elevation Data on the Firing Card
Once range and charge are dialled in, the calculator prints a firing card — a cardboard slip that exits the printer slot on the right side of the instrument. Every card contains the same fields, and a trained loader can read it in under three seconds while the next round is being rammed.
Degrees, Mils, and Clock Positions
The elevation field appears in three redundant formats: degrees (0–90), mils (0–1600), and an analog clock position (12 o'clock = straight up). Use whichever matches the dial on your gun station; mixing units is one of the fastest ways to over-rotate the barrel. A reference table for common engagement ranges, drawn from community playtests on the Demo build (as of June 2026), looks roughly like this:
| Range (m) | Charge | Elevation (°) | Mils | Clock |
|---|---|---|---|---|
| 1,500 | 2 | ~3.2 | 56 | 1 o'clock |
| 3,000 | 3 | ~7.8 | 136 | 1:30 |
| 5,000 | 3 | ~14.5 | 253 | 2 o'clock |
| 7,000 | 4 | ~24.1 | 420 | 2:30 |
| 10,000 | 5 | ~41.0 | 715 | 3 o'clock |
These values assume standard atmospheric conditions and a flat trajectory profile. Real combat conditions drift; you should treat the card as a starting point, not a guarantee. For a deeper dive into the conversion math, the range-to-elevation breakdown covers the underlying geometry.
Cross-Checking the Spotter Report
The third input the calculator doesn't see is the spotter's last correction. If the previous round landed short and right, you adjust elevation up and bearing left before committing to the next card — or, more accurately, you generate a new card with the corrected plot. The calculator has no memory of prior misses, which is why experienced crews keep a pencil log beside the printer. Spotter corrections override the card by 50–100 mils in heavy weather, which is why blind trust in the printed value is rarely rewarded on the first round.
Step-by-Step Elevation Adjustment
The fastest way to develop intuition for Iron Nest elevation is to walk the full firing loop repeatedly until the mechanical steps become muscle memory. A clean run from receiving an order to sending the round downrange takes roughly 90 seconds in the Demo, which is plenty of time to think through each dial.
Mapping Range to Angle
Start by reading the spotter's reported range, then dial it into the calculator along with the powder charge your loader has ready. Pull the firing card, hand it to the gunner, and the gunner matches the printed elevation against the barrel's graduated collar. Each click of the handwheel advances elevation by 0.1°, so a 14.5° shot requires 145 clicks — tedious, but auditable. Cross-checking the card against the ballistic calculator guide helps catch unit-mix errors before you waste a Charge 4 round.
Compensating for Wind and Air Density
Atmospheric drift is the silent killer of long-range fire. The base ballistics table assumes a 15°C, sea-level, no-wind environment, which almost never matches the current mission. When the spotter reports a steady crosswind or the meteorological printout on the Teleprinter shows nonstandard pressure, add 0.3°–0.8° of elevation per 1,000 m of range as a hedge. Players who skip this step typically see their Charge 5 rounds walk 200–400 m off target in the late-game canyon missions.
Elevation Angle Miscalculations and Field Adjustments
Even after dozens of flawless firing runs, every gunner eventually dials in a bad elevation. The trick is recognizing the tell-tale splash pattern and correcting on the next round without burning the entire magazine. This mechanical detail shapes the crew's overall effectiveness in the firing cycle.
Short Shots from Under-Elevation
A short round produces a tight crater well inside the target's position, often with visible dirt fountaining toward your own turret. The fix is straightforward: add 0.5° to 1.0° of elevation, or step up one powder charge if you are already near the top of the dial. Under-elevation almost always traces back to either a misread map plot or a forgotten spotter correction from two rounds ago.
Over-Shots and Brass Consumption
An over-shot throws dirt behind the target and occasionally lands on your own flank if the range is very long. That is a sign you overestimated the spotter's range estimate or selected too high a powder charge. Drop back to the previous charge and re-plot the coordinates. The other common cause is forgetting to reset elevation after a traverse swing — the barrel may still be tilted up from a previous high-angle shot, and a quick glance at the elevation collar before each round prevents wasted brass.
| Error Sign | Likely Cause | Correction |
|---|---|---|
| Round lands 100–300 m short | Under-elevation or wrong charge | Add 0.5°–1.0° or step up one charge |
| Round lands 100–300 m long | Over-elevation | Drop one charge, re-plot range |
| Round walks sideways | Bearing error, not elevation | Verify map bearing, ignore elevation |
| Wildly inconsistent splashes | Card not regenerated after correction | Reprint card with updated plot |
| No round leaves barrel | Elevation above mechanical stop | Reduce charge or accept low-angle only |
The pattern-matching part of gunnery only clicks after you have personally watched two or three wrong cards land. New commanders who queue into the first sortie expecting perfect accuracy usually burn through their starter ammo reserve in under ten minutes.
Building Elevation Intuition Through Calibration Fire
The most reliable training path is the calibration fire mission arc, where the spotter feeds you ideal conditions and a friendly target. Run the loop five or six times on a flat map sector, and your brain starts associating specific mil values with specific ranges. Once that mental map exists, the calculator becomes a confirmation tool rather than the only source of truth. The dedicated calibration fire walkthrough sequences those practice missions in a way that builds the intuition fastest.
Frequently Asked Questions
What elevation angle should I start with for a 3,000 m target?
For a 3,000 m shot with Powder Charge 3, the calculator outputs roughly 7.8° (about 136 mils) under standard atmospheric conditions, which corresponds to a 1:30 clock position. Always cross-check the printed firing card against the spotter's most recent correction before committing.
Why does the ballistic calculator refuse to print a card above the maximum barrel elevation?
The calculator's internal ballistics table assumes the listed charge can reach the plotted range without exceeding the gun's mechanical stops. When the computed elevation surpasses the barrel's travel limit, the printer returns an error card. Calculator proficiency directly translates to faster and more accurate fire missions.
How often should I regenerate the firing card between rounds?
Print a fresh card every time the spotter reports a correction, the wind shifts noticeably, or the target moves more than 200 m. The calculator has no memory of previous misses, so re-running the fire solution calculation is the only way to keep elevation aligned with reality on long-range engagements.
Does elevation drift matter at close range?
For targets under 800 m on Charge 1, elevation drift between rounds is negligible because the trajectory is nearly flat and the spread cone already covers small plotting errors. Save the precision dialing for engagements beyond 2,000 m, where a single degree of error shifts the splash by hundreds of meters.
Can I fire without a firing card at all?
Technically yes — the barrel still pivots even if the calculator is offline, and the gunner can dial an elevation by ear based on prior experience. Calculator proficiency directly translates to faster and more accurate fire missions. Operators who master this achieve higher hit rates.