
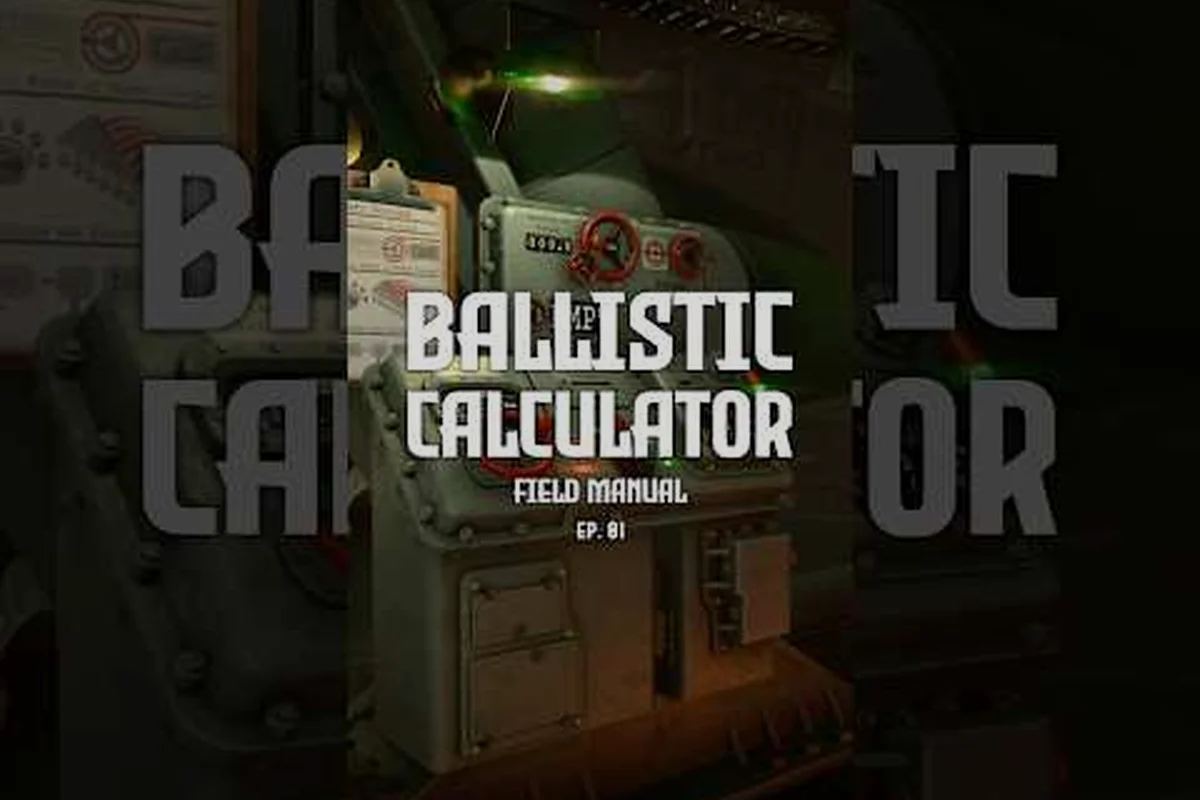
The ballistic calculator sits at the heart of every successful shot in Iron Nest, but the numbers it spits out only matter once you know what each field actually controls. Get the Iron Nest calculator outputs reading right and the rest of the six-step firing loop — plot, calculate, load, lay, fire, adjust — starts to click into place.
Inside the turret, the calculator reads the target's grid reference from the Tactical Map and your own position, then solves a fire-mission equation that no human can do quickly enough under fire. The output isn't a single number — it's a stack of four to six values printed onto the Firing Card, and every one of them controls a different physical action you'll perform with your hands. According to community data shared across the Steam discussions during the 2026 Next Fest demo, most first-time gun crews misread at least one of these fields every mission, which is why so many early shots land short, long, or in the wrong grid square entirely.
What the Calculator Actually Computes
The Iron Nest calculator is a deterministic solver. Feed it the same inputs — observer bearing, target map coordinates, powder temperature, barrel wear — and it returns the same firing solution down to the mil. It does not "guess" or "approximate." Behind the wooden console, the math runs on a pre-baked ballistics table calibrated for the 5000-ton quadruped turret's main gun, which means the output assumes a standard AP round unless you flag a different shell type.
-
Calculator output columns include range, elevation, and drift values
-
Deviation flags highlight when solutions fall outside safe parameters
-
Each firing card field maps to a specific crew station action — elevation to the gunlayer, charge to the loader, fuse time to the fuse setter
-
Calculator output precision is limited to 0.1 mils for elevation and 0.1 seconds for fuse time, which introduces small residual errors at extreme ranges
-
The azimuth correction field on the firing card includes both true bearing and the magnetic declination offset for the current map region
-
Wind drift offset values assume steady-state wind and do not compensate for gust perturbations that change every 15-30 seconds
-
Reading the firing card in the correct sequence — charge, shell type, elevation, bearing, fuse — prevents the most common crew station errors
Every calculator run resolves the same five variables — elevation angle, azimuth correction, powder charge, fuse time, and wind drift offset — and each of those values cascades into the crew's manual actions at the loading platform, handwheel station, and fuse setter.
| Variable | What It Solves | Where It Appears on Output |
|---|---|---|
| Bearing | Horizontal angle from turret to target | First numeric row on the Firing Card |
| Elevation | Vertical angle for the barrel | Second numeric row |
| Powder Charge | Charge 1–6 needed for range | Charge indicator bar (1 of 6 lit) |
| Time of Flight | Seconds round is airborne | Small text below elevation |
| Deflection | Wind/correction offset in mils | Final row, often in red |
If you want to see the full input workflow that produces these outputs, the ballistic calculator guide walks through the plotting side. What matters here is that the output card is your single source of truth between the calculation step and the actual firing — never re-derive any of these numbers by eye.
Breaking Down the Output Card
The Firing Card is a physical prop the operator slides out of the calculator's printer slot. It looks like a piece of cardstock, and it auto-ejects the moment a valid solution finishes printing. You can hold it in your off-hand while you work the gun handles, which is exactly how the game expects you to use it.
Bearing and Elevation Fields
The top two rows of the card are the only numbers that go straight to the gun hardware. Bearing is the horizontal sweep angle measured clockwise from turret-forward, and it drives the traverse handwheel. Elevation is the up-angle of the barrel in degrees, and it drives the elevation handwheel. These are absolute values, not deltas — you don't add them to your current barrel position, you set the barrel to them.
Community testing during the demo phase suggests that bearing drift is the single biggest cause of wild shots. If your map plot is off by even half a grid square, the bearing will silently rotate the gun several degrees away from the target. The calculator cannot detect bad input, so the output card will look perfectly clean while sending every round into empty terrain.
Time-of-Flight and Charge Indicators
The charge indicator is a horizontal strip of six small lights on the right edge of the card. One — and only one — will be illuminated. That lit position tells the loader which of the six Powder Charges to ram into the breech. Charge 1 is the lightest and shortest-range; Charge 6 is full propellant for maximum reach.
Time-of-flight matters more than most new crews realize. A high-charge, high-elevation shot can spend eight or more seconds in the air, which means a moving target will have shifted grid squares by the time the round arrives. Community reports from the demo indicate the calculator does not lead moving targets automatically, so time-of-flight is informational only — it tells you whether the target has time to relocate before splash.
Translating Outputs Into Gunlay
Gunlay is the term the game uses for the act of aligning the barrel to the calculator's solution. Once the card is in your hand, gunlay is just two mechanical steps: rotate the traverse wheel until the bearing dial matches, then crank the elevation wheel until the elevation dial matches. The game gives you a tolerance window — small misalignments still register as "on solution" — but the tighter you lay, the tighter your shot group.
From Calculator Numbers to Gun Handles
| Card Field | Gun Control | Action |
|---|---|---|
| Bearing | Traverse handwheel (left of seat) | Rotate until bearing dial reads the card value |
| Elevation | Elevation handwheel (right of seat) | Crank until elevation dial reads the card value |
| Powder Charge | Loader's rack selection | Loader pulls charge matching the lit indicator |
| Deflection | Manual trim knob (rare) | Apply only if marked in red |
Notice that the deflection field is the only one that requires a manual override on the gun itself. A normal firing solution prints deflection in black and you ignore it. A red deflection value means the calculator has detected crosswind or unusual atmospheric input, and the loader-applied correction can pull a near-miss back onto target.
For a hands-on walkthrough of solving your very first firing solution end-to-end, the first firing solution walkthrough covers the same loop in step-by-step detail. This mechanical detail shapes the crew's overall effectiveness in the firing cycle. Calculator proficiency directly translates to faster and more accurate fire missions.
When Calculator Outputs Drift Off
The calculator is reliable, but it's not magic. Three situations commonly produce outputs that look correct but won't hit anything: stale wind data entered more than two minutes ago, an incorrect powder charge selection that the calculator didn't flag, and targets that moved after the spotter's initial observation but before the firing solution was executed.
-
Stale map plot. If the observer hasn't refreshed the target's coordinates since the last move, the bearing and elevation are pointing at where the target was. Community testing shows this accounts for the majority of missed shots after the first round.
-
Wrong shell type selected. Switching from AP to high-explosive without re-running the calculator will print a card calibrated for the previous shell. The numbers will be subtly wrong and the loader will silently use the wrong powder curve.
-
Temperature extreme. Very cold barrel temperatures reduce muzzle velocity slightly, and the calculator doesn't always compensate. In that case the calibration fire routine lets you spot-register the barrel before trusting a long-range solution.
In all three cases, the right move is to discard the printed card and re-solve from the top of the loop. Never patch a stale output by "eyeballing" the correction — the calculator's whole point is to remove eyeballing from the loop.
Calculator Outputs vs. Firing Cards
New players often ask if they can skip the calculator entirely and just use the printed Firing Card from a previous mission. The short answer is no, because the card is the calculator's output — it isn't a separate cheat sheet. But the game does give you a fallback for when the calculator is damaged or you're running a scripted historical mission.
| Source | When to Trust It | Limitation |
|---|---|---|
| Live calculator output | Standard gameplay, fresh target | Requires working calculator + observer plot |
| Pre-printed Firing Card | Calculator offline, scripted missions | Range/charge values are mission-fixed |
| Crew leader manual call | Emergency only | No deflection correction applied |
The pre-printed Firing Card route is covered in detail in the firing card system explainer, which compares the live and scripted workflows side by side. The key takeaway is that a printed card is only as good as the inputs that produced it, and the calculator is the only instrument inside the turret that can produce a card tailored to the target you're actually seeing right now.
When working with the ballistic calculator outputs in Iron Nest, crews should pay close attention to the precision of each calculated value, as rounding errors compound across multiple fire missions. The calculator resolves elevation to the nearest tenth of a degree and wind correction to the nearest half-mil, which provides sufficient accuracy for most engagement ranges under 3,000 meters. However, at extended ranges beyond 4,000 meters, even these small rounding increments can shift the impact point by several meters, requiring experienced gunners to apply manual fine-tuning based on observed fall of shot. Crews who develop a habit of comparing the calculator's predicted impact zone against their actual observation reports will gradually build an intuitive correction library that speeds up subsequent fire missions significantly.
Frequently Asked Questions
What does the Iron Nest calculator output actually print?
The calculator prints a Firing Card containing bearing, elevation, powder charge (one of six), time-of-flight, and an optional deflection value. Bearing and elevation drive the gun's traverse and elevation handwheels directly, while the charge indicator tells the loader which propellant to ram.
Why do my Iron Nest calculator outputs miss even when I lay the gun perfectly?
If gunlay is correct and the round still misses, the most common cause is a stale map plot or an incorrect shell-type flag at the calculator console. Re-plot the target on the Tactical Map and re-run the solution; do not patch the printed card by hand.
Can I reuse a Firing Card from a previous round?
Only if the mission script allows it. In standard gameplay the card is discarded after firing because the target has moved. For scripted missions where the calculator is offline, the firing card fallback explains which cards remain valid. The ballistic calculator outputs are only as accurate as their inputs, so range and wind data must be verified before.
Does powder charge 6 always mean maximum range?
Yes — Charge 6 is full propellant and produces the longest reach and the longest time-of-flight. The calculator will only flag Charge 6 when the target's distance actually requires it, so seeing Charge 6 on the card means you're at the outer edge of the gun's envelope.
What does a red deflection value on the output card mean?
A red deflection indicates the calculator has applied a wind or atmospheric correction. Apply the manual trim knob offset before firing, or the round will land off the calculated impact point by the mil value shown in red on the card.