
Guides
Complete Iron Nest guides covering the 6-step firing loop, beginner tips, calibration procedures, and operator strategies for dieselpunk heavy-artillery simulation
Introduction
Iron Nest guides cover the complete 6-step fire mission loop that every operator must master before attempting challenge modes or advanced tactical operations. From reading encrypted teleprinter orders and plotting target coordinates on the tactical map, through entering range and bearing data into the ballistic calculator, to selecting the correct shell type and powder charge before manually loading and gunlaying the cannons — each step demands precision and discipline. Whether you are learning your first calibration fire, recovering from a calculator jam, or optimizing challenge mode scores, our guides walk you through every procedure, lever, and dial in the turret with hands-on practice exercises.
Core Guide Categories
| Category | Focus | Key Articles |
|---|---|---|
| Beginner | First firing solution, calibration, basics | 6-step fire loop, loading sequence |
| Ballistic | Calculator operation, error recovery | Range input, jam recovery, charge selection |
| Ammunition | Shell selection, powder charges | Ammo comparison, cost-benefit analysis |
| Tactical | Map operations, spotter triangulation | Grid plotting, Iris tool, pencil system |
| Challenge | Scoring strategies, leaderboard tactics | FDC timing, batch targeting, efficiency |
Operator Pathways
First Fire Mission
Your first complete fire mission — from target plotting to shell impact confirmation
Calibration Procedure
Systematic calibration of turret instruments for consistent accuracy across fire missions
Ballistic Calculator Recovery
Mastering calculator operation, input verification, and jam recovery procedures for sustained fire missions
Ammunition Selection
Choosing the right shell for each target type and understanding powder charge compatibility across all ammunition varieties
Tactical Map Operations
Plotting coordinates on the 20x10 grid, using spotter triangulation, and mastering the pencil and Iris tool system for accurate target acquisition
Core Mechanics
Iron Nest guides walk operators through every stage of turret operation, from the very first fire mission to advanced batch-targeting strategies used in challenge modes. The core learning path follows the 6-step firing loop: receive encrypted orders on the tactical map, plot the target coordinates using the grid system and spotter triangulation, enter range and bearing data into the ballistic calculator, select the correct shell type and powder charge, manually load the shell via the rammer and set the powder levers, then gunlay the cannons using traverse and elevation handwheels. Each step requires precision and timing — a single miscalculation in the powder charge or a misread elevation angle will send the shell wide. Guides also cover calibration procedures to keep instruments accurate, troubleshooting common calculator jams, and moral-choice navigation when orders conflict with your conscience about civilian targets or chemical weapon deployment.
Advantages
The guides section provides the most efficient learning path for new operators, breaking down the complex 6-step firing loop into digestible stages with progressive difficulty. Each guide is structured around hands-on practice rather than abstract theory — operators learn by doing, from their first target plot on the tactical map through to executing multi-target fire missions under time pressure. The step-by-step approach prevents the common beginner mistake of skipping straight to the calculator without first mastering map reading and coordinate plotting. Guides also include troubleshooting sections for every known error type, calibration procedures to maintain instrument accuracy, and moral-choice navigation strategies that help operators understand the newspaper consequence system without spoiling story outcomes. The beginner guide alone covers roughly 80% of what operators need to know, making it the single most valuable resource in the entire wiki.
Challenges
The guides section faces the inherent challenge of teaching a complex, multi-step mechanical process through text and images alone. The 6-step firing loop involves physical interactions — the resistance of the rammer, the click of the selector, the rotation of handwheels — that are difficult to convey without hands-on practice. Beginners frequently skip the calibration guide and proceed directly to firing, leading to compounding instrument errors that make every subsequent shot less accurate. The moral-choice guides walk a fine line between providing useful strategic information and spoiling the organic discovery that makes the story compelling. Additionally, some guides assume familiarity with military terminology (grid references, bearing lines, FDC procedures) that casual players may not possess, creating an accessibility barrier for the audience most likely to need beginner content.
Frequently Asked Questions
What is the most important guide for new players?+
How do I improve my turret operation speed?+
What should I learn after the basic fire mission loop?+
Quick Tips
Complete the beginner firing guide before attempting any challenge mode. The 6-step firing loop is the foundation of every action in Iron Nest, and skipping this guide means you will make errors in every subsequent step — from target plotting to shell selection to gunlaying. The guide takes approximately 20 minutes and prevents hours of frustration.
Calibrate your instruments at the start of every session, even if you think they are still accurate from last time. Elevation drift and powder lever misalignment accumulate between sessions as the turret settles. A 5-minute calibration routine prevents compounding errors that can make every shot in a long session progressively less accurate.
When the ballistic calculator jams, do not panic — switch to the printed ballistic tables and calculate manually. The tables are always available and never break. Practice the manual calculation procedure once in a while so it feels familiar when you actually need it under time pressure in a challenge mode.
Featured
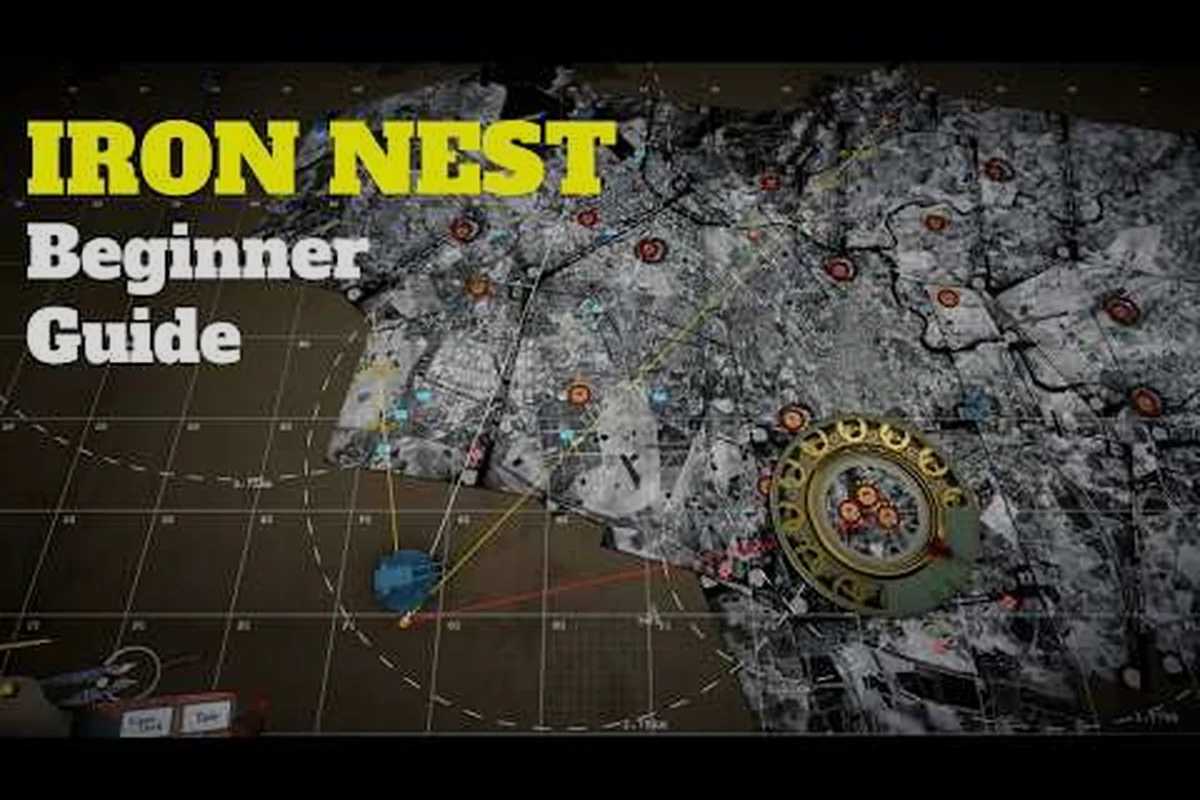
Iron Nest Complete Guide: Heavy Turret Tactics & Tips
Master Iron Nest with our complete guide covering dual-barrel turret operation, 30 ammo types, 15 campaign regions, ballistic calculations, and medal-winning strategies.
Iron Nest First Firing Solution: Complete Walkthrough
Master the Iron Nest first firing solution with this step-by-step walkthrough. Read teleprinter orders, plot coordinates, and ace the calibration mission.
Iron Nest Fire and Light Guide: Complete Walkthrough
Master the Iron Nest Fire and Light mission with this complete guide on spotter triangulation, star shell illumination, and correction-based targeting.
All Articles
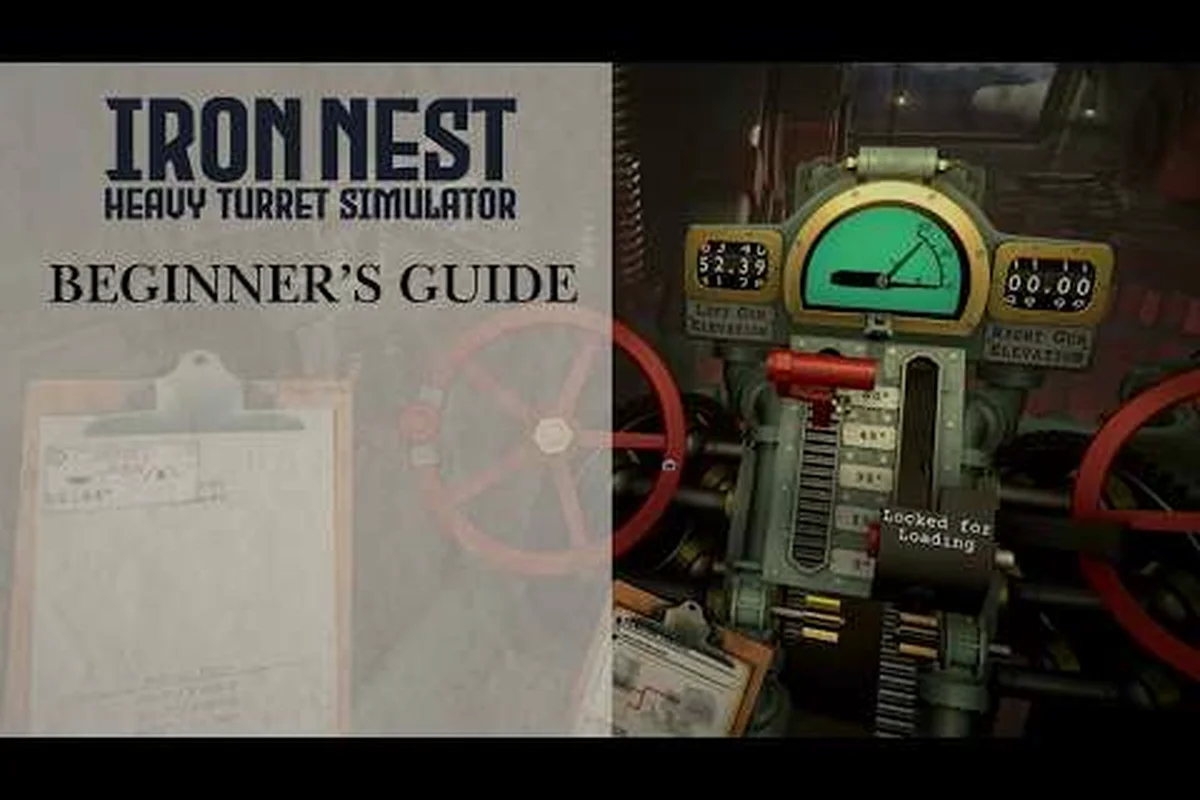
Iron Nest Ballistic Calculator Guide: Reading Fire Solutions
Master the Iron Nest ballistic calculator with this guide. Learn how to read firing cards, set powder charges, and produce accurate fire solutions fast.
Iron Nest Calibration Fire Guide: 6-Step Loop Tutorial
Iron Nest calibration fire guide covering range measurement, calculator setup, shell selection, powder charges, and the 6-step firing loop explained step by step.
Iron Nest Liberation Mission Guide: Demo 3 Full Walkthrough
Complete Iron Nest liberation mission guide — repositioning, requisition purchases, infantry targets, counter-battery defense, and Demo 3 success tips.
Iron Nest Operator Guide: Master the Heavy Turret Console
Iron Nest operator guide covering every console control, ammo type, and powder charge setting for new gunners. Learn the firing loop and score medals.
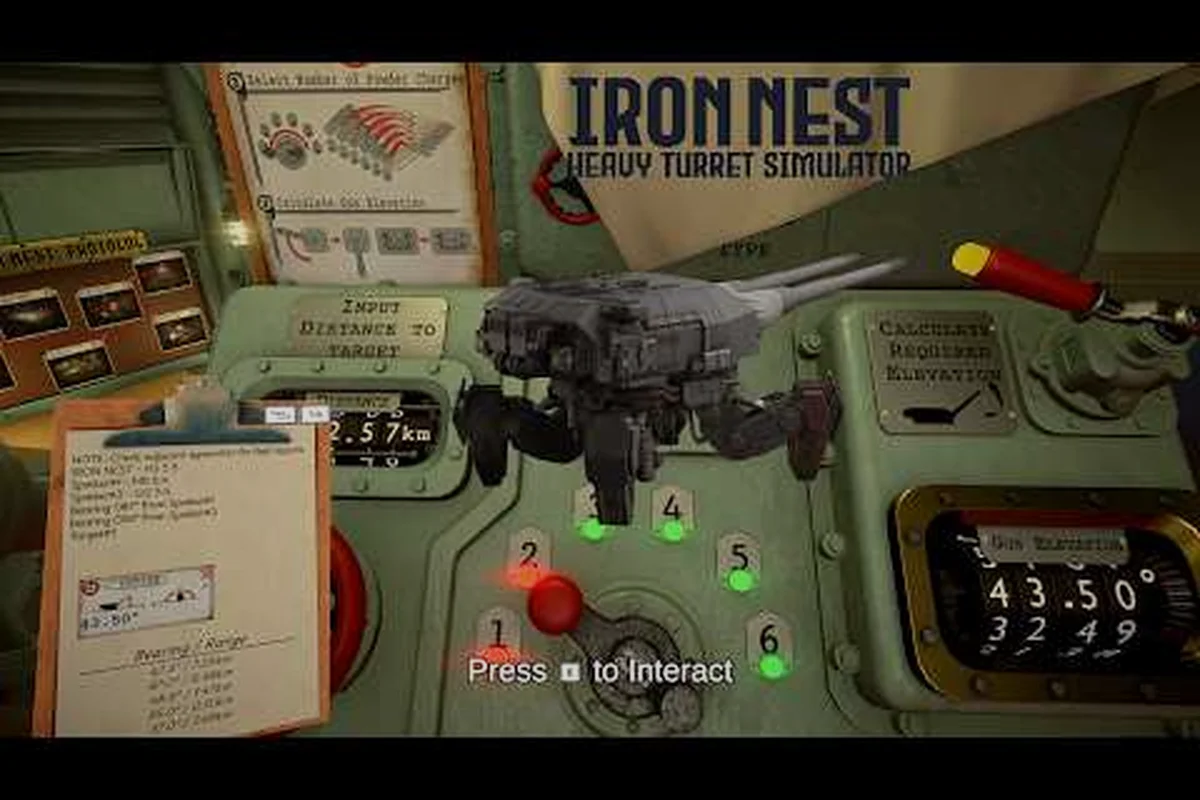
Iron Nest Tactical Map & Spotter Guide for Operators
Master the tactical map and spotter workflow in Iron Nest. Learn plotting, triangulation and target marking to deliver reliable fire missions every match.
Iron Nest Chemical Weapons Guide: Phosgene Gas Range Tactics
Master the chemical weapons guide in Iron Nest — phosgene gas shell types, wind drift corrections, ballistic calculator tuning, and tactical map deployment.
Iron Nest Heavy Turret: Step by Step Guide for Beginners
Master the Iron Nest step by step guide covering the 6-step fire mission loop, ballistic calculator inputs, turret gunlaying, and loading drills for new operators.