
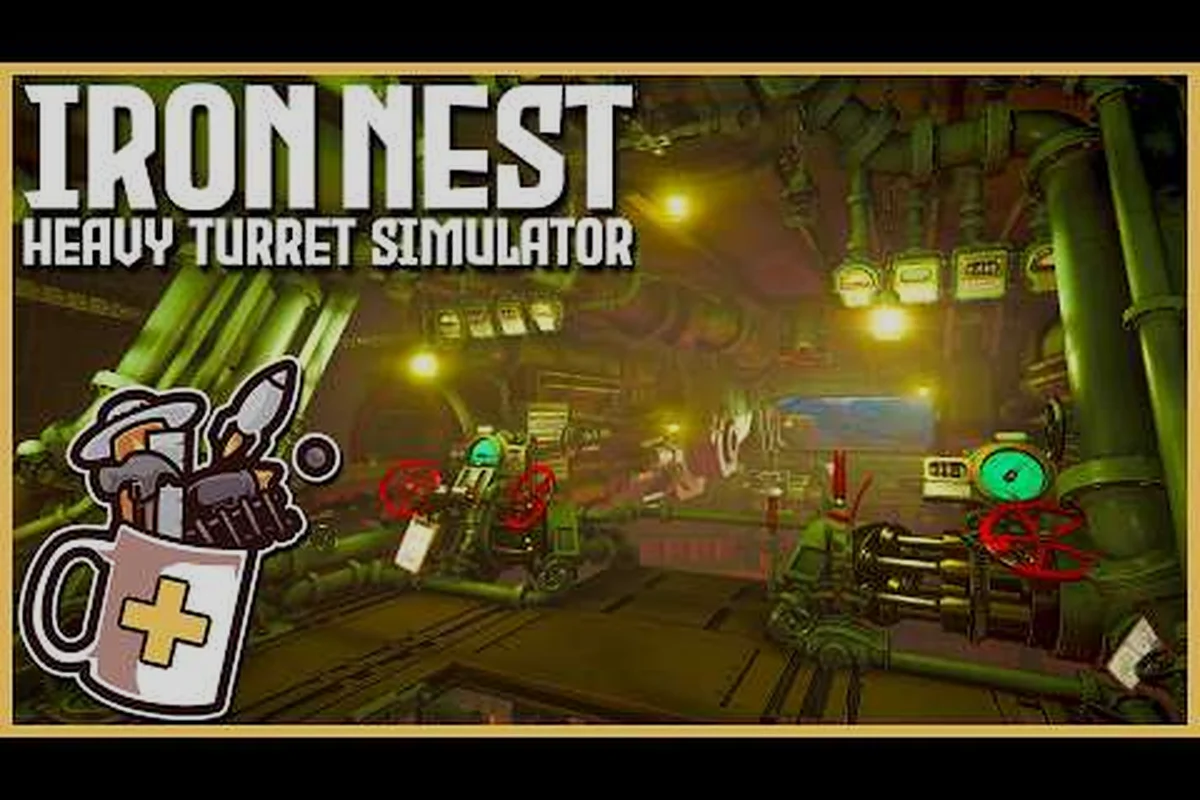
In Iron Nest's 5000-ton quadruped turret, the shell selector lever is the single physical control that decides what round your crew hoists into the breech. Pick the wrong slot and the Ballistic Calculator will hand you a Firing Card that underperforms or simply misfires against the target your spotter just relayed from the teleprinter. Get the lever right, and the entire Six-Step Firing Loop runs smoother because every downstream instrument already assumes a matching shell weight, drag profile, and powder requirement. This guide breaks down exactly where the lever sits, what each position represents, and how to coordinate it with the rest of your turret's dieselpunk hardware so that no round gets wasted on a wrong-tier engagement.
What the Iron Nest Shell Selector Lever Does
Identifying the Lever on Your Turret Console
Walk the brass catwalk from the teleprinter alcove toward the gun breech and the shell selector lever sits on the port-side loading console, just aft of the Ballistic Calculator rack. Visually it is a heavy chromed bar with four detent positions, each labeled with a stamped caliber icon — pointed tip for AP, star burst for HE, curling plume for smoke, and a bright flare symbol for star shell. The lever is spring-loaded so it will not stay between detents; if you cannot feel or hear a click, the loading crew has not actually armed the firing circuit, which is the first troubleshooting clue many new gun captains miss. Each position routes a different shell tray from the ready-rack magazine up to the hoist cradle, meaning the lever mechanically — not just digitally — determines what gets craned into the breech. Treat it as a mechanical commitment rather than a menu setting; flipping it back and forth mid-cycle forces the hoist to retract and re-home, costing up to four seconds of real loading time. After the breech closes, the lever position is locked to that shell identity until the round fires or is manually ejected.
-
Shell selector lever positions correspond to different ammunition types
-
Loading platform sequence must follow exact breech-loading order
-
Dual barrel coordination alternates firing to maintain suppressive rate
-
Handwheel speed limits prevent overshooting target bearing marks
-
Traverse and elevation must be set simultaneously for accurate aiming
-
Loading errors occur when powder charge and shell type are mismatched
-
Bearing rotation uses the traverse handwheel with degree markings
-
The shell selector lever indexes through seven positions on the ready rack, each with a tactile detent for confirmation by feel
-
Misalignment between the selector and the rack position causes the wrong shell type to be loaded — a common error for new loaders
-
The selector lever must be fully seated in the detent before the breech is opened, or the safety interlock triggers a delay
Why the Lever Matters More Than Other Controls
Inside the dieselpunk turret simulator, the Ballistic Calculator, the tactical map, and the traverse motors all adapt to whatever shell is in the tube. Because the chosen shell changes drag, recoil, and powder compatibility, the shell selector lever is upstream of almost every other decision the gun captain makes. Community testing on the Iron Nest Steam page confirms that lever mis-selection is the single biggest cause of misfires in the demo build, ahead of miscalculated elevation or wrong powder charges. This is also why the broader shell selector overview recommends confirming the lever position before letting the spotter call a fresh grid reference. Mastering the lever turns the rest of the firing loop from a frantic scramble into a calm, repeatable drill.
Shell Selector Lever Positions and Shell Types
The four detents of the Iron Nest shell selector lever correspond to four distinct loading chains. Each one carries a different role on the battlefield, and the tier ranking for shells — see the shell S tier list — flows directly from how a given position performs in the cycle.
AP Slot — Armor-Piercing Loading
Pull the lever fully forward into the pointed-tip detent and the ready-rack magazine rotates an armor-piercing (AP) shell onto the hoist cradle. AP rounds carry the heaviest projectile in the loadout, and because of that mass they produce the flattest trajectory at extended range while still penetrating fortified bunkers or surfaced enemy walkers. The trade-off is reduced blast radius, so a missed AP round does almost nothing to a soft target. AP is also the most powder-hungry shell type — expect to burn through Charge 4 to Charge 6 for any meaningful suppression on a 5000-ton turret. Pull the lever into AP when the spotter confirms a hardened emplacement, a tracked enemy walker, or a coastal fortification whose silhouette reads as armored from your firing window.
HE Slot — High-Explosive Loading
The middle detent of the shell selector lever loads a high-explosive shell, which is the workhorse round for most engagements. HE balances projectile mass against a generous explosive filler, making it forgiving at 1–4 km ranges and brutally effective against infantry, light vehicles, and unarmored supply columns. Pick HE as your default unless the briefing explicitly calls for a special-purpose shell, because the ballistic solver tunes most conveniently to HE's drag curve. The HE round also pairs with the widest spread of powder charges, ranging from Charge 1 for line-of-sight work to Charge 5 for plunging fire. New gun captains can effectively live in the HE slot for an entire sortie while they learn the other positions.
Smoke and Star Shell Special Slots
Aft of HE, the shell selector lever exposes two special-use slots. The third detent loads a smoke shell that bursts into a thick grey-white cloud on impact — ideal for screening friendly advances, blinding optical spotters, or burning down an exposed enemy firing lane. Smoke shells travel on a flatter, slower arc, which means the Ballistic Calculator normally recommends Charge 2 or 3 and a slightly elevated bearing to keep the plume visible above terrain. The fourth, rearmost detent is reserved for star shell illumination rounds — parachute-suspended flares that drift down over the battlefield to reveal targets for follow-up shots or coordinated flanking maneuvers. Star shells sit at the bottom of most tier rankings for raw damage because their payload is a flare rather than a warhead, but their scouting value cannot be ignored during dawn, dusk, or smoke-saturated engagements.
Shell Type Comparison
| Slot Position | Shell Type | Best Target | Powder Pairing | Damage Tier (per S-tier rating) |
|---|---|---|---|---|
| Forward detent (1) | AP | Fortified bunkers, armored walkers | Charge 4–6 | A/S tier |
| Middle detent (2) | HE | Infantry, light vehicles, structures | Charge 1–5 | A tier |
| Aft-middle detent (3) | Smoke | Screening fire, optical denial | Charge 2–3 | C tier (utility) |
| Rear detent (4) | Star shell | Illumination, target marking | Charge 2–4 | C tier (utility) |
How the Shell Selector Fits Into the Six-Step Firing Loop
Step-by-Step: Plot → Calculate → Load → Aim → Fire → Correct
The Six-Step Firing Loop in Iron Nest is: Intel from the teleprinter, target plotted on the Tactical Map, solved via the Ballistic Calculator and printed onto a Firing Card, loaded with the shell selector lever, aimed with elevation and traverse, then fired and corrected for the next salvo. The lever decides the shell identity at step 4, but its implications ripple upstream and downstream. If you select HE before the spotter confirms the target is armored, you have effectively wasted the round before the Firing Card is even printed. Conversely, swapping to smoke mid-loop to cover an ally demands a fresh Firing Card, a new powder charge, and a fresh elevation read because the lighter projectile flies differently. Treat the lever as a one-shot commitment per salvo to keep the cycle tight.
Common Timing Windows for Lever Pulls
Most experienced gun captains pull the shell selector lever before the crew finishes the Firing Card so the hoist cradle is already indexing to the right shell tray the moment the card arrives at the loading station. Pulling the lever after the card prints introduces a four-second hoist penalty. Pulling it too early — before the spotter has actually confirmed the target identity — risks committing to a shell that does not match what the solver expects, especially when a smoke screen suddenly reveals an armored column that was previously invisible. Aim to pull the lever during the brief window between solving and loading, which corresponds to roughly the second half of step 3 in the cycle below.
Firing Loop Action Map
| Loop Step | Instrument Used | Lever Action | Notes |
|---|---|---|---|
| 1. Intel | Teleprinter | Hold current position | Wait for confirmed target ID |
| 2. Plot | Tactical Map | Hold current position | Drop the bearing pin |
| 3. Calculate | Ballistic Calculator | Pull to intended position | Aligned with Firing Card printout |
| 4. Load | Shell selector lever + hoist | Lock detent | Hoist indexes to selected tray |
| 5. Aim | Elevation, traverse | Hold current position | Lay gun to Firing Card data |
| 6. Fire | Breech lever | Hold current position | Observe fall-of-shot |
| 7. Correct | Spotter + Firing Card | Reselect if needed | Recycle lever only on target swap |
Pairing the Selector Lever With Powder Charges
Matching Charge Numbers to Engagement Distance
Once the shell selector lever is locked, the Ballistic Calculator cross-references the chosen shell against the spotter range and recommends a Powder Charge between 1 and 6. Charge 1 fires low-velocity rounds for direct line-of-sight shots across a few hundred meters; Charge 6 launches a heavy shell on a high lobbing arc suitable for plunging fire against entrenched positions beyond 6 km. The lever and the charge must agree, because a Charge 6 AP round needs the heaviest projectile mass to avoid destabilizing in flight, while a Charge 3 smoke shell typically cannot reach useful distances even with maximum powder. A practical rule is to glance at the Firing Card immediately after the calculator prints it; if the recommended charge number is unusually high relative to the range, you almost certainly have the wrong shell selected. Many gun captains flip the lever, regenerate the card, and re-engage in under three seconds.
Tier-List Considerations: When S-Tier Beats C-Tier
Because the shell C tier rankings flag smoke and star shells as utility-only rounds, there is a constant temptation to keep the shell selector lever glued to the AP or HE position. That instinct is wrong during multi-stage missions. A coordinated infantry push, for example, often needs a smoke screen before the AP barrage arrives — so the C-tier smoke shell genuinely outranks an S-tier AP round for that specific window. Star shells become the highest-value round during a dusk assault when otherwise invisible threats lurk in shadow; the illumination turns random spotting into confirmed kills, multiplying the value of every subsequent HE or AP volley. Think of the C-tier shells as enablers that boost the entire salvo rather than as wasted slots.
Powder Charge Compatibility Chart
| Powder Charge | Typical Range | Compatible Shells | Common Lever Position |
|---|---|---|---|
| Charge 1 | 0–1 km | HE, star | Middle or rear detent |
| Charge 2 | 1–2.5 km | HE, smoke, star | Middle / aft-middle / rear |
| Charge 3 | 2.5–4 km | HE, smoke, star, light AP | Any detent |
| Charge 4 | 4–6 km | HE, AP | Middle or forward detent |
| Charge 5 | 6–8 km | HE, AP | Middle or forward detent |
| Charge 6 | 8+ km (plunging fire) | AP only | Forward detent |
Shell Selector Misalignment Issues and Recalibration
Mistake 1 — Leaving the Lever in AP by Default
Many new crews keep the shell selector lever locked at the forward AP detent because AP looks impressive in the ammunition HUD. The result is a constant stream of overkill rounds lobbed at infantry columns, wasting powder and giving the spotter no useful blast feedback. Fix: rotate the lever to HE for roughly 70% of engagements, then commit to AP only when an armored target actually presents. The marginal reload time of a lever flip is far less than the powder and round waste of a mis-engaged AP shot.
Mistake 2 — Flipping the Lever Mid-Hoist
The hoist motor indexes within about one second, but that one second becomes four if you wiggle the shell selector lever while the cradle is moving. Pull the lever, let it click fully into detent, and then wait for the audible hoist-brake latch before the loader's gloved hand touches the shell tray. If the round was wrong, fully retract the hoist and re-cycle instead of trying to cheat a mid-pull.
Mistake 3 — Ignoring Star Shells at Night
Star shells feel weak in the damage HUD, so most players never pull the lever to the rear detent and miss one of the most effective tools for low-visibility missions. A single well-placed star shell converts a foggy skirmish into a clean HE slaughter because spotted targets take dramatically more damage. Practice pulling the lever all the way aft at the start of any dusk or dawn sortie; it pays off in your next two volleys.
Mistake 4 — Forgetting to Reset After a Smoke Screen
Once visibility drops, the natural reflex is to keep firing HE blindly, but the shell selector lever should often move back to AP or HE only after the spotter confirms fresh targets. Forgetting to set the lever after smoke lifts leaves the next salvo as another smoke round, which does almost no damage. Calibrate a habit: every time the smoke cloud burns out, double-check lever position before regenerating the Firing Card.
よくある質問
Where exactly is the Iron Nest shell selector lever located?
The shell selector lever sits on the port-side loading console, just aft of the Ballistic Calculator rack, between the teleprinter alcove and the main gun breech. It is the chromed four-position bar with stamped caliber icons on top of the loader's station.
Can I leave the shell selector lever between detents?
No — the lever is spring-loaded and refuses to stay between detents. If you do not hear or feel a click, the firing circuit has not armed and the hoist cradle will not index. Always let the lever snap fully into one of the four positions.
Which shell type should I default the Iron Nest shell selector lever to?
For most sorties, leave the shell selector lever in the HE detent. HE offers the widest powder-charge compatibility and the most forgiving ballistic curve. Move to AP for confirmed armored targets, smoke for screening fire, and star shells only for dusk, dawn, or smoke-saturated conditions.
Does the shell selector lever lock after firing?
No, the lever does not auto-lock between volleys. Each round fired returns the hoist cradle to ready but leaves the shell selector lever in whatever detent you last chose. Most experienced gun captains re-verify the lever position at every reload just to avoid leftover selection from a prior salvo.
Do smoke and star shells use the same powder charges as HE?
Smoke and star shells are lighter, so they cannot accept the highest powder charges the way AP can. Maximum useful charge for smoke is around Charge 3, while star shells cap near Charge 4. Turret control mastery is the mechanical foundation upon which all other skills are built.